Growing Potatoes: Better Late Than Never!
Growing Potatoes: Better Late Than Never!
I’ve always wanted to try growing potatoes. I even went as far as buying seed potatoes in the past but somehow never quite committed to planting them. I think I’d heard too many stories about diseases or potatoes taking over the entire garden—something I couldn’t risk with my old, smaller veggie patch.
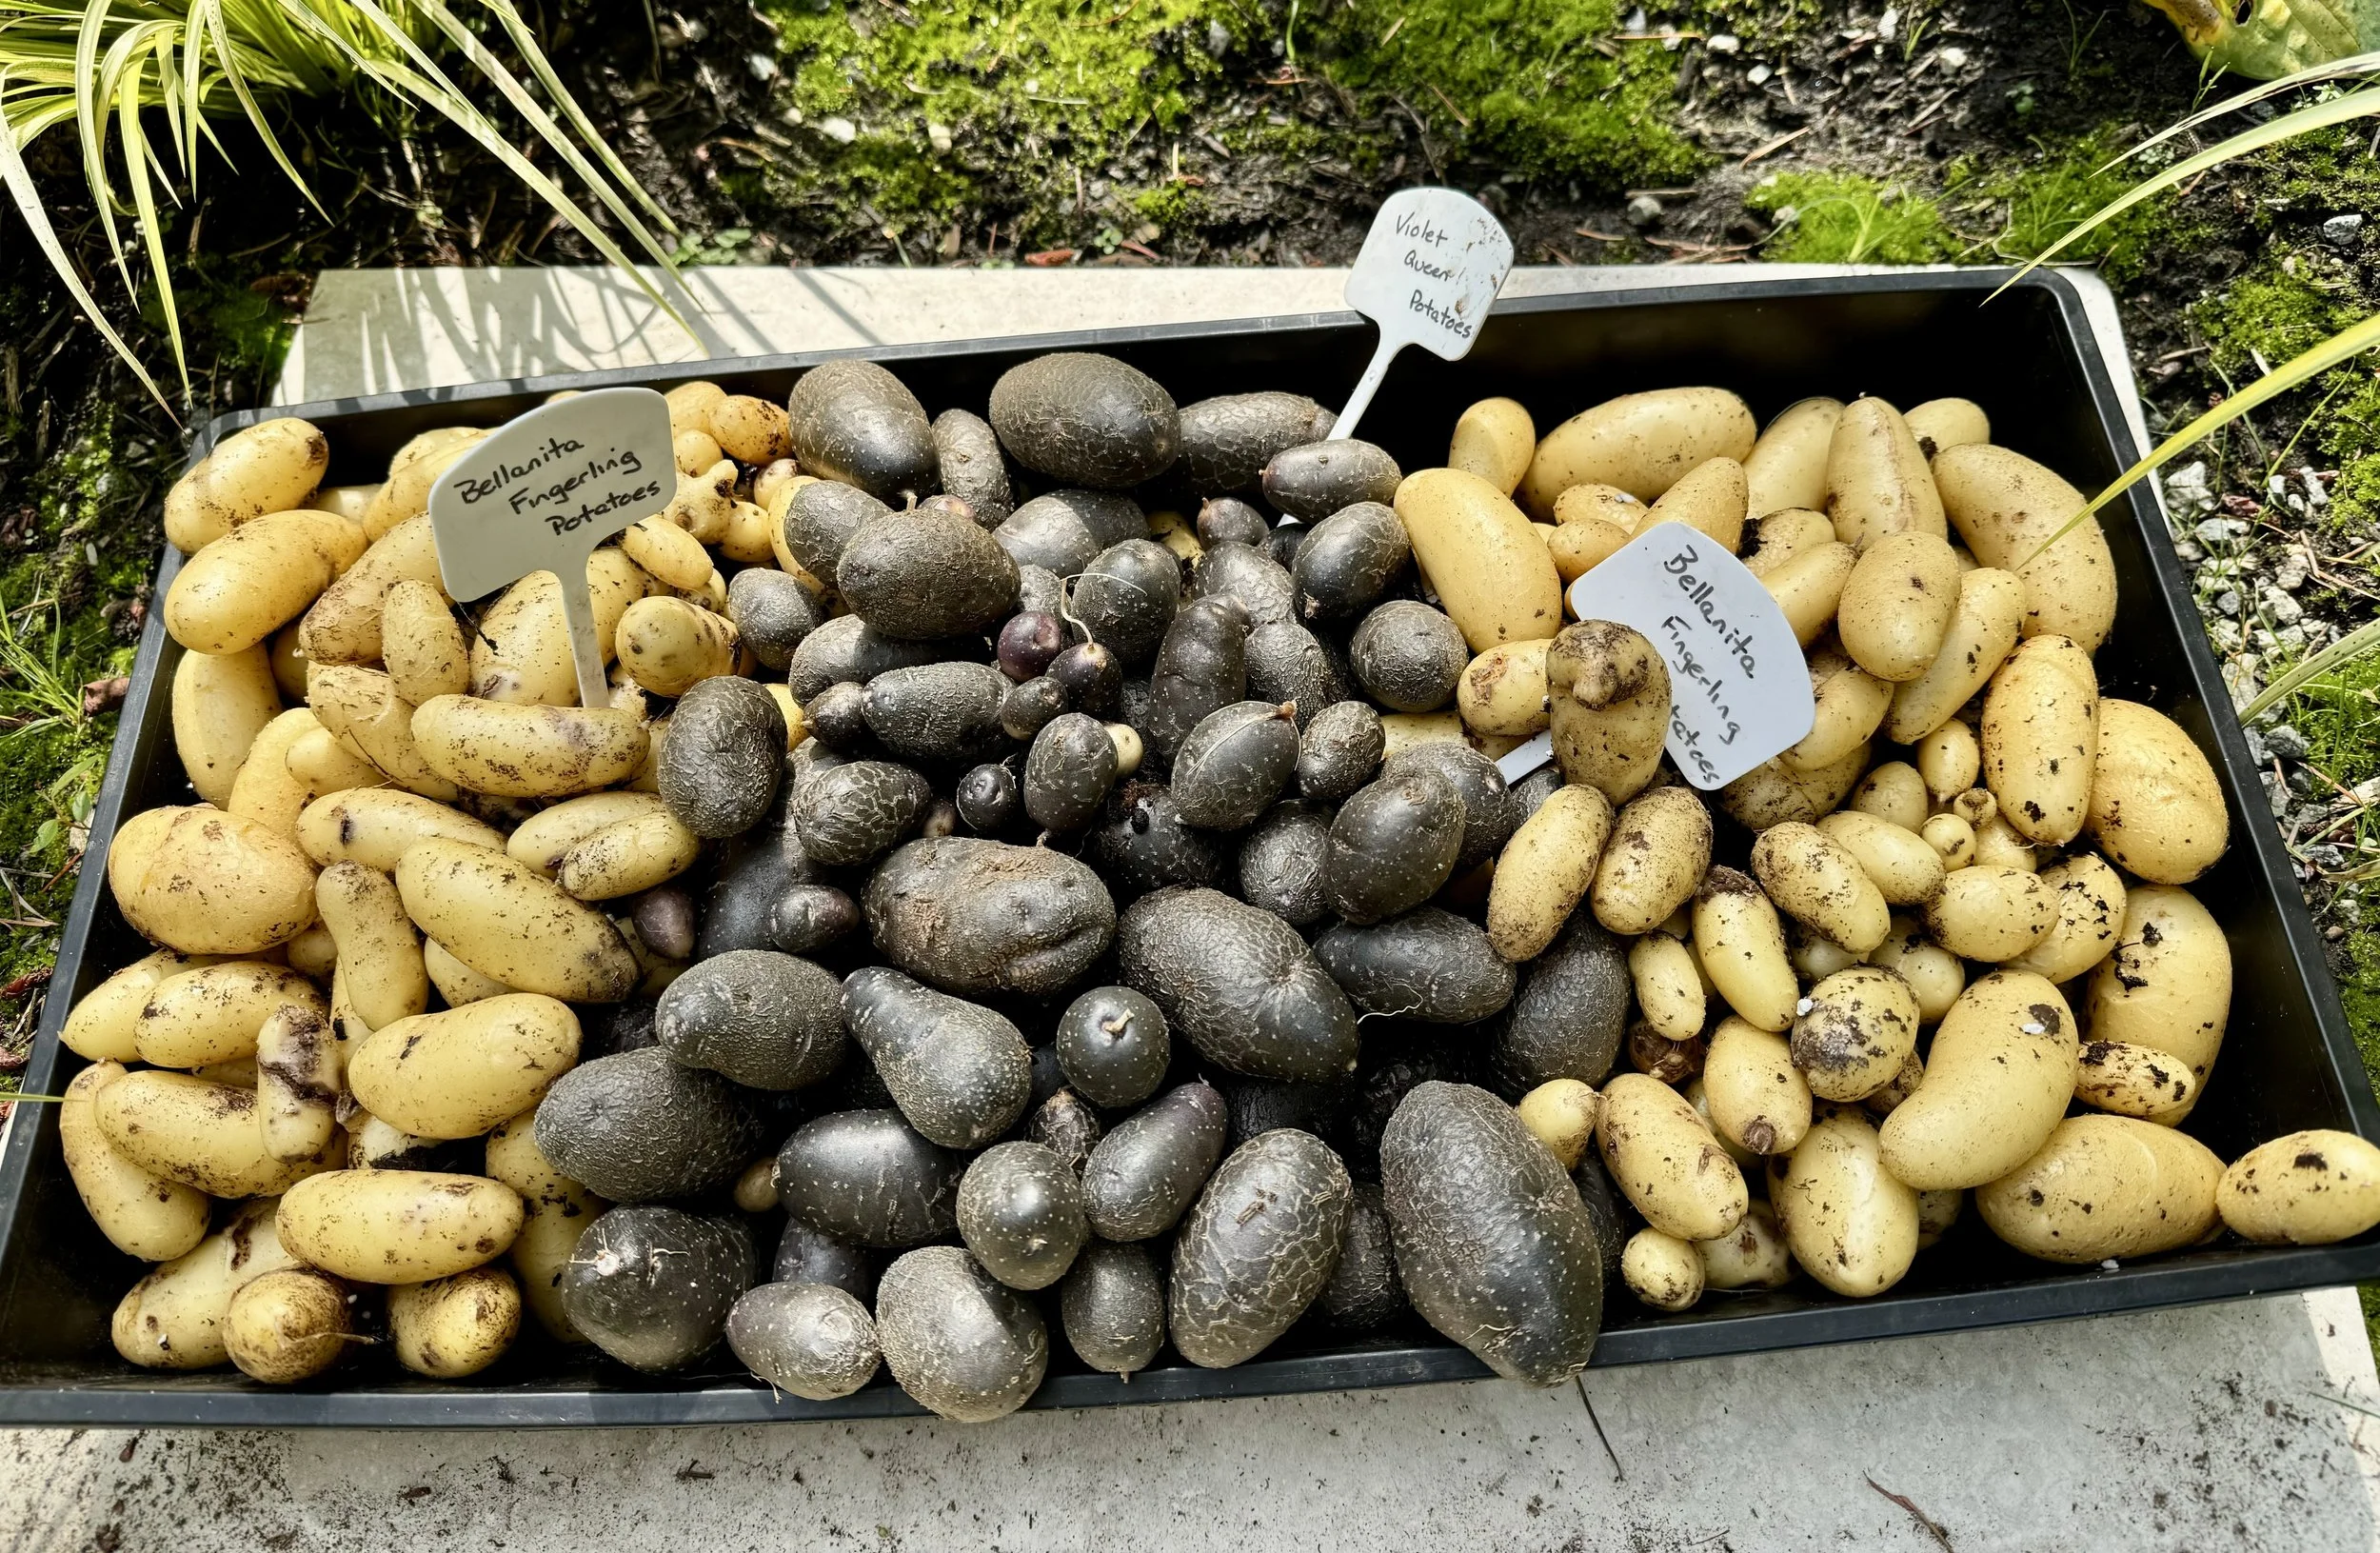
But this year, with my newly expanded garden, I finally decided to take the plunge. And let me tell you—what a spectacular success! Potatoes are now a must-plant every year, especially the specialty varieties that you just can’t find in the grocery store or even at the farmers’ market.
The Grow Bag Game-Changer
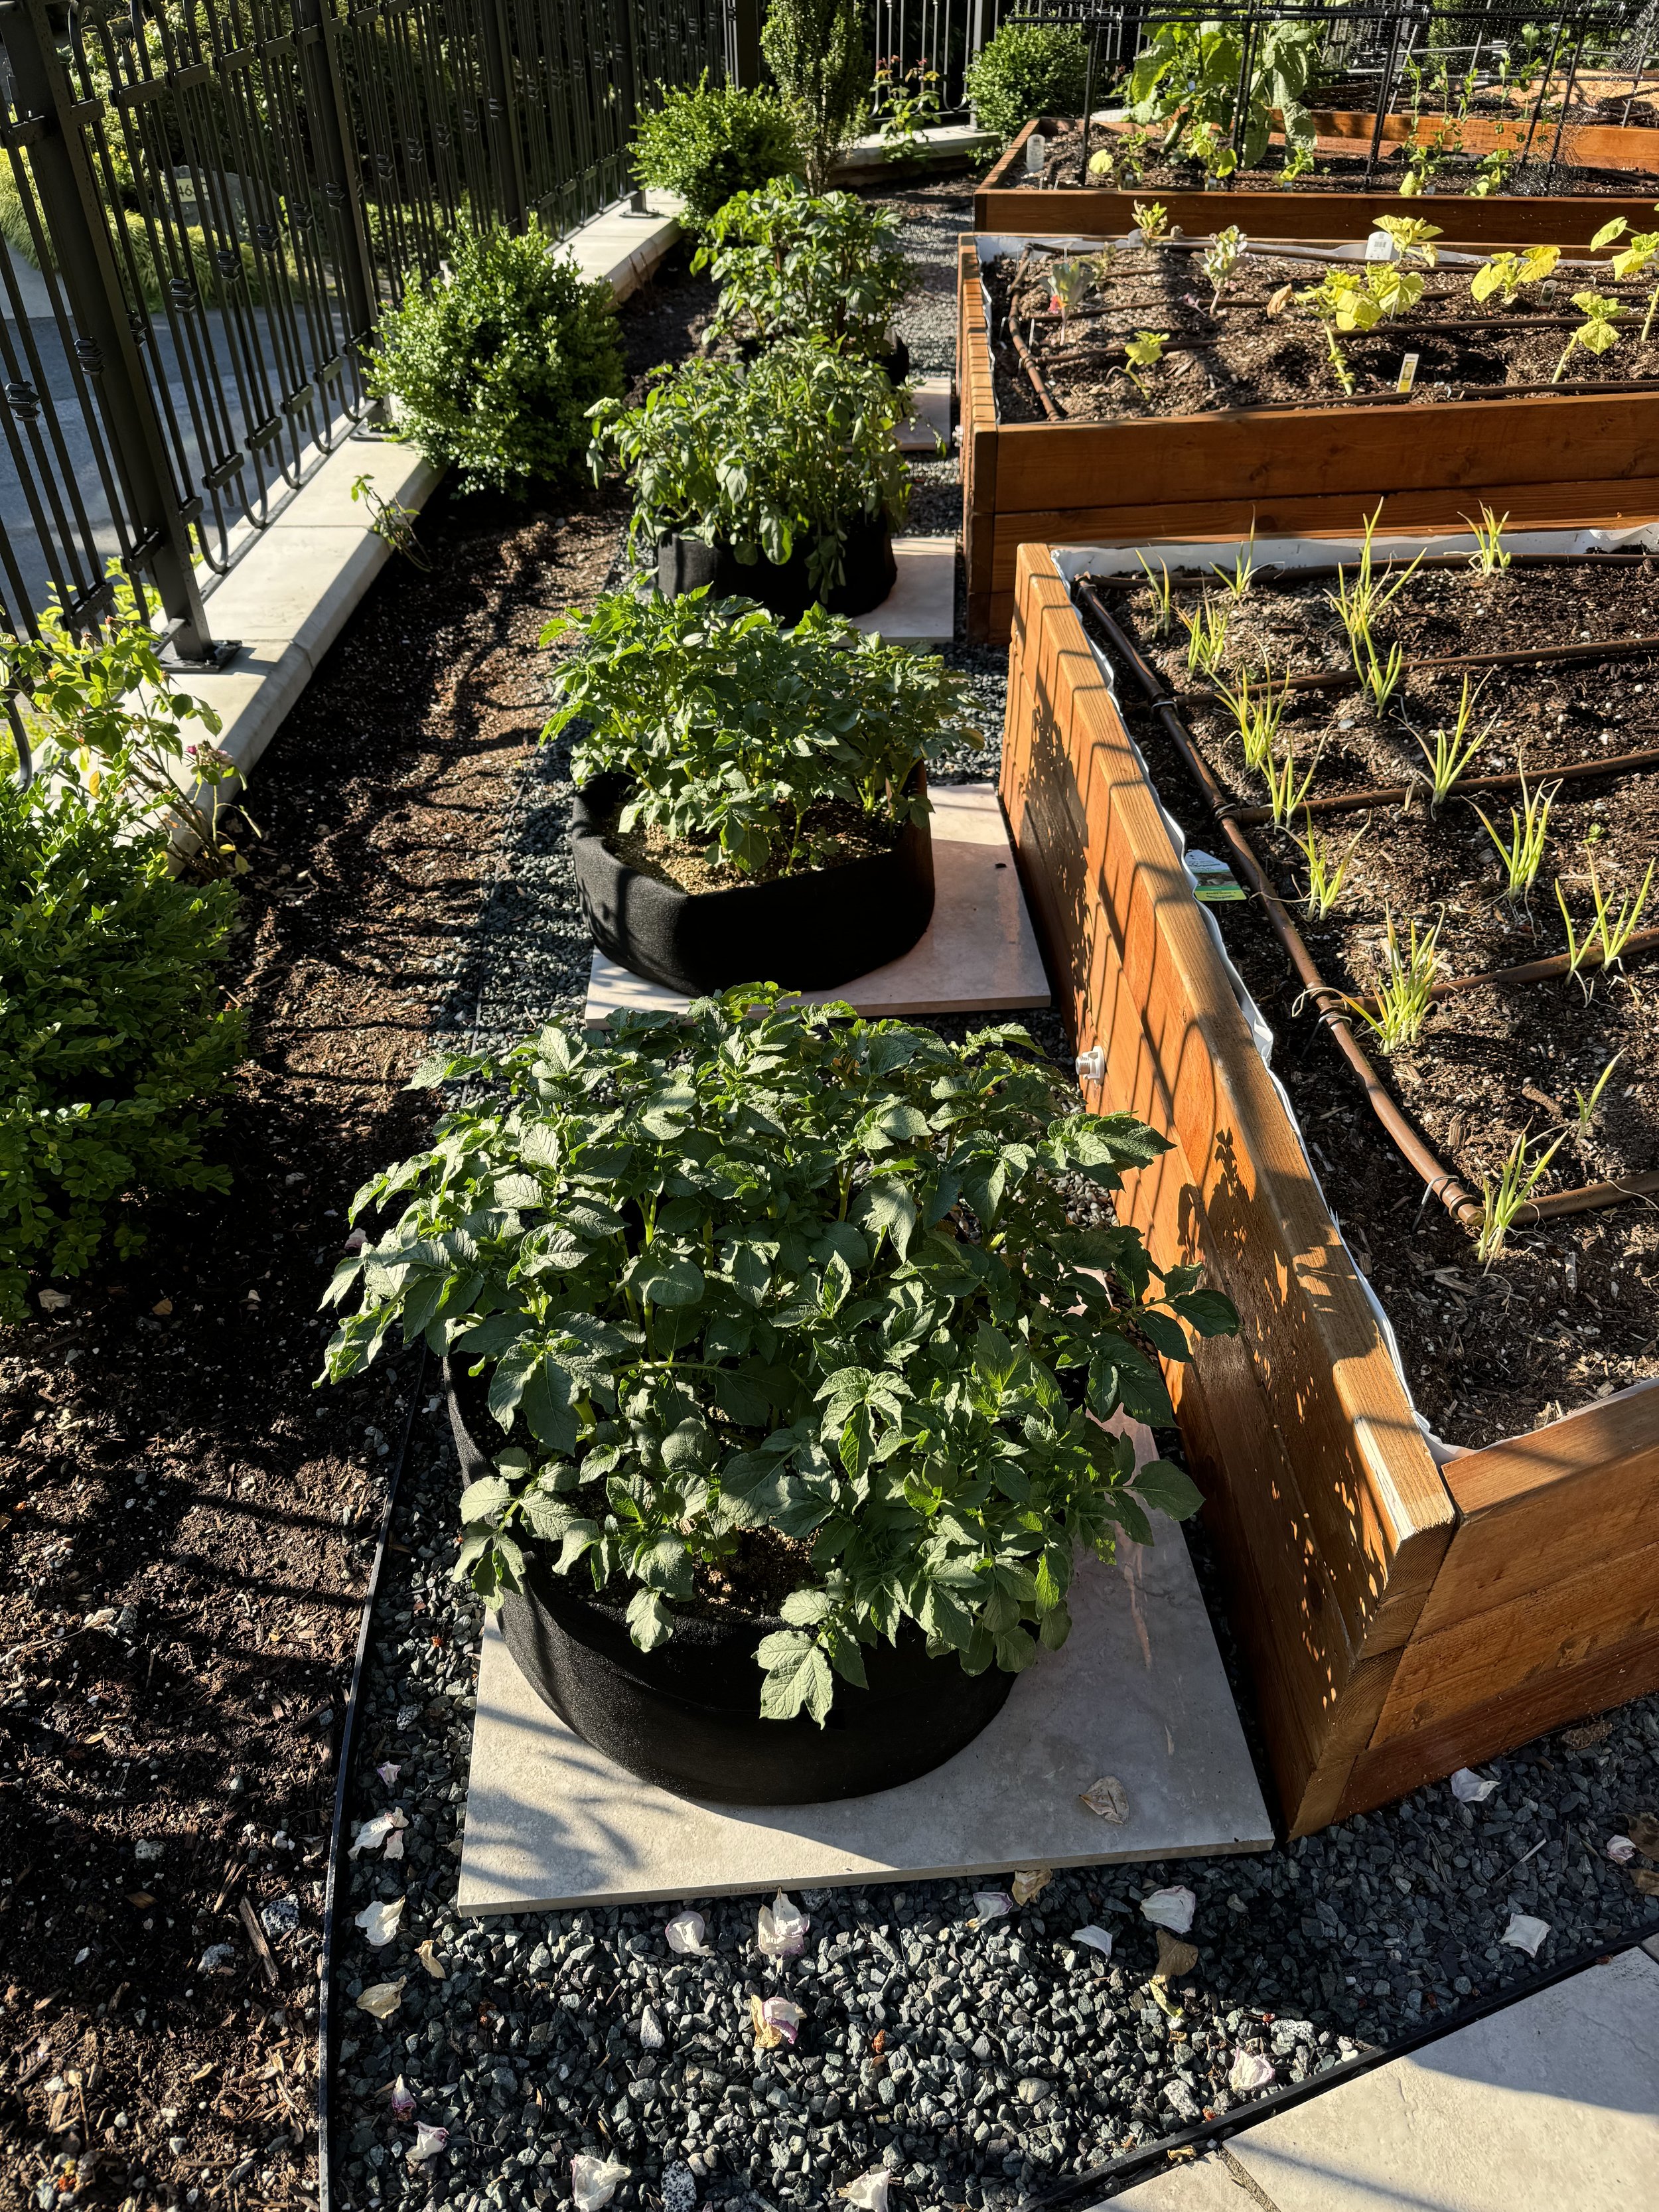
I also tried something else new: grow bags. These were a game-changer! No worries about diseases spreading to the rest of the garden or potatoes invading other plants’ space. I found cost-effective fabric grow bags online—big enough to allow for growth but easy to roll down the sides. And I discovered incredible heritage seed potatoes from Phoenix Perennials, delivered right to my door.
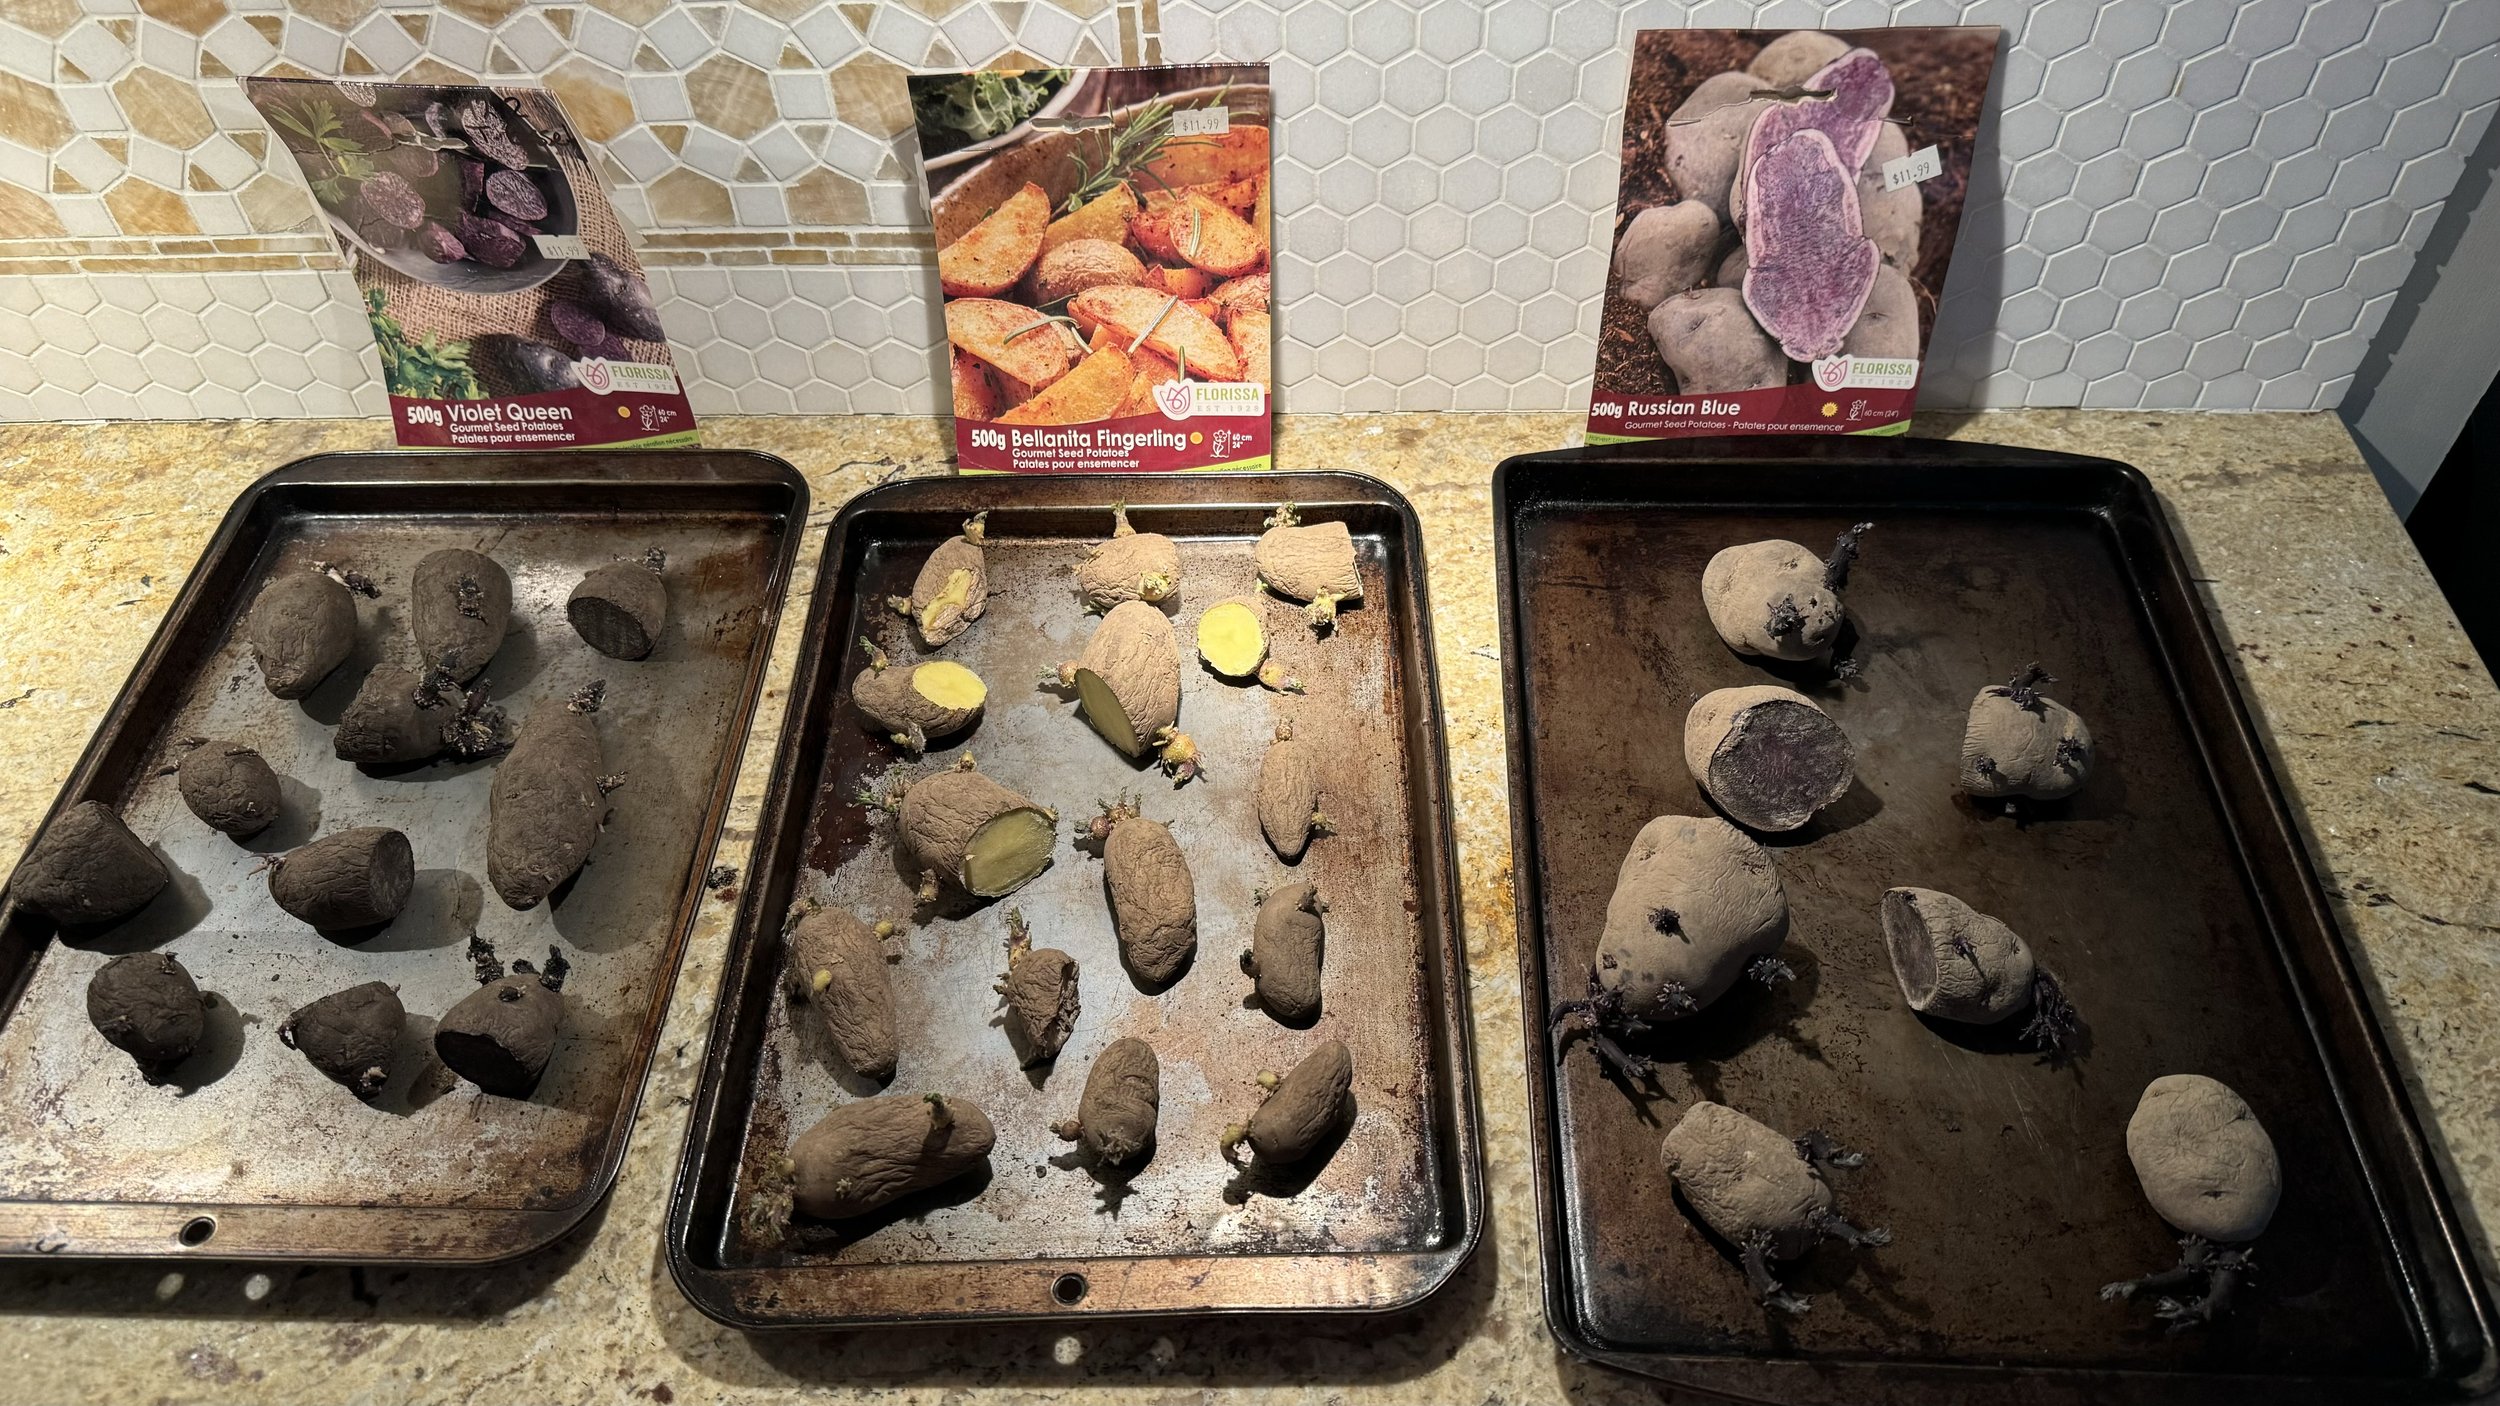
This year’s varieties were:
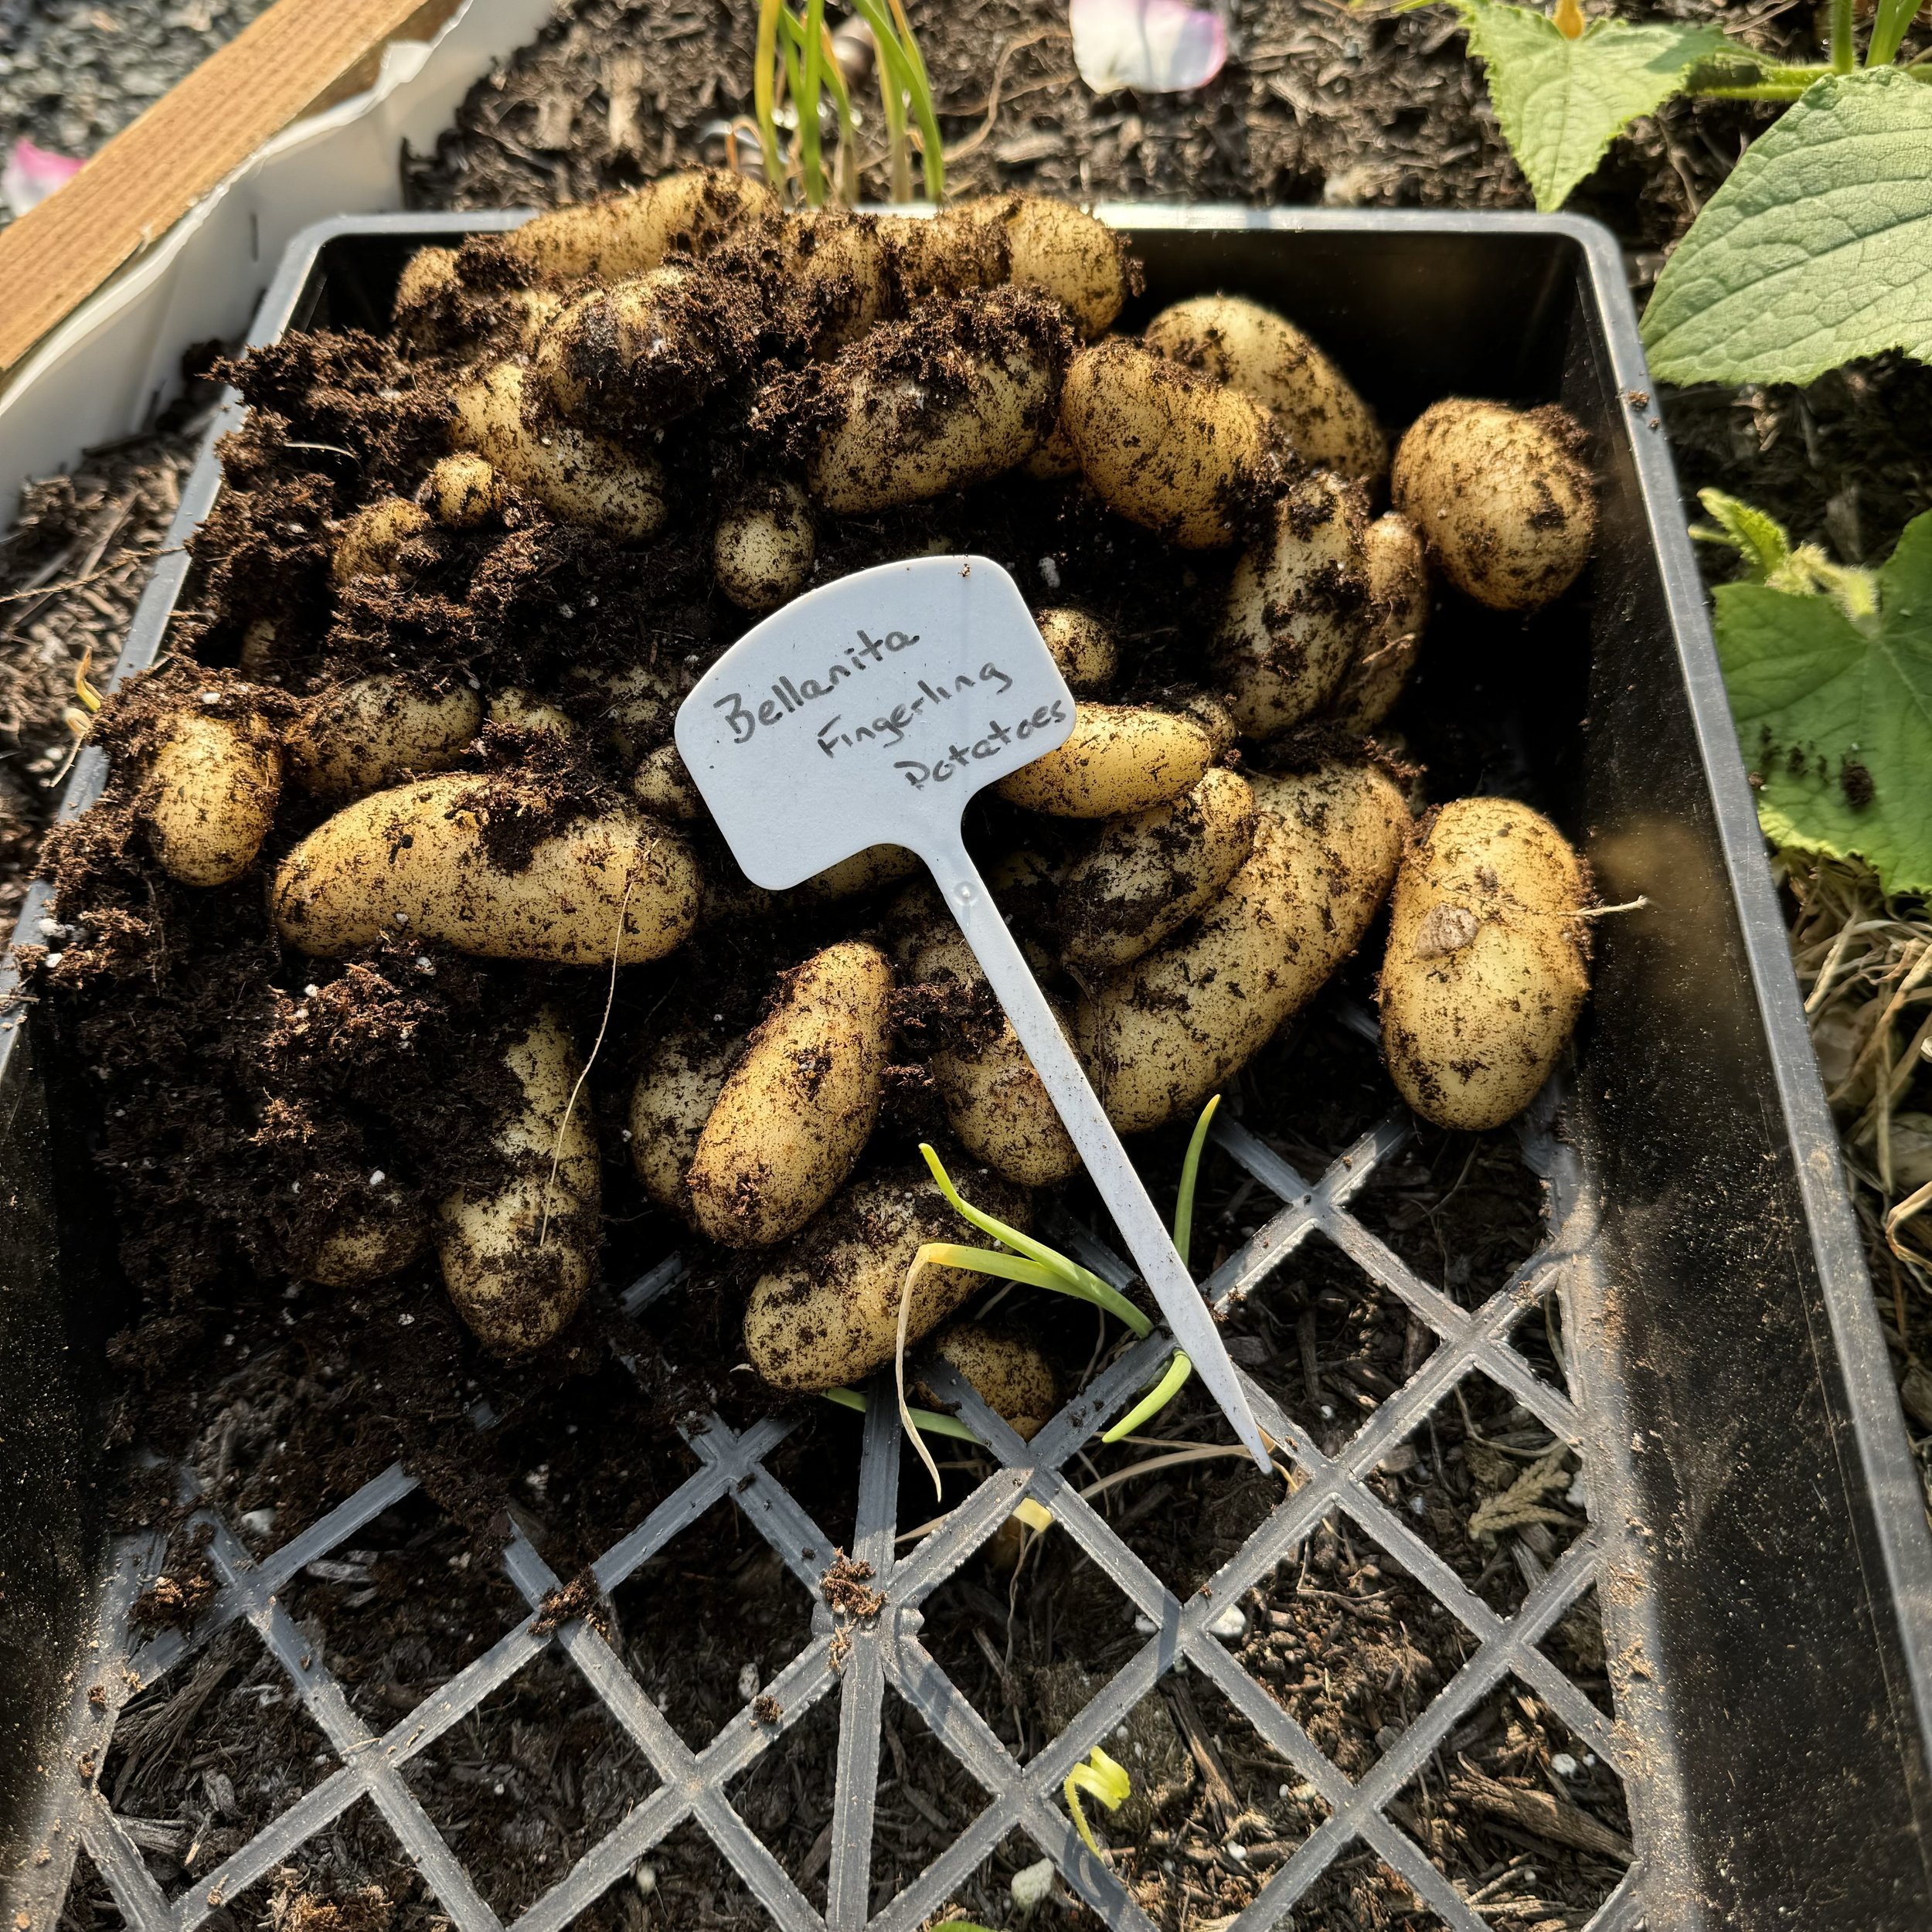
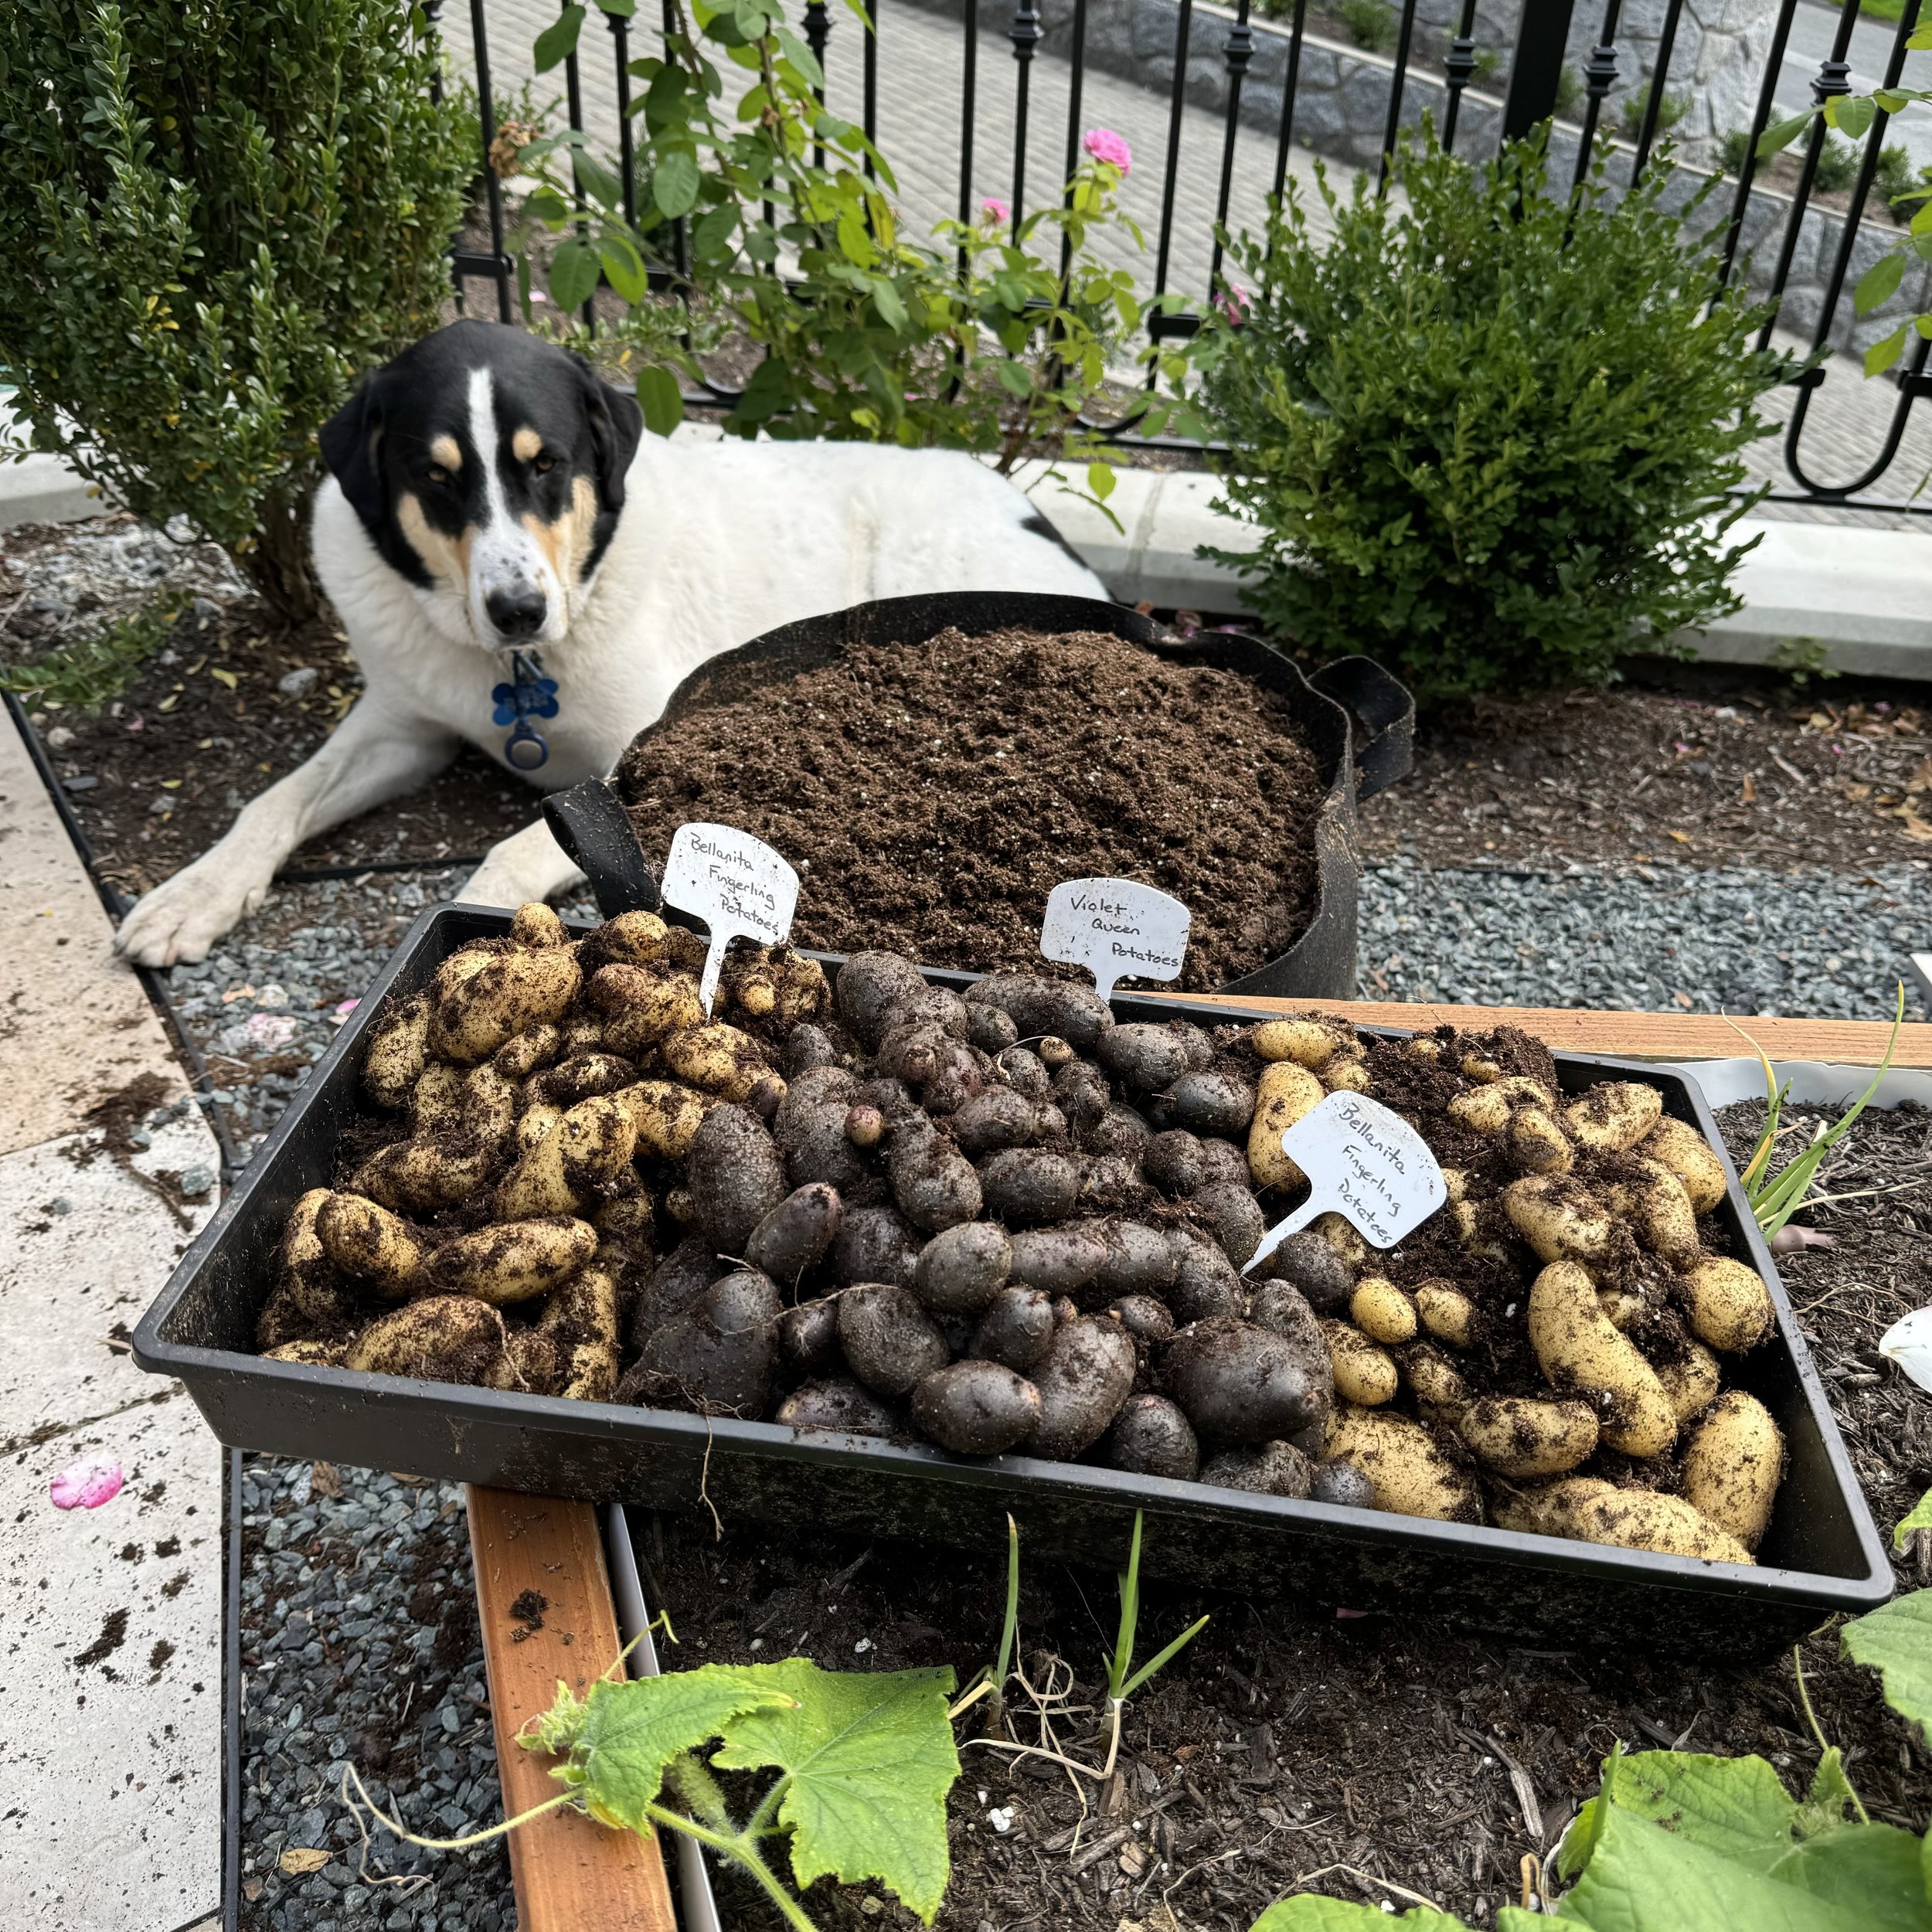
Bellanita Fingerlings
Violet Queen
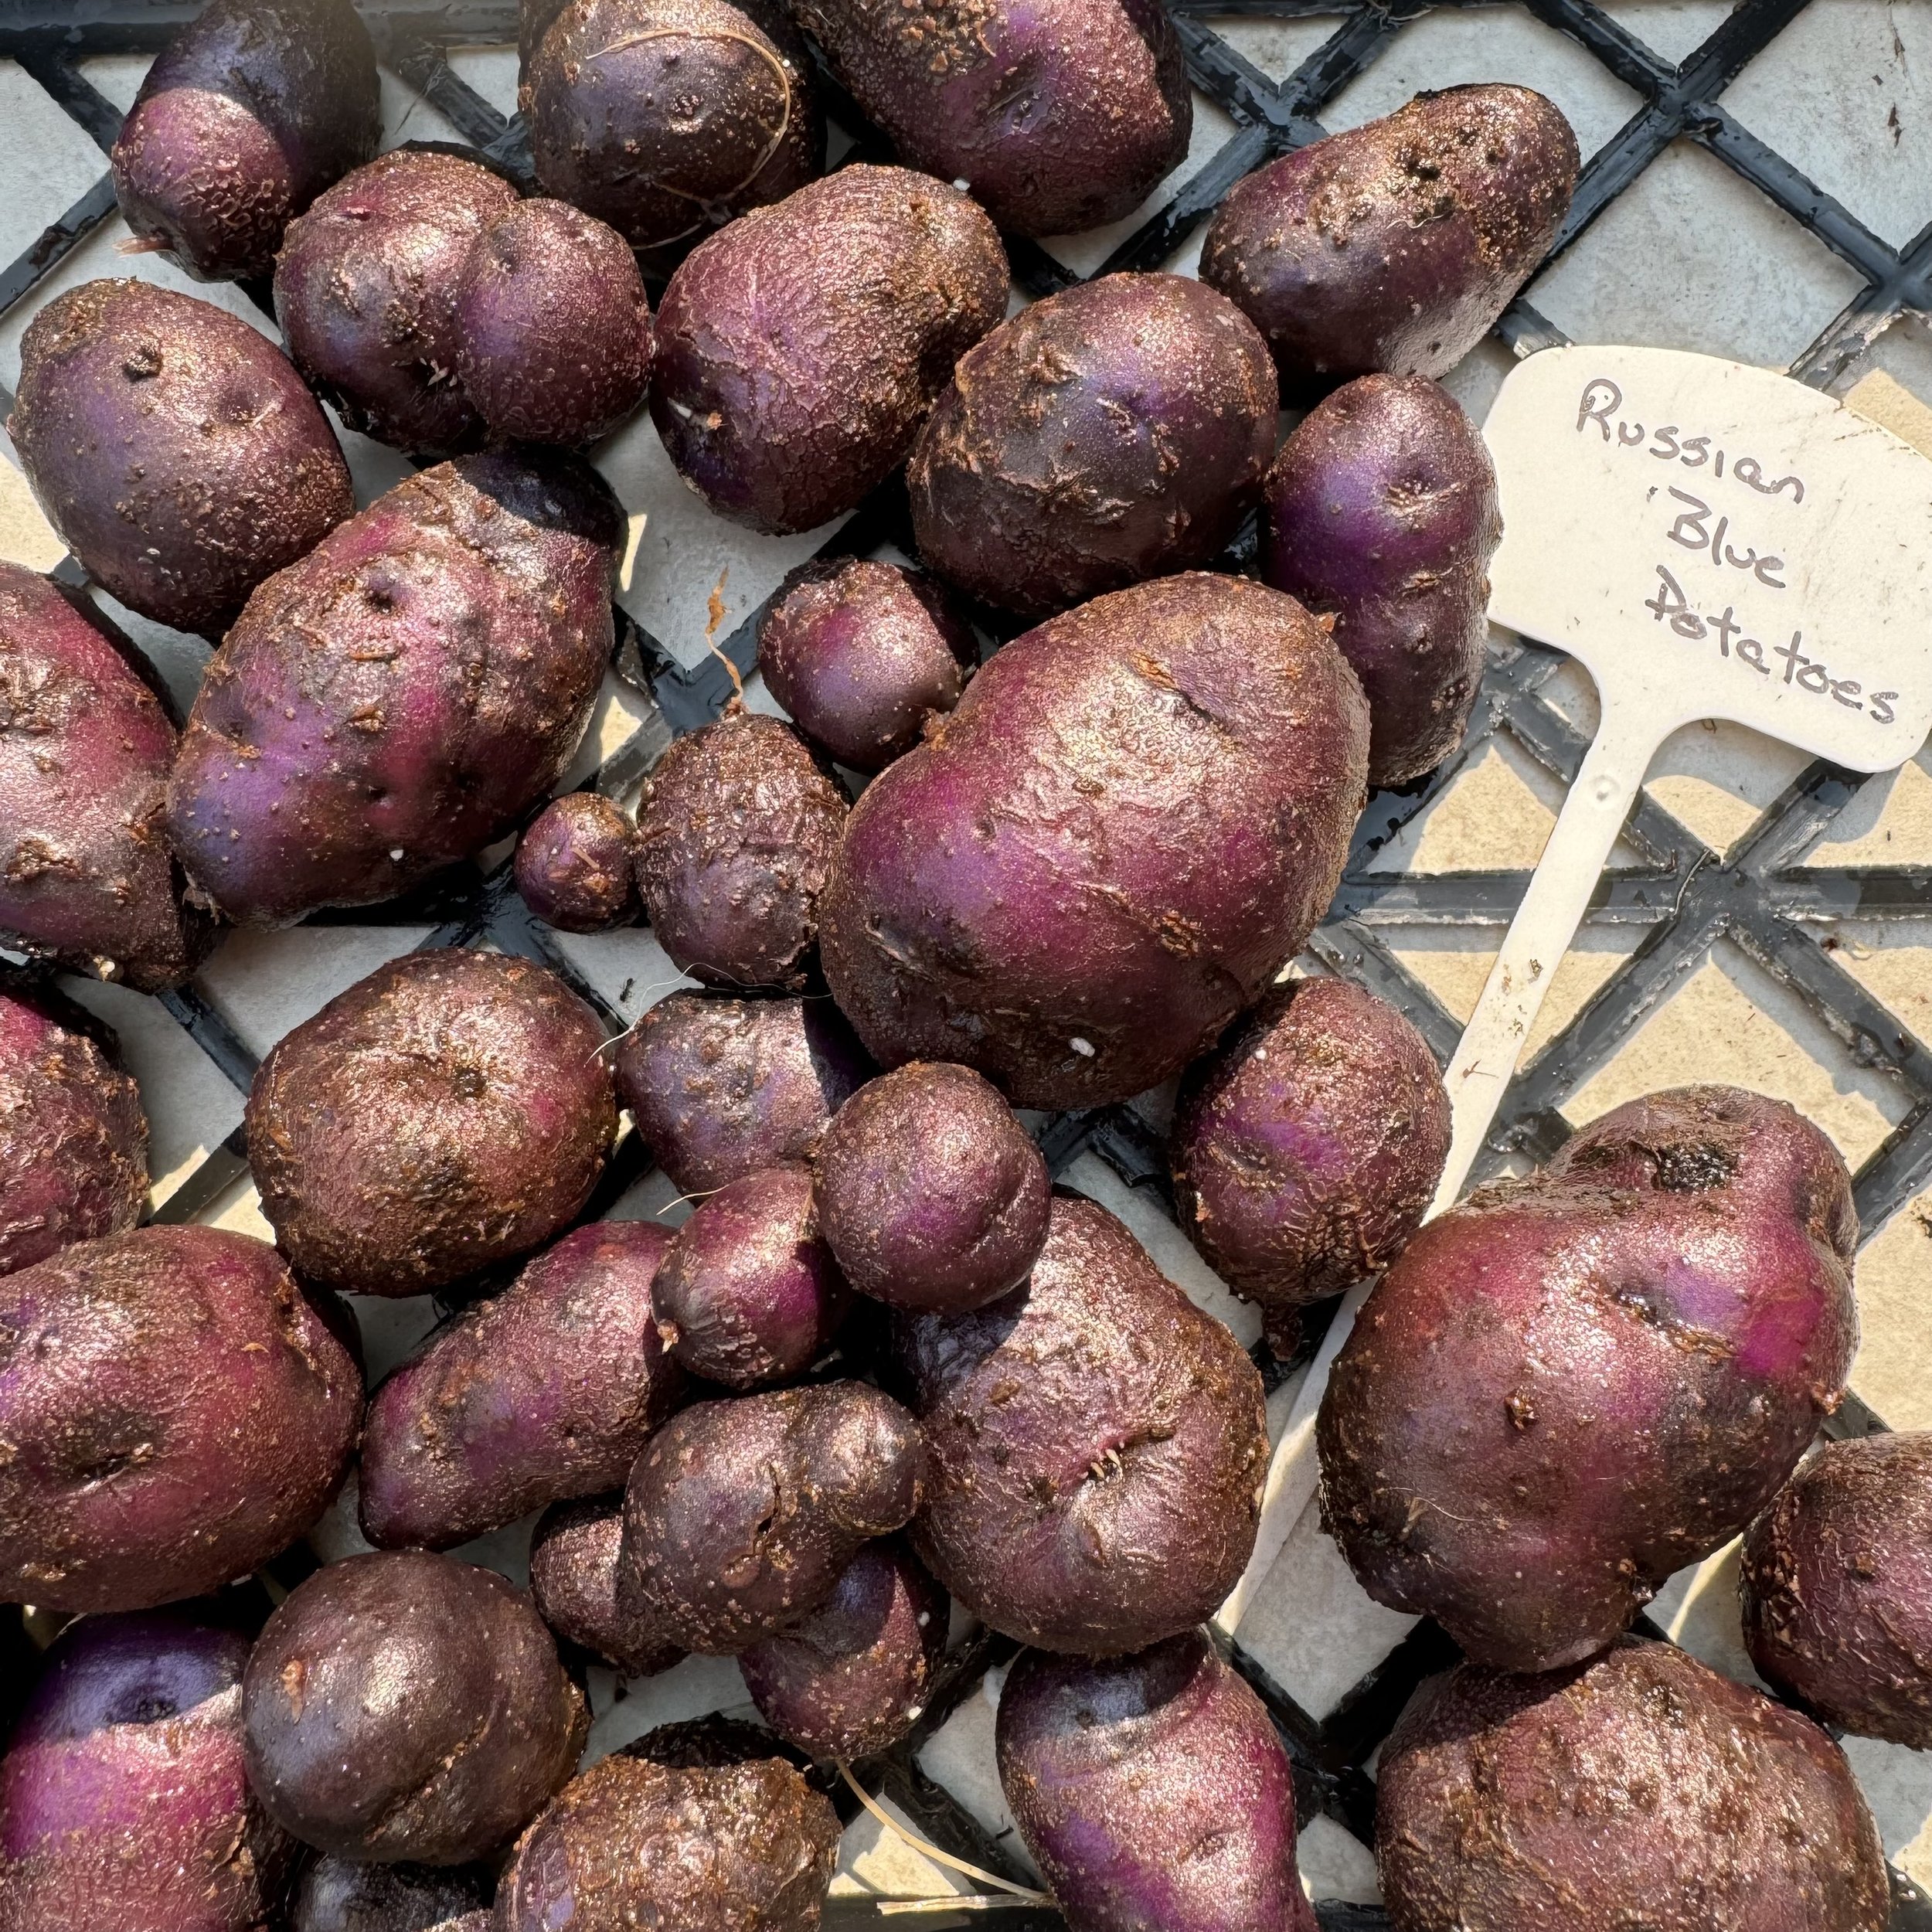
Russian Blue
Each one was a joy to grow and even better to taste!
The Simple Steps to Potato Magic
Find the Right Seed Potatoes: I picked heritage varieties for something special.
Prepare the Seed Potatoes: Cut them into chunks, making sure each piece has one or two eyes (growth nodes). Let them sit for a couple of days to form a protective skin (callus).
Prep the Grow Bags: Fill the bags with about 10 inches of healthy, nutrient-rich soil. Roll down the sides for easy access.
Plant: Place the potato pieces a couple of inches deep in the soil with the nodes facing up.
Sun and Water: Put the bags in a sunny spot. Our sprinkler system took care of watering (though I’m switching to drip irrigation next season!).
Hill Up the Soil: When the potato plants reached about 8 inches tall, I rolled up the sides of the grow bags and covered about 6 inches of the stalks with more soil.
Watch Them Grow: The plants flourished!
How to Harvest the Magic
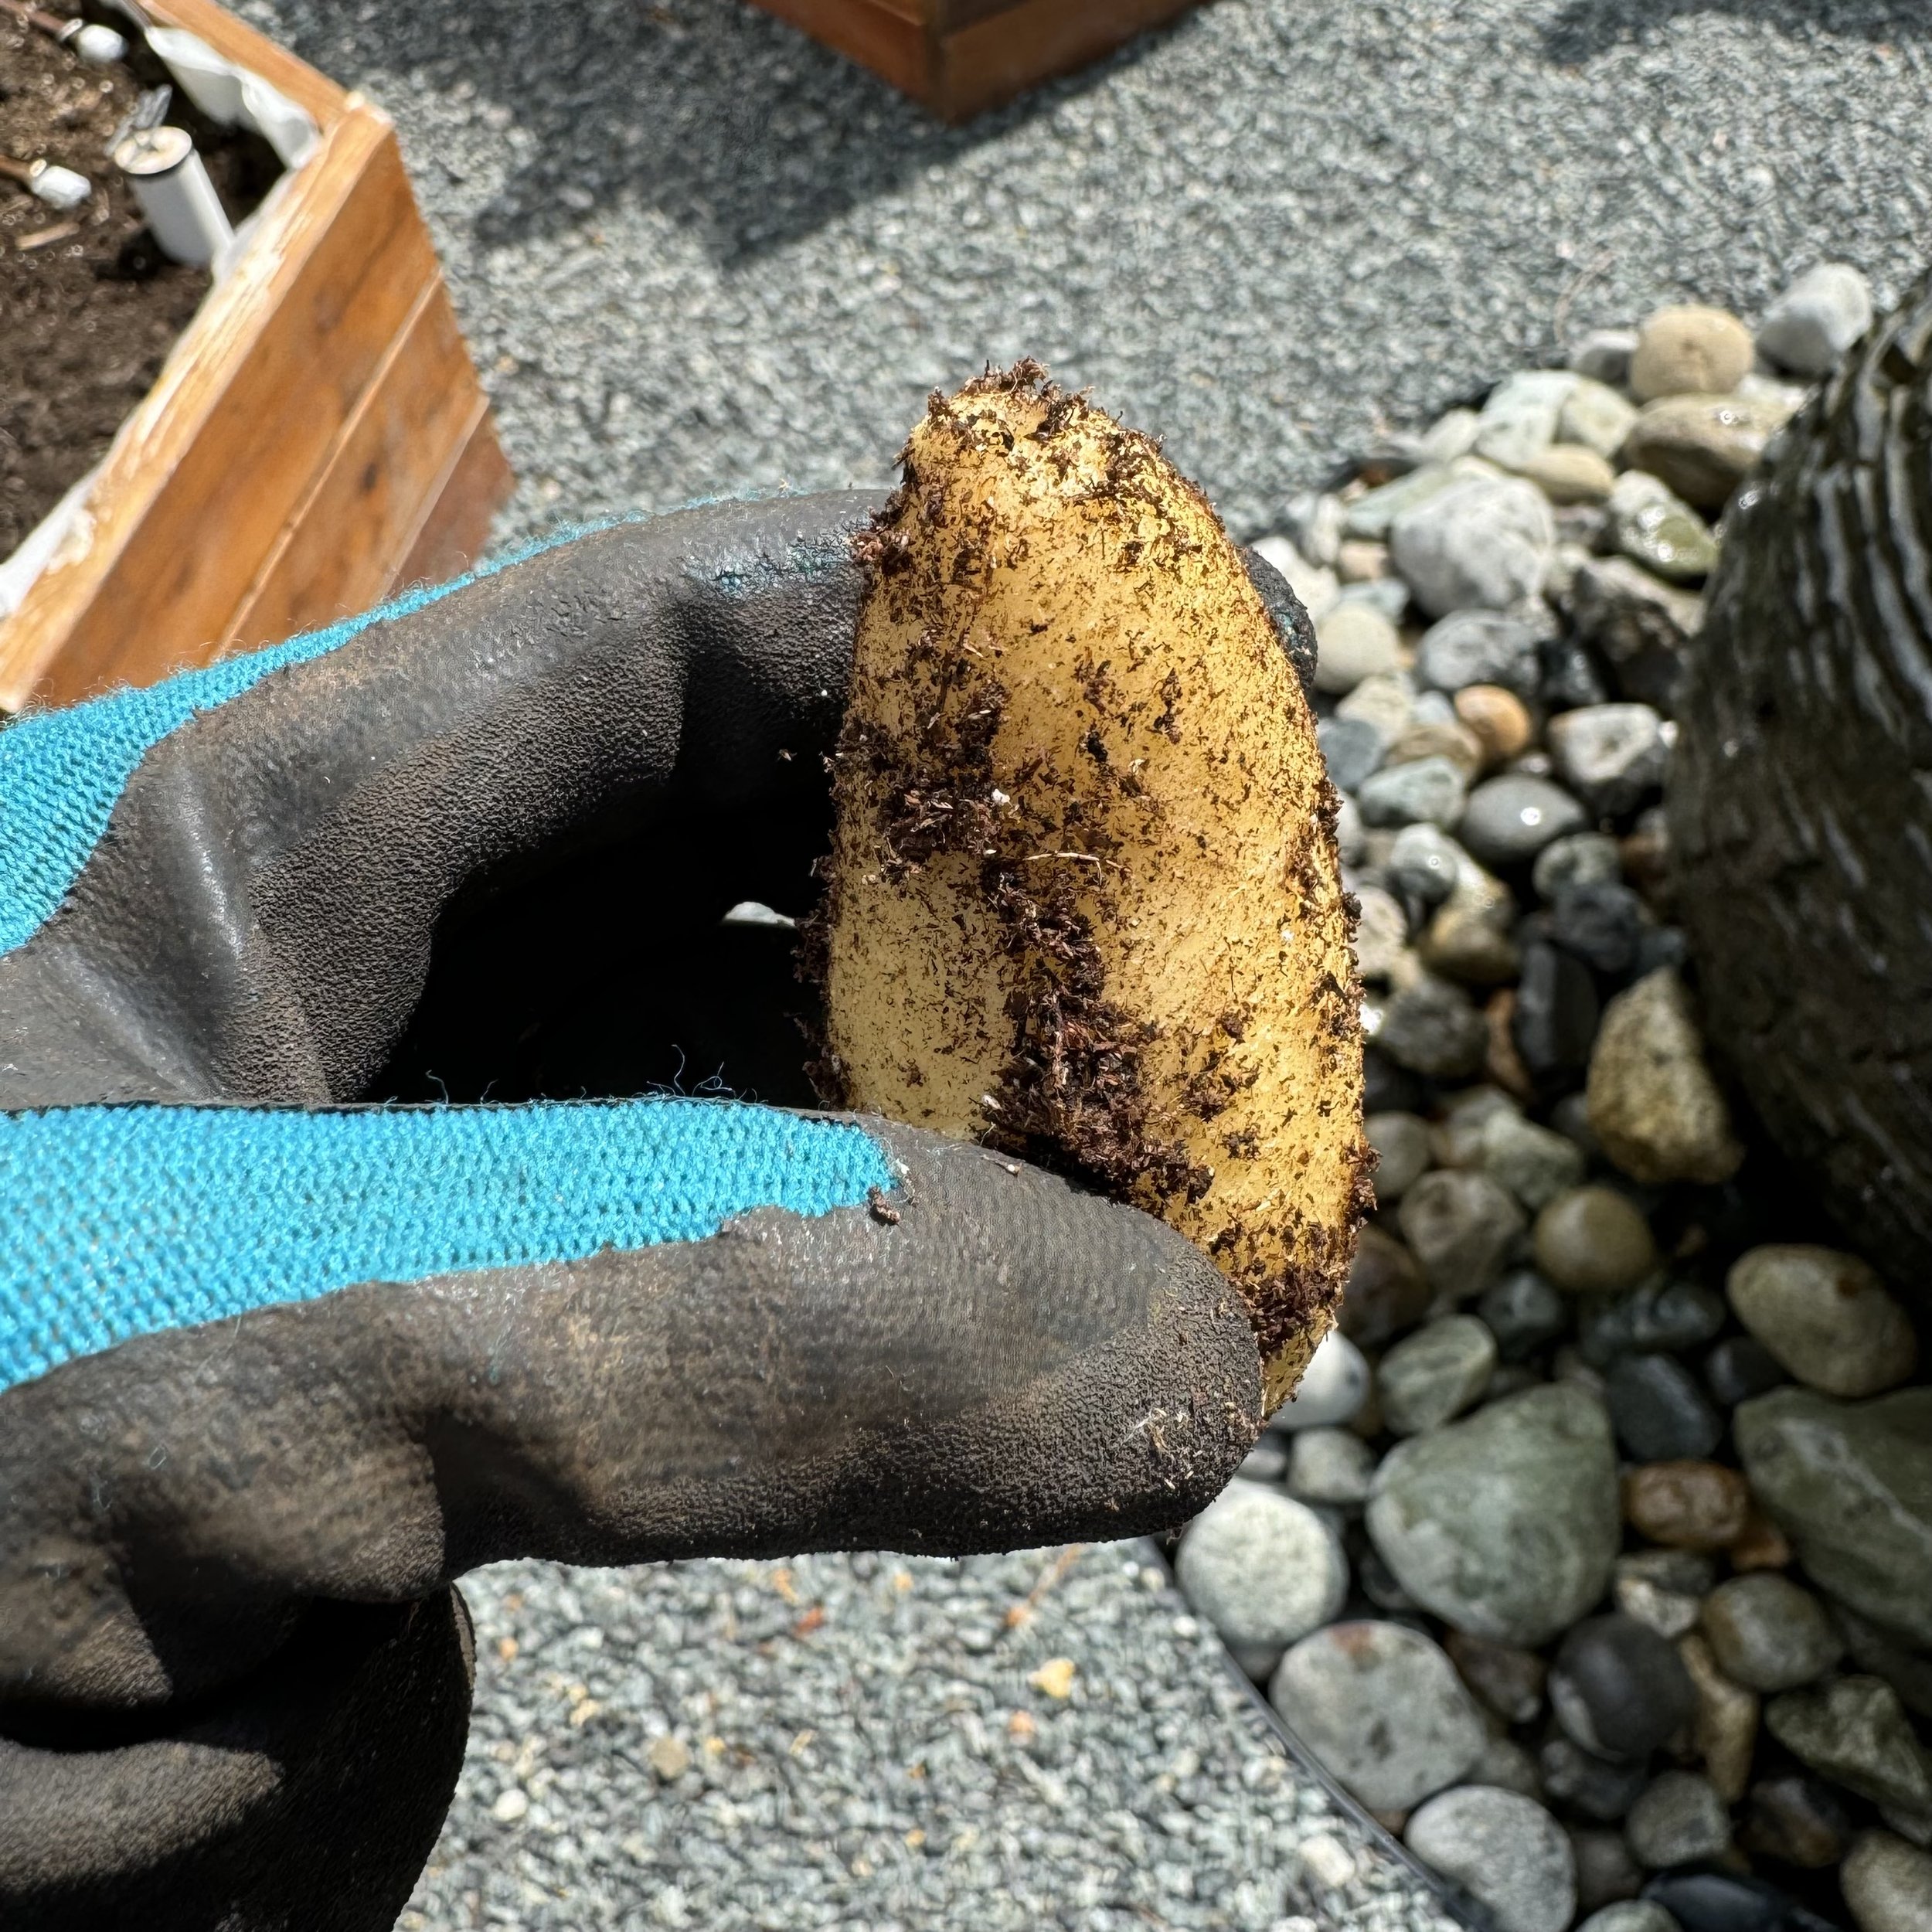
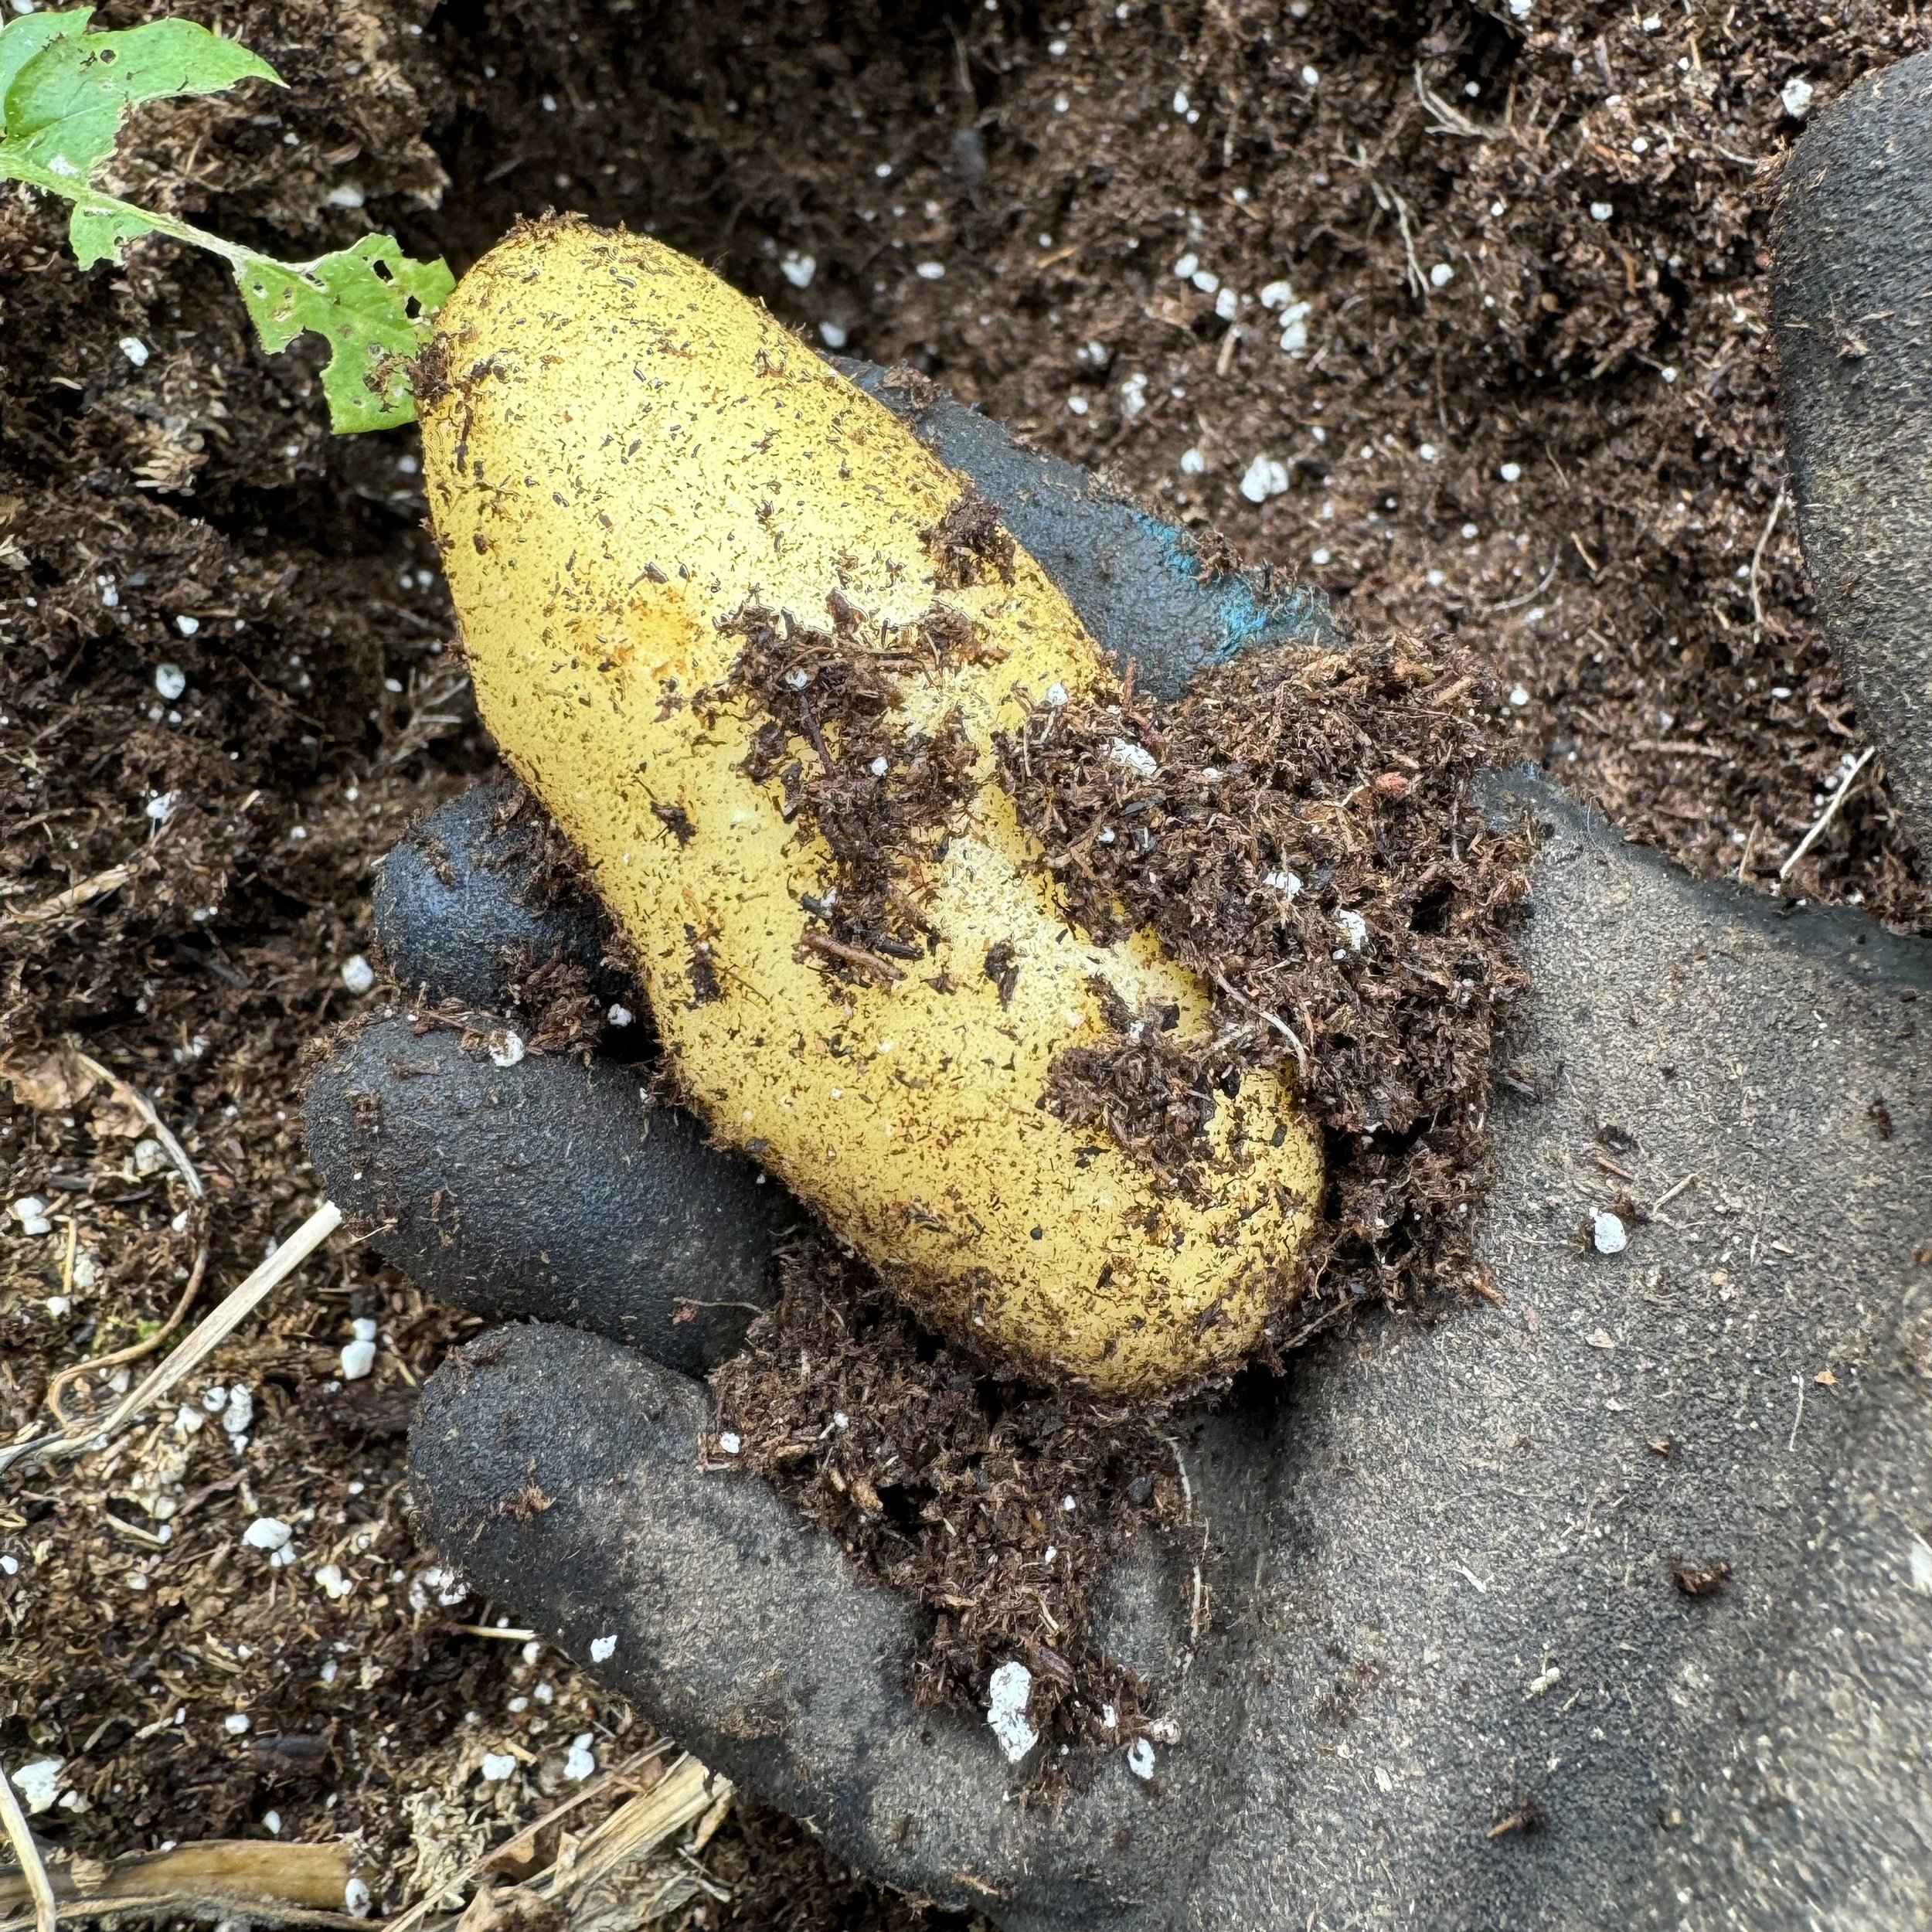
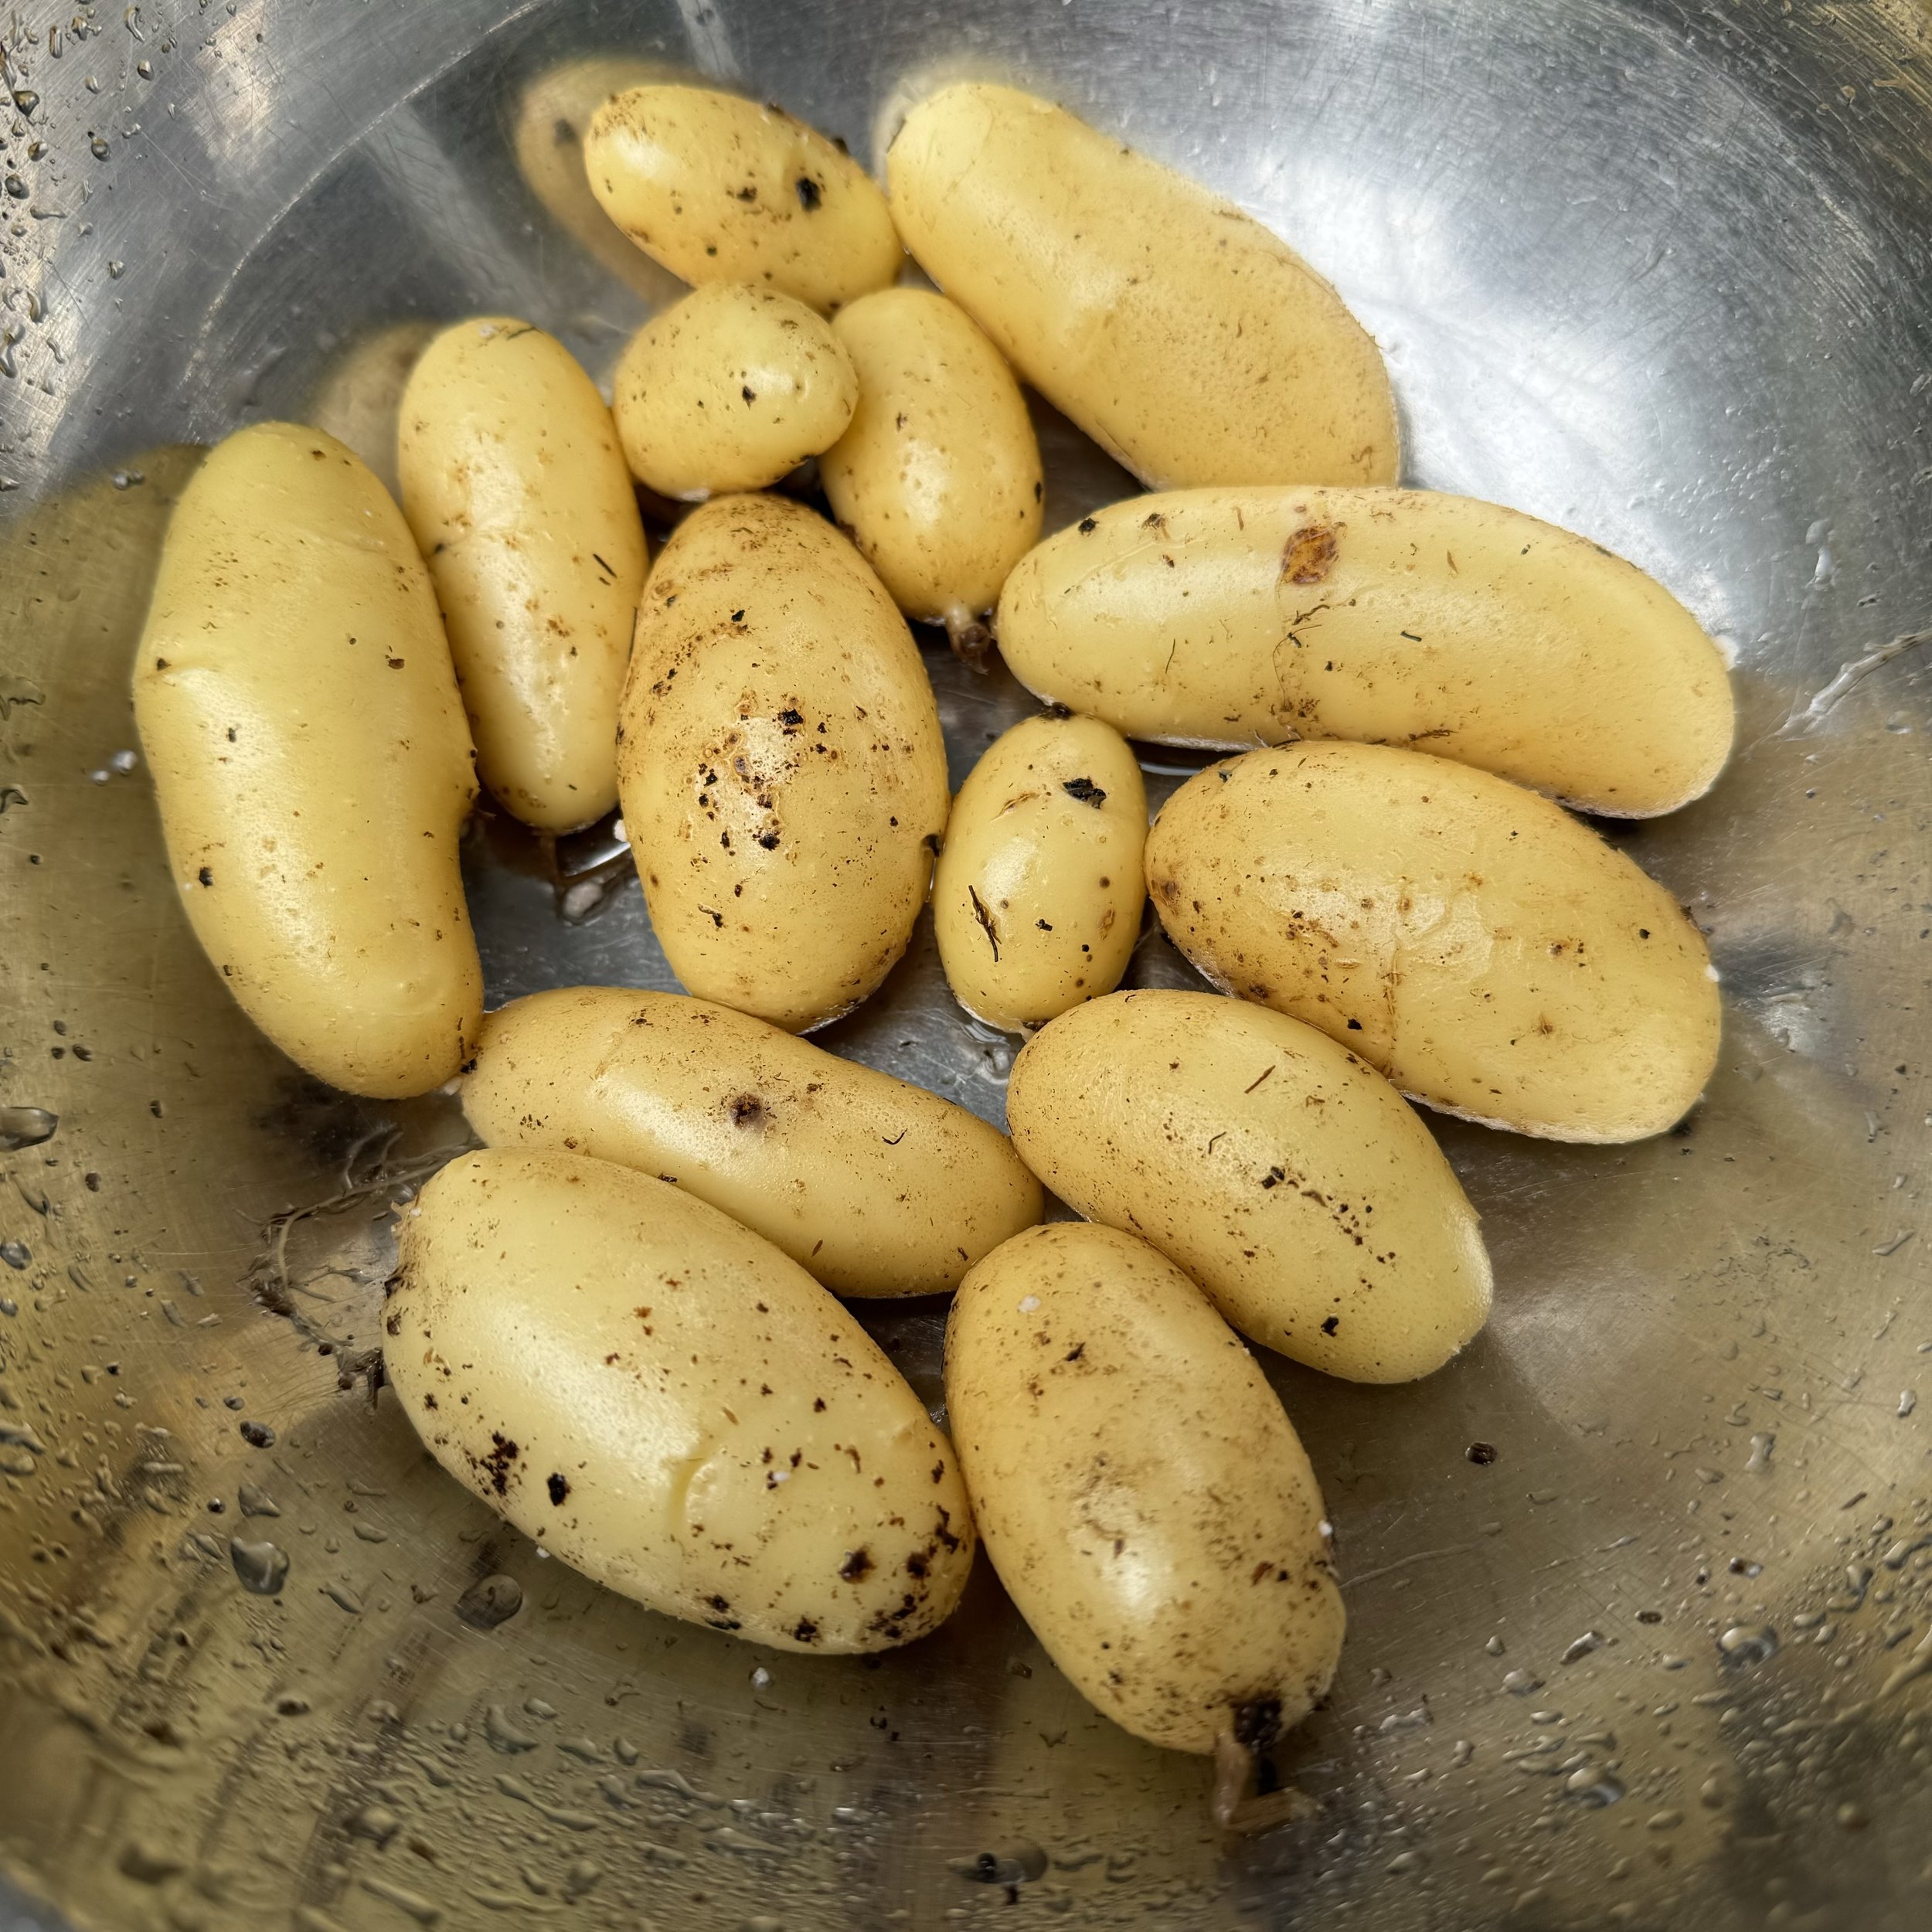
When the leaves started to turn yellow, I knew it was time for the big reveal! To harvest, we carefully tipped the grow bag into a wheelbarrow at a slow and steady pace, pulling out the potatoes as they appeared. It was sooo satisfying to watch those gorgeous spuds emerge from the soil. After the treasure hunt was complete, we gave them a good rinse with the hose to wash off the dirt.
Pure Gardening Joy
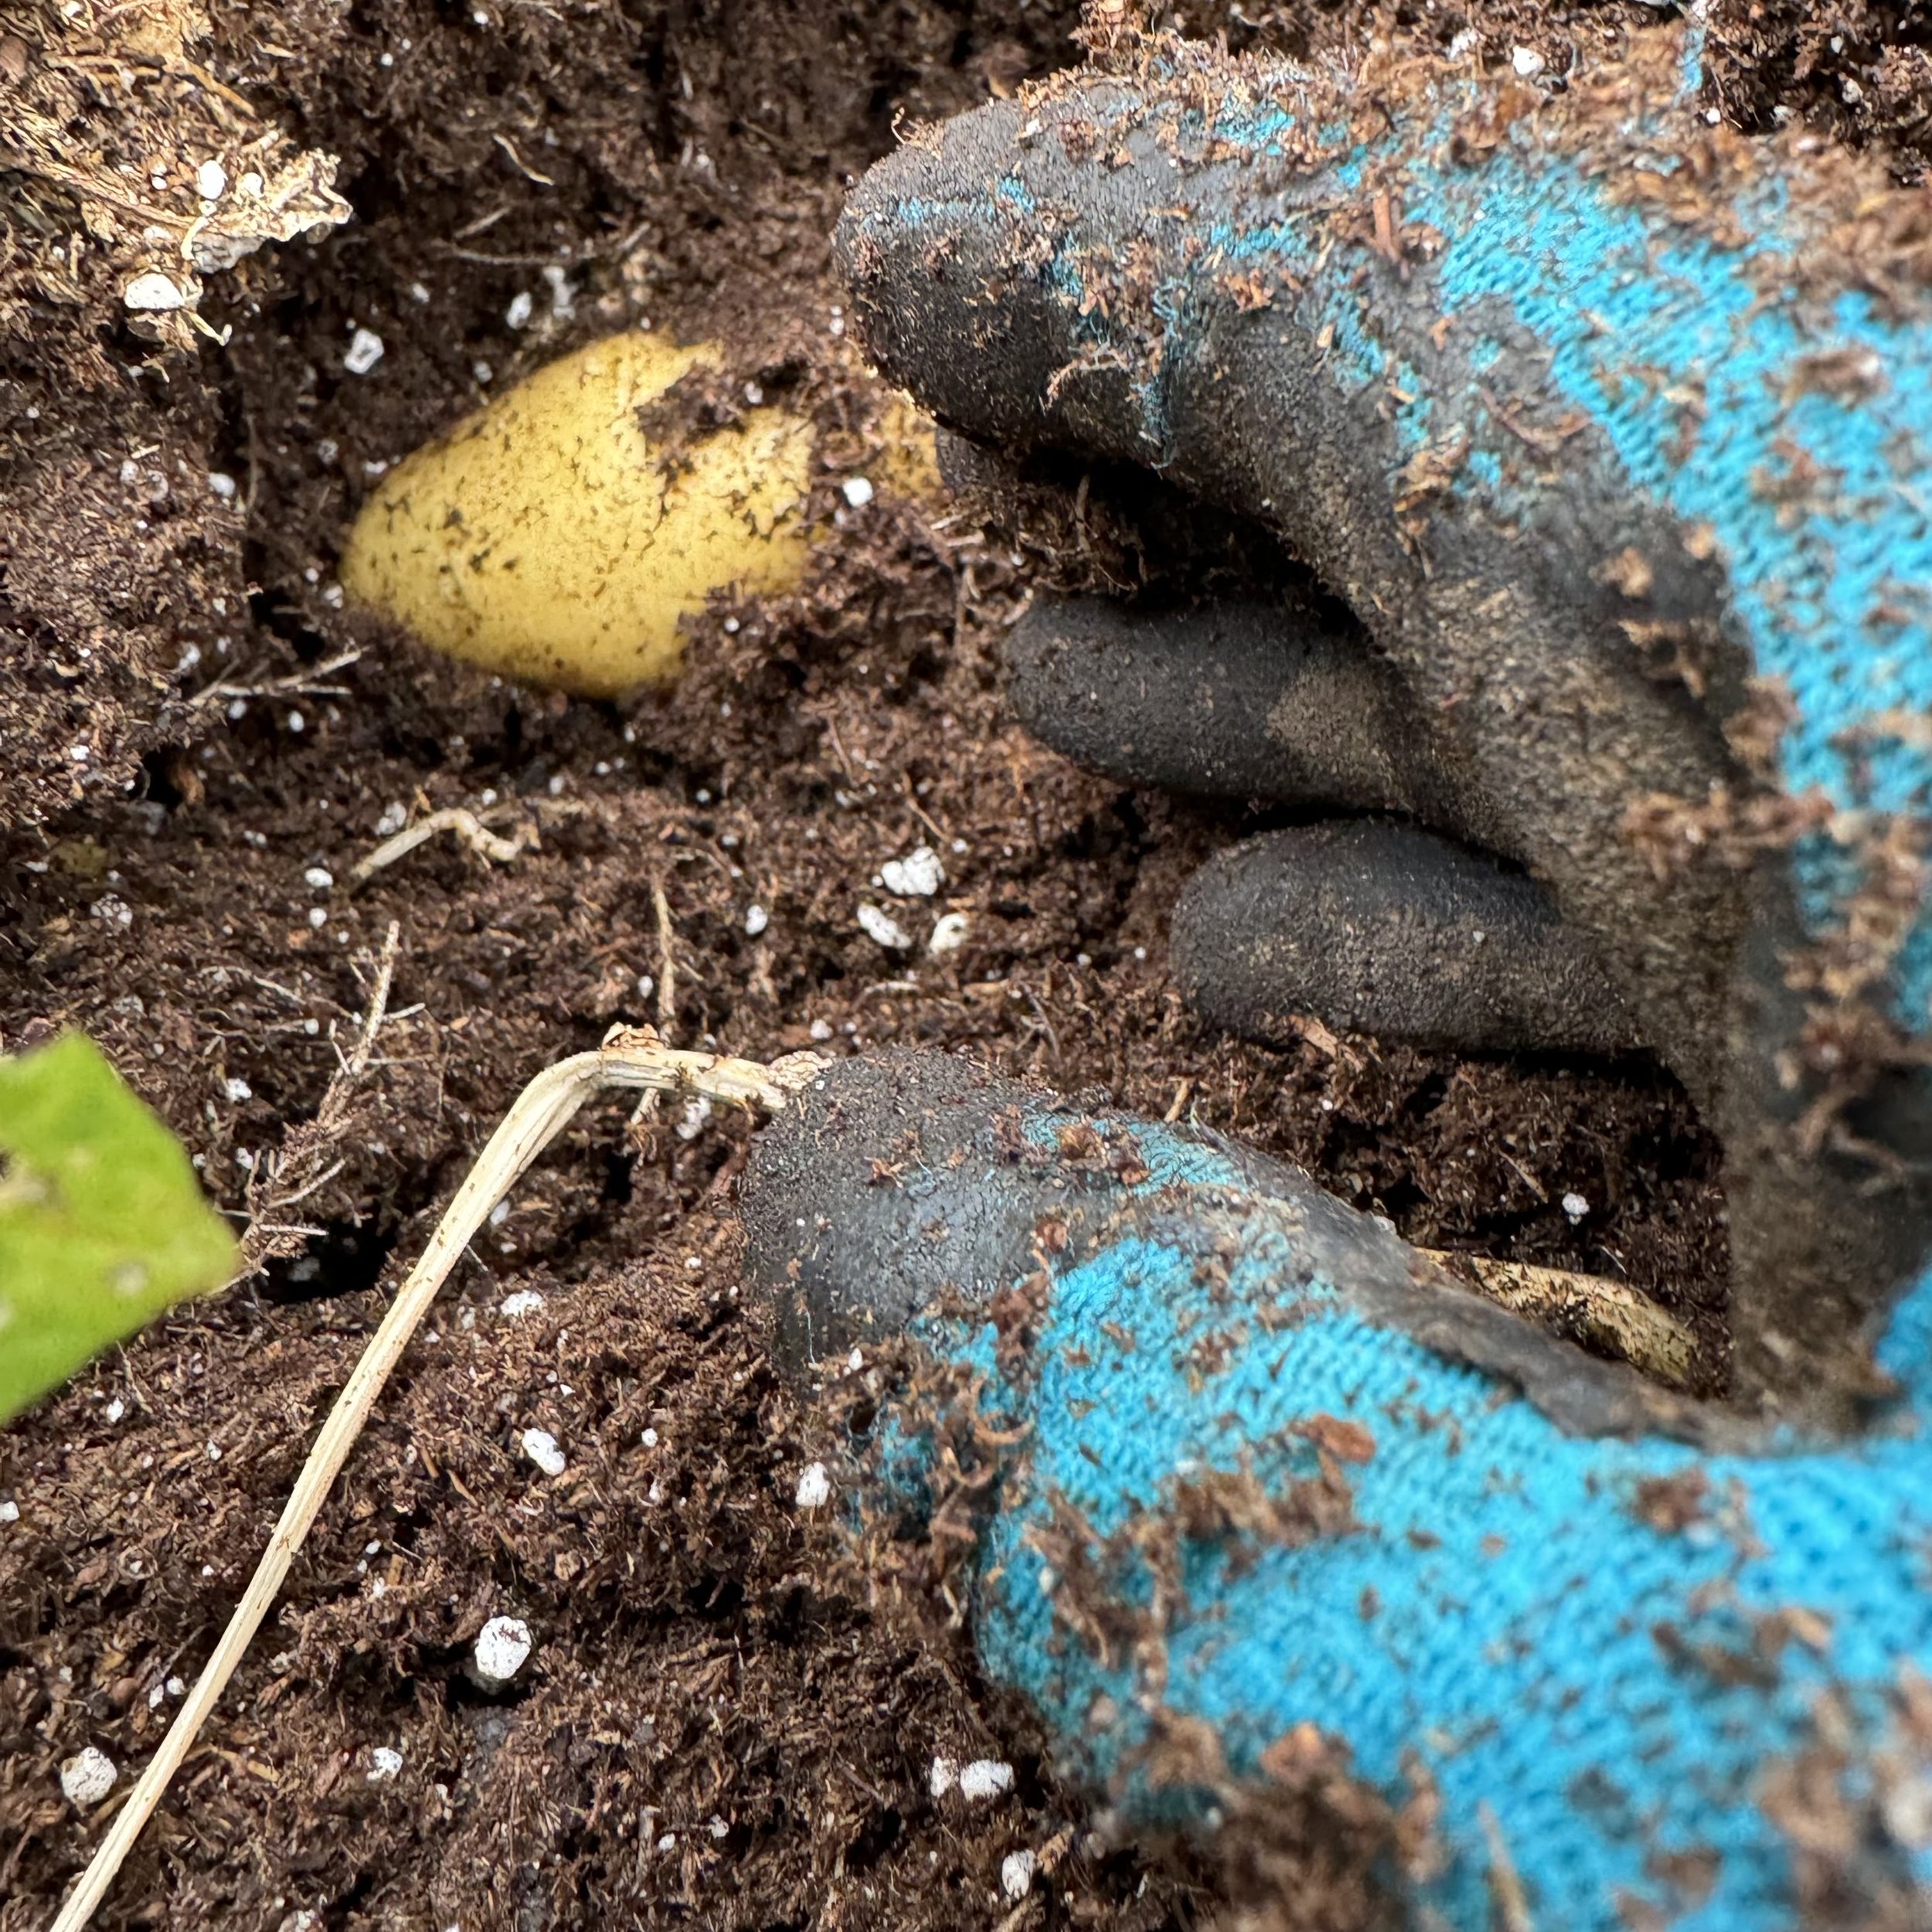
There’s nothing like the thrill of reaching into the soil and pulling out a perfect, homegrown potato. It took me back to a moment 20 years ago when I watched a neighbor casually dig her hand into a mound of dirt and pull out a potato. It felt like magic then, and it feels like magic now.
I only wish I’d started planting potatoes years ago, but this is definitely a case of better late than never!
I learned so much from this experience, mostly online (there’s a ton of info out there), but here’s the simplest guide:
Plant prepared potato chunks with the nodes facing up in about 6 inches of healthy soil.
Cover with 4 inches of soil.
Keep them in a sunny spot and water regularly.
Add soil as the plants grow until the bag is full.
When the leaves turn yellow, tip the bag gently into a wheelbarrow, harvest the potatoes, and give them a hose-down.
And a special shout-out to my wonderful helper who saved me at the start when those soil bags turned out to be way too big and heavy for me to lift. ;)
This was pure joy from start to finish. I can’t wait to do it all over again next year! 🥔❤️
These lettuces have been ‘growing’ for months!!


