

Raincoast Crisps
Homemade Gourmet Crackers: The Genuine Article
Many years ago, a local caterer had a signature recipe that quickly became a hit: these incredible little gourmet crackers. The story goes that they were so popular she expanded her business to mass-produce them for grocery stores—at a hefty price, of course.
Fast forward to 2006. I found myself at a sporting tournament with my kids, and somehow, these crackers and their cost came up in conversation. That chat led to the budding of a lifelong friendship with a fellow home cook and foodie. Lucky for me, she shared this recipe—and I’ve been making them ever since!
Recently, I misplaced my hard copy of the recipe and thought I’d track it down online. I found something vaguely similarthat claimed to be the real deal. Well, let me tell you—it wasn’t. Man-oh-man, was I disappointed!
The recipe below? This is the genuine article. While it does take a little advance planning, one batch makes plenty of these delicious crackers, and they’re 100% worth the effort.
Whether you’re serving them at a gathering, pairing them with cheese, or just enjoying them on their own, these gourmet crackers are guaranteed to impress. Trust me, once you try them, you’ll never need the store-bought version again! ❤️🧀✨
Raincoast Crisps
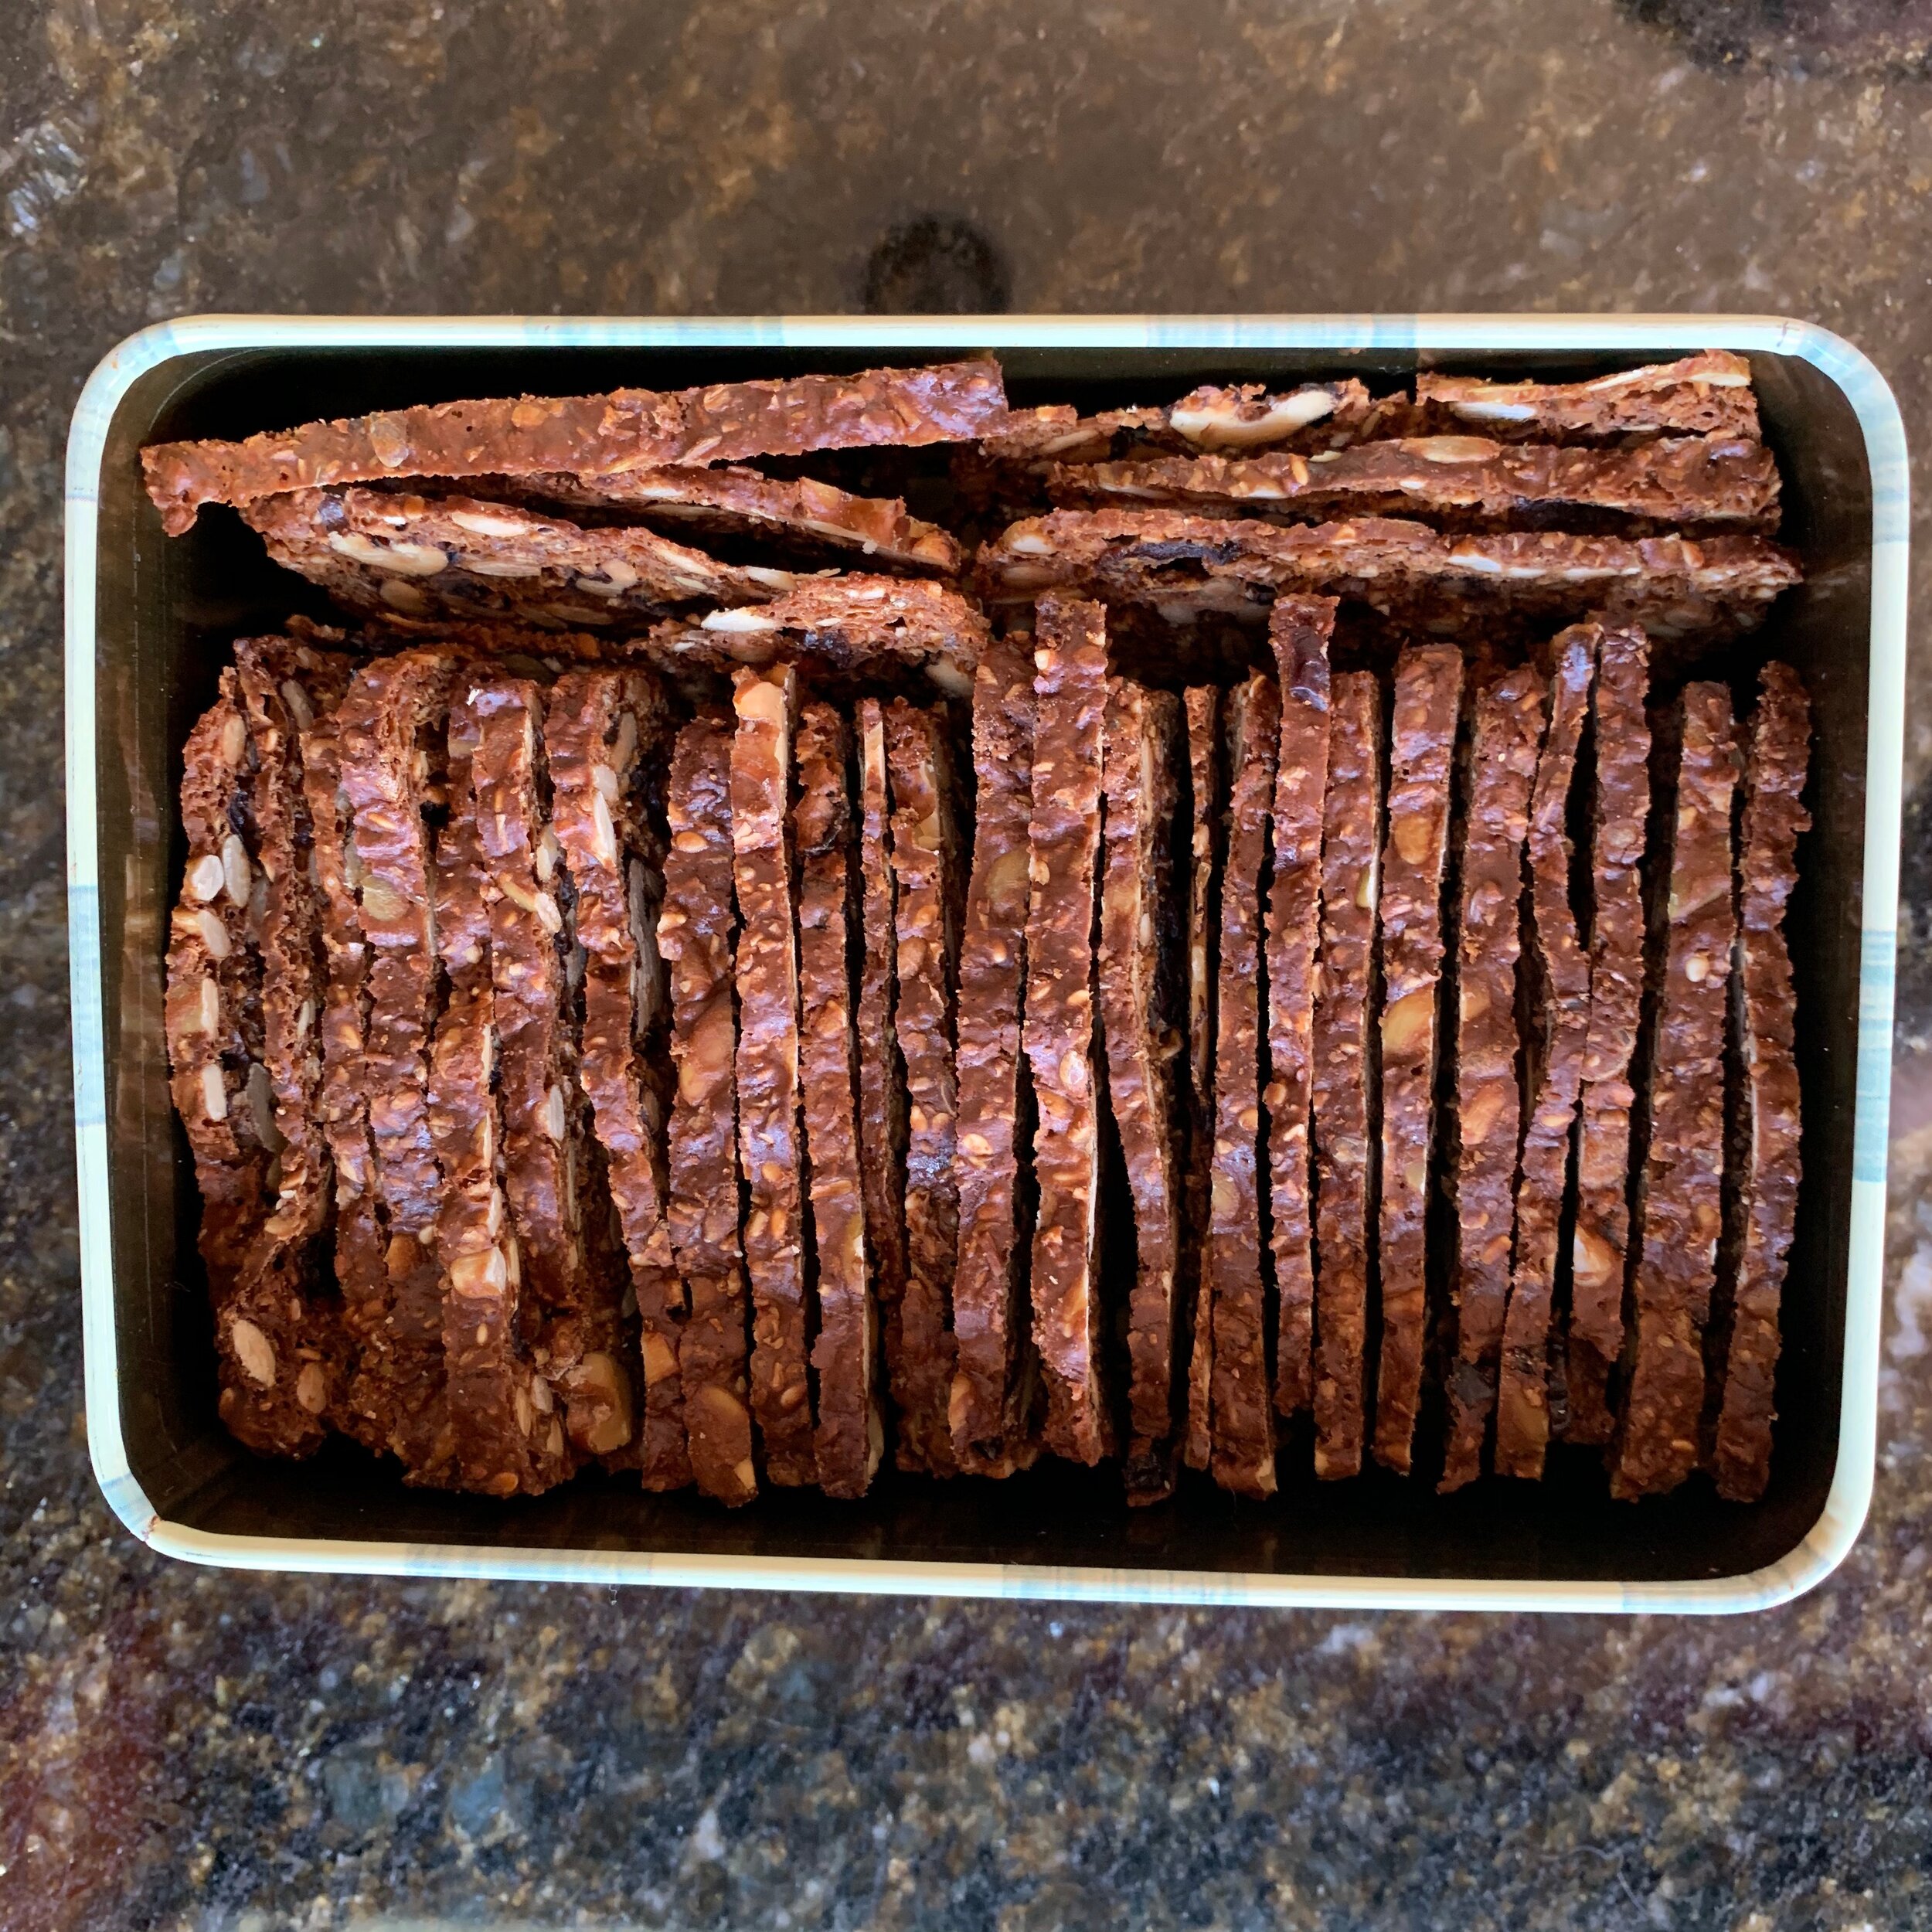
Special Note: The effort involved in this recipe is the minimum 2 days to make because they are twice baked. The little loaves are baked the first day, cooled and then wrapped and refrigerated. The next day the loaves are thinly sliced and slow baked (really more dried out than baked) in a low temperature oven. And then Voila - little crispy crunchy nutritious gourmet crackers great on their own, with nut butters, with cheese, etc…


Ingredients:
2c whole wheat flour
1tsp salt
21/2tsp baking soda
1/4c firmly packed brown sugar
2tbsp flax seeds
2tbsp sesame seeds
2tbsp millet (or poppy seeds)
1c pumpkin seeds (or coarsely chopped walnuts, cashews or pecans…or a combination adding to 1c)
1/2c raw sunflower seeds
1/3c craisins
2c buttermilk
1/4c molasses
Instructions:
Preheat oven to 350 degrees F. Butter 4 small loaf pans loaf pans.
Mix flour, salt, brown sugar,baking soda, nuts, seeds and craisins in a medium size bowl
Stir the buttermilk and molasses together.
Pour the wet ingredients over the dry ingredients. Stir to combine.
Evenly distribute the batter between the 4 buttered loaf pans and smooth the tops.
Bake for 45 - 55 minutes - until tops feel firm when touched and bamboo skewer inserted in center comes out clean.
Cool slightly, remove from pans and cool on rack.
Wrap cooled loaves in waxed paper or tin foil and refrigerate overnight.
The next day, preheat oven to 250 degrees f.
Unwrap one loaf at a time. Slice the loaves as thinly as possible with a serrated edge bread knife.
Lay slices on a cookie sheet and bake/dry until crisp…about 1 hour.
You want to dry them at this stage not so much as bake them so that the seeds stay bright. The colour of the cracker is already rich enough.


