Creme Brûlée without a Blowtorch!
Maple Crème Brûlée: A Lighter Twist on a Classic
I hadn’t made crème brûlée in decades, but the other day, I found myself with four leftover egg yolks from another recipe. What’s a girl to do but hop online and search for “egg yolk recipes”? That’s when I was reminded of the timeless charm of crème brûlée.
Now, here’s the thing: the magic of crème brûlée lies in its sugary, crunchy topping, usually achieved with a kitchen blowtorch. But blowtorches? Not my thing—way too scary for me! 😂
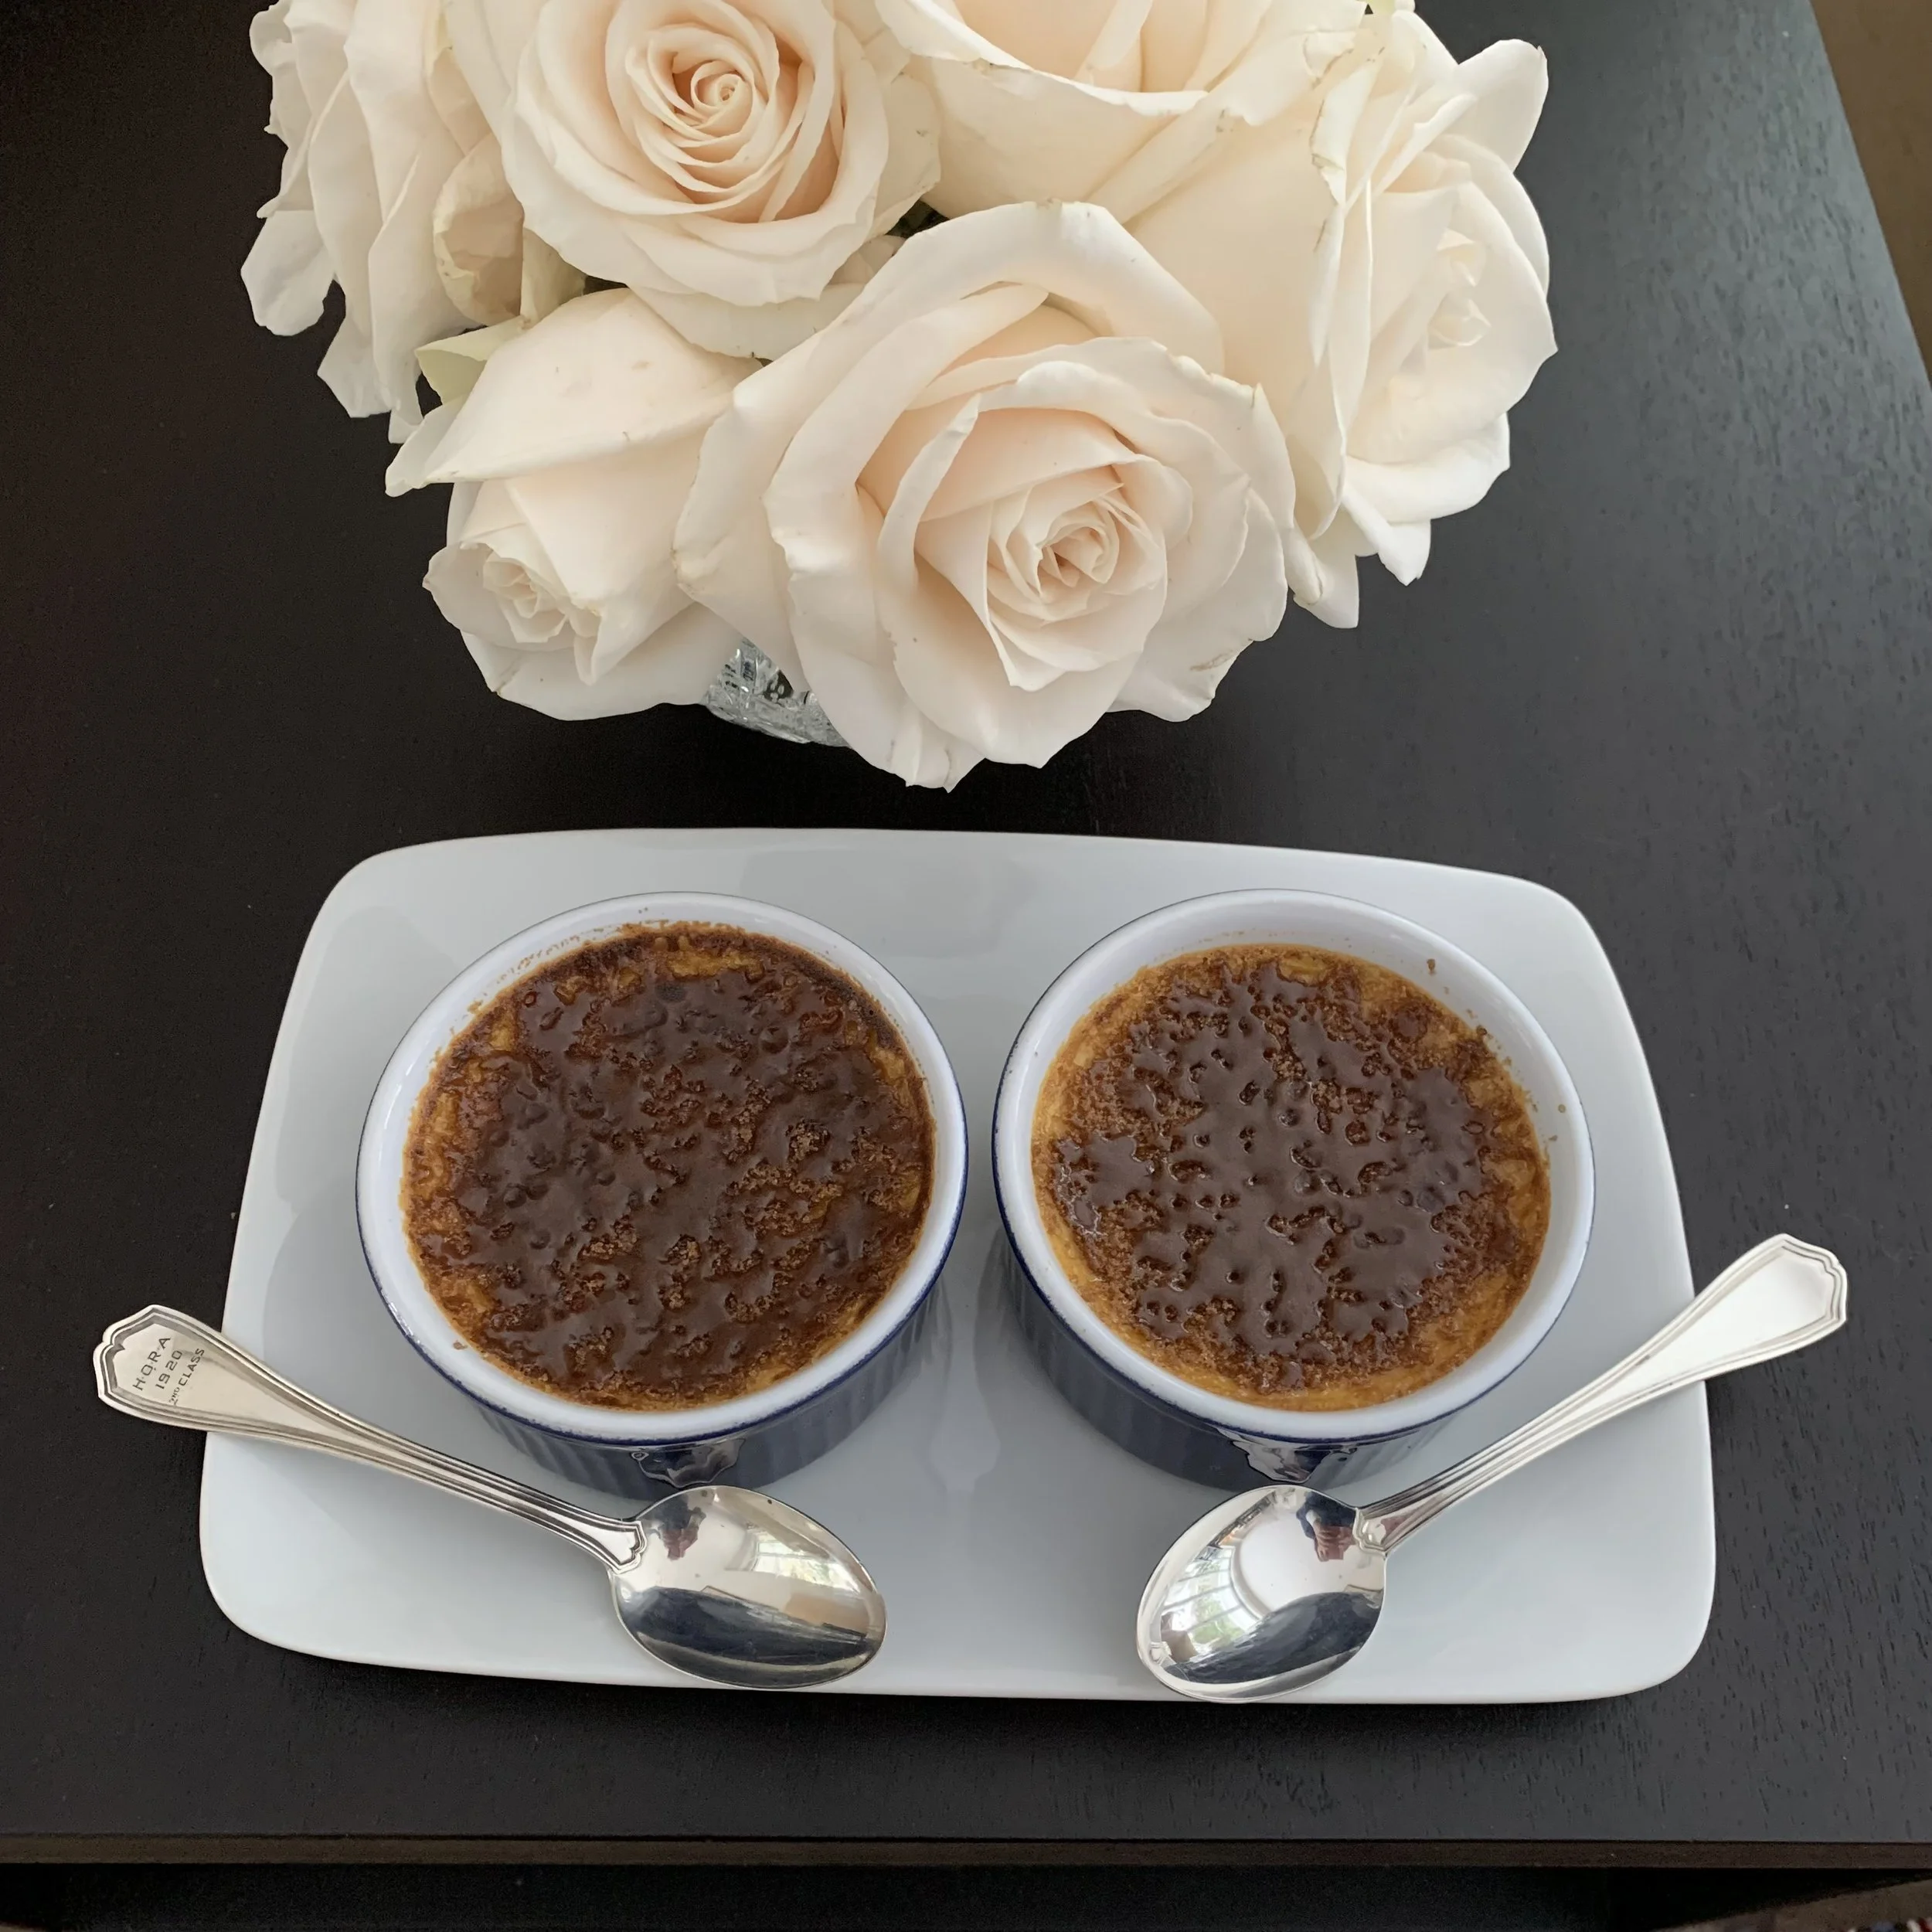
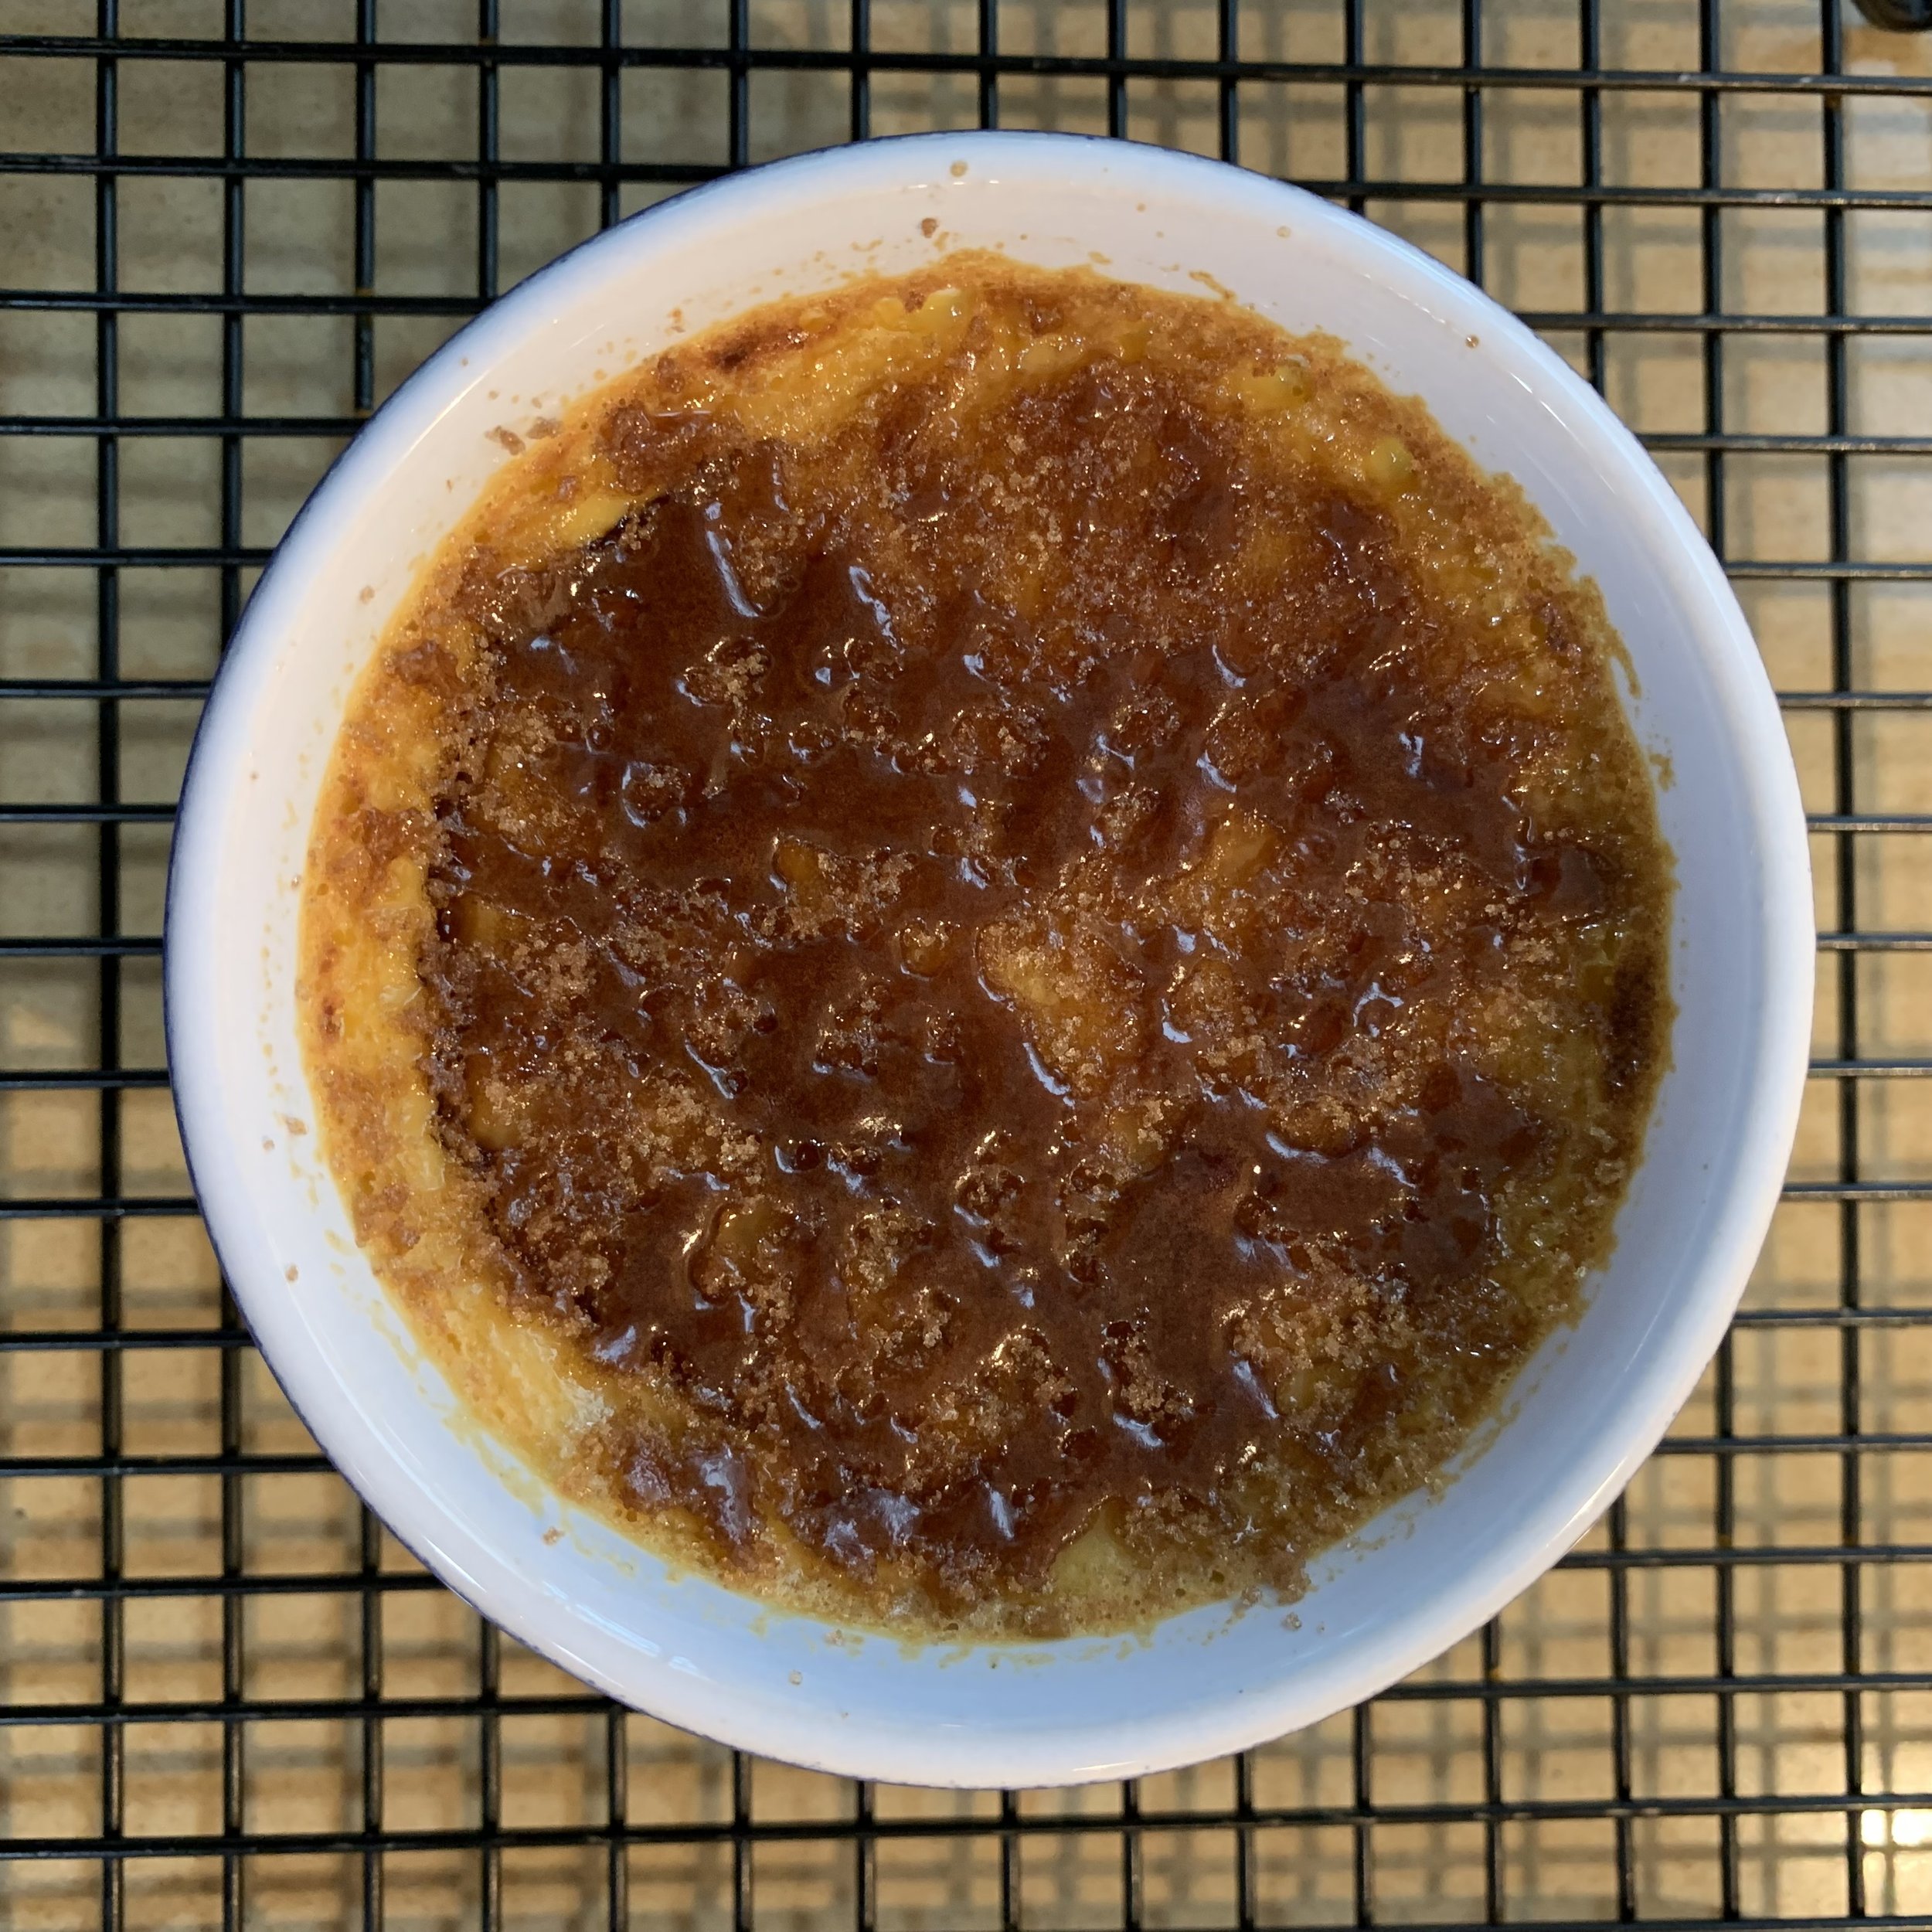
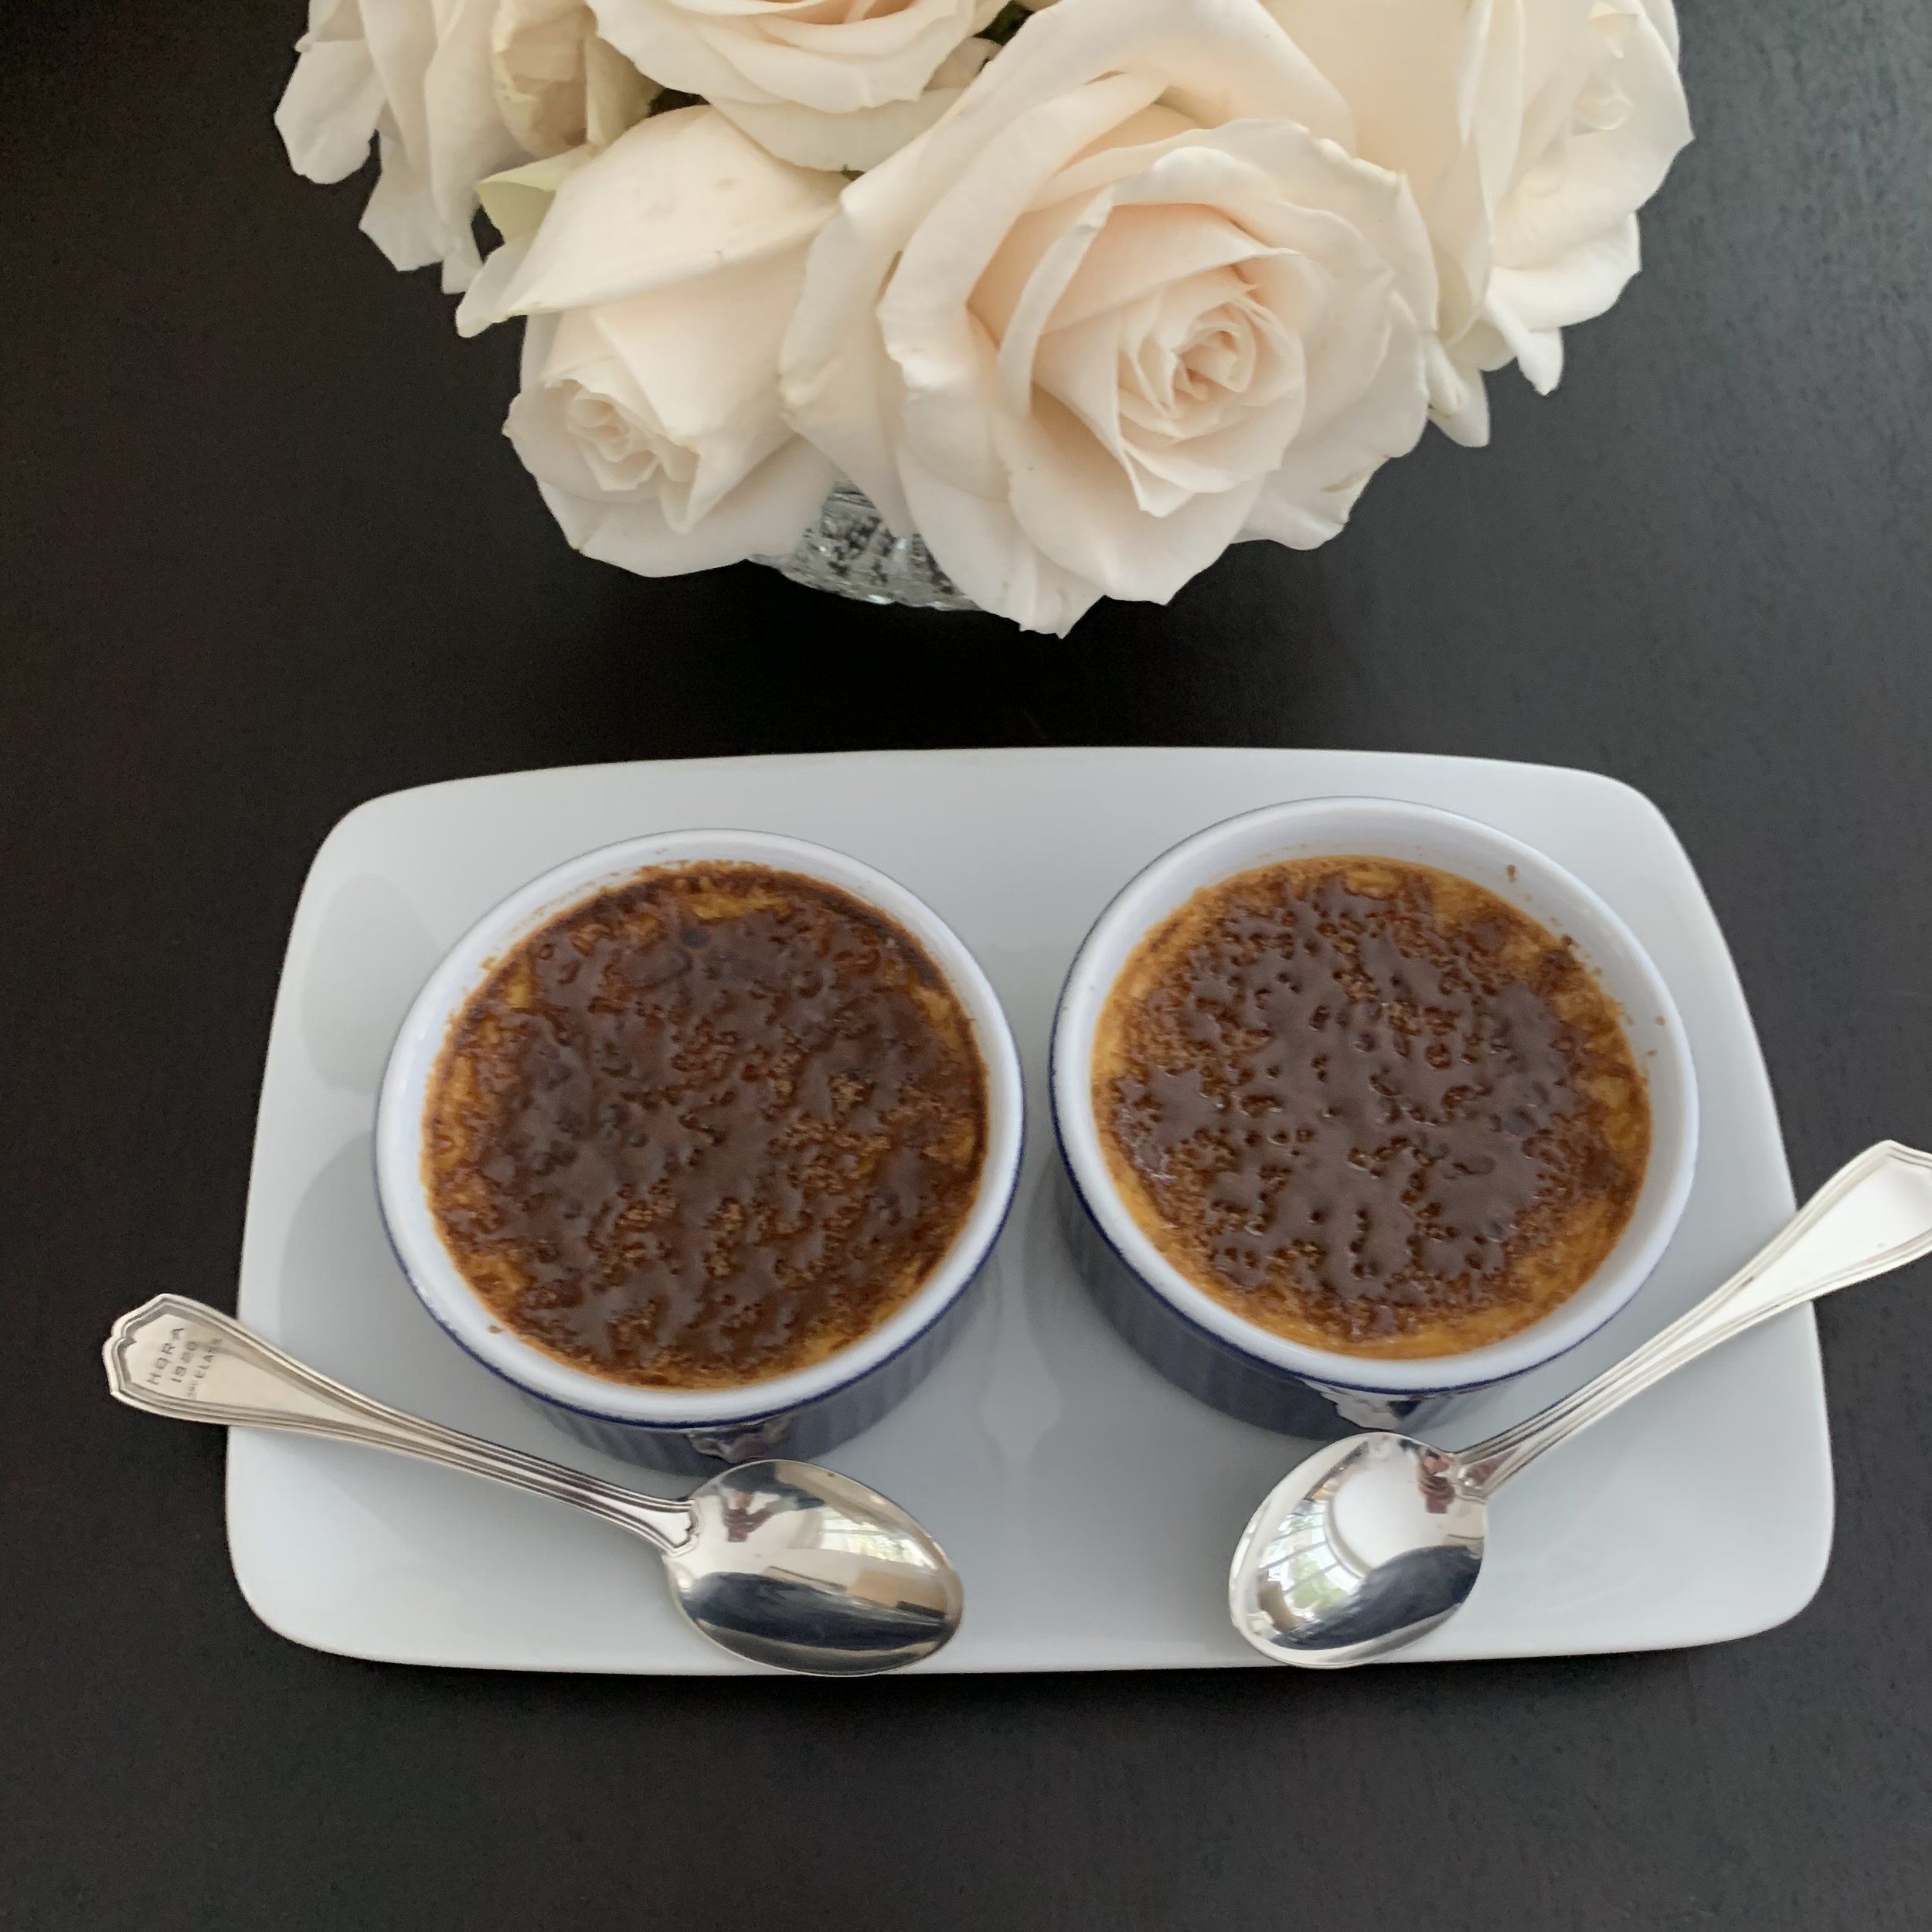
So, after a bit of experimenting, I cobbled together this version using what I had on hand: skim milk instead of cream and a topping that didn’t require any fire-starting equipment. The result? A lighter, flavorful crème brûlée infused with the subtle sweetness of maple syrup and topped with brown sugar, patiently caramelized for that perfect crunch.
While it may not have the richness of the traditional cream-based version, this recipe is light, delicious, and still feels indulgent. It’s an easy, elegant dessert that’s perfect for special occasions, like New Year’s Eve—or whenever you want to treat yourself.
No blowtorch? No problem. This maple crème brûlée will still impress and delight. Give it a try and enjoy every light, crunchy bite! ❤️🍮✨
Creme Brûlée without a Blowtorch Recipe
Special Note: These were perfect the first night and great the next day but, unexpectedly, overnight in the fridge the crunchy topping turned to liquid…weird, huh? :)
Also, ‘tempering’ is a step in this recipe that must be handled carefully in order to not end up with ‘scrambled’ eggs.
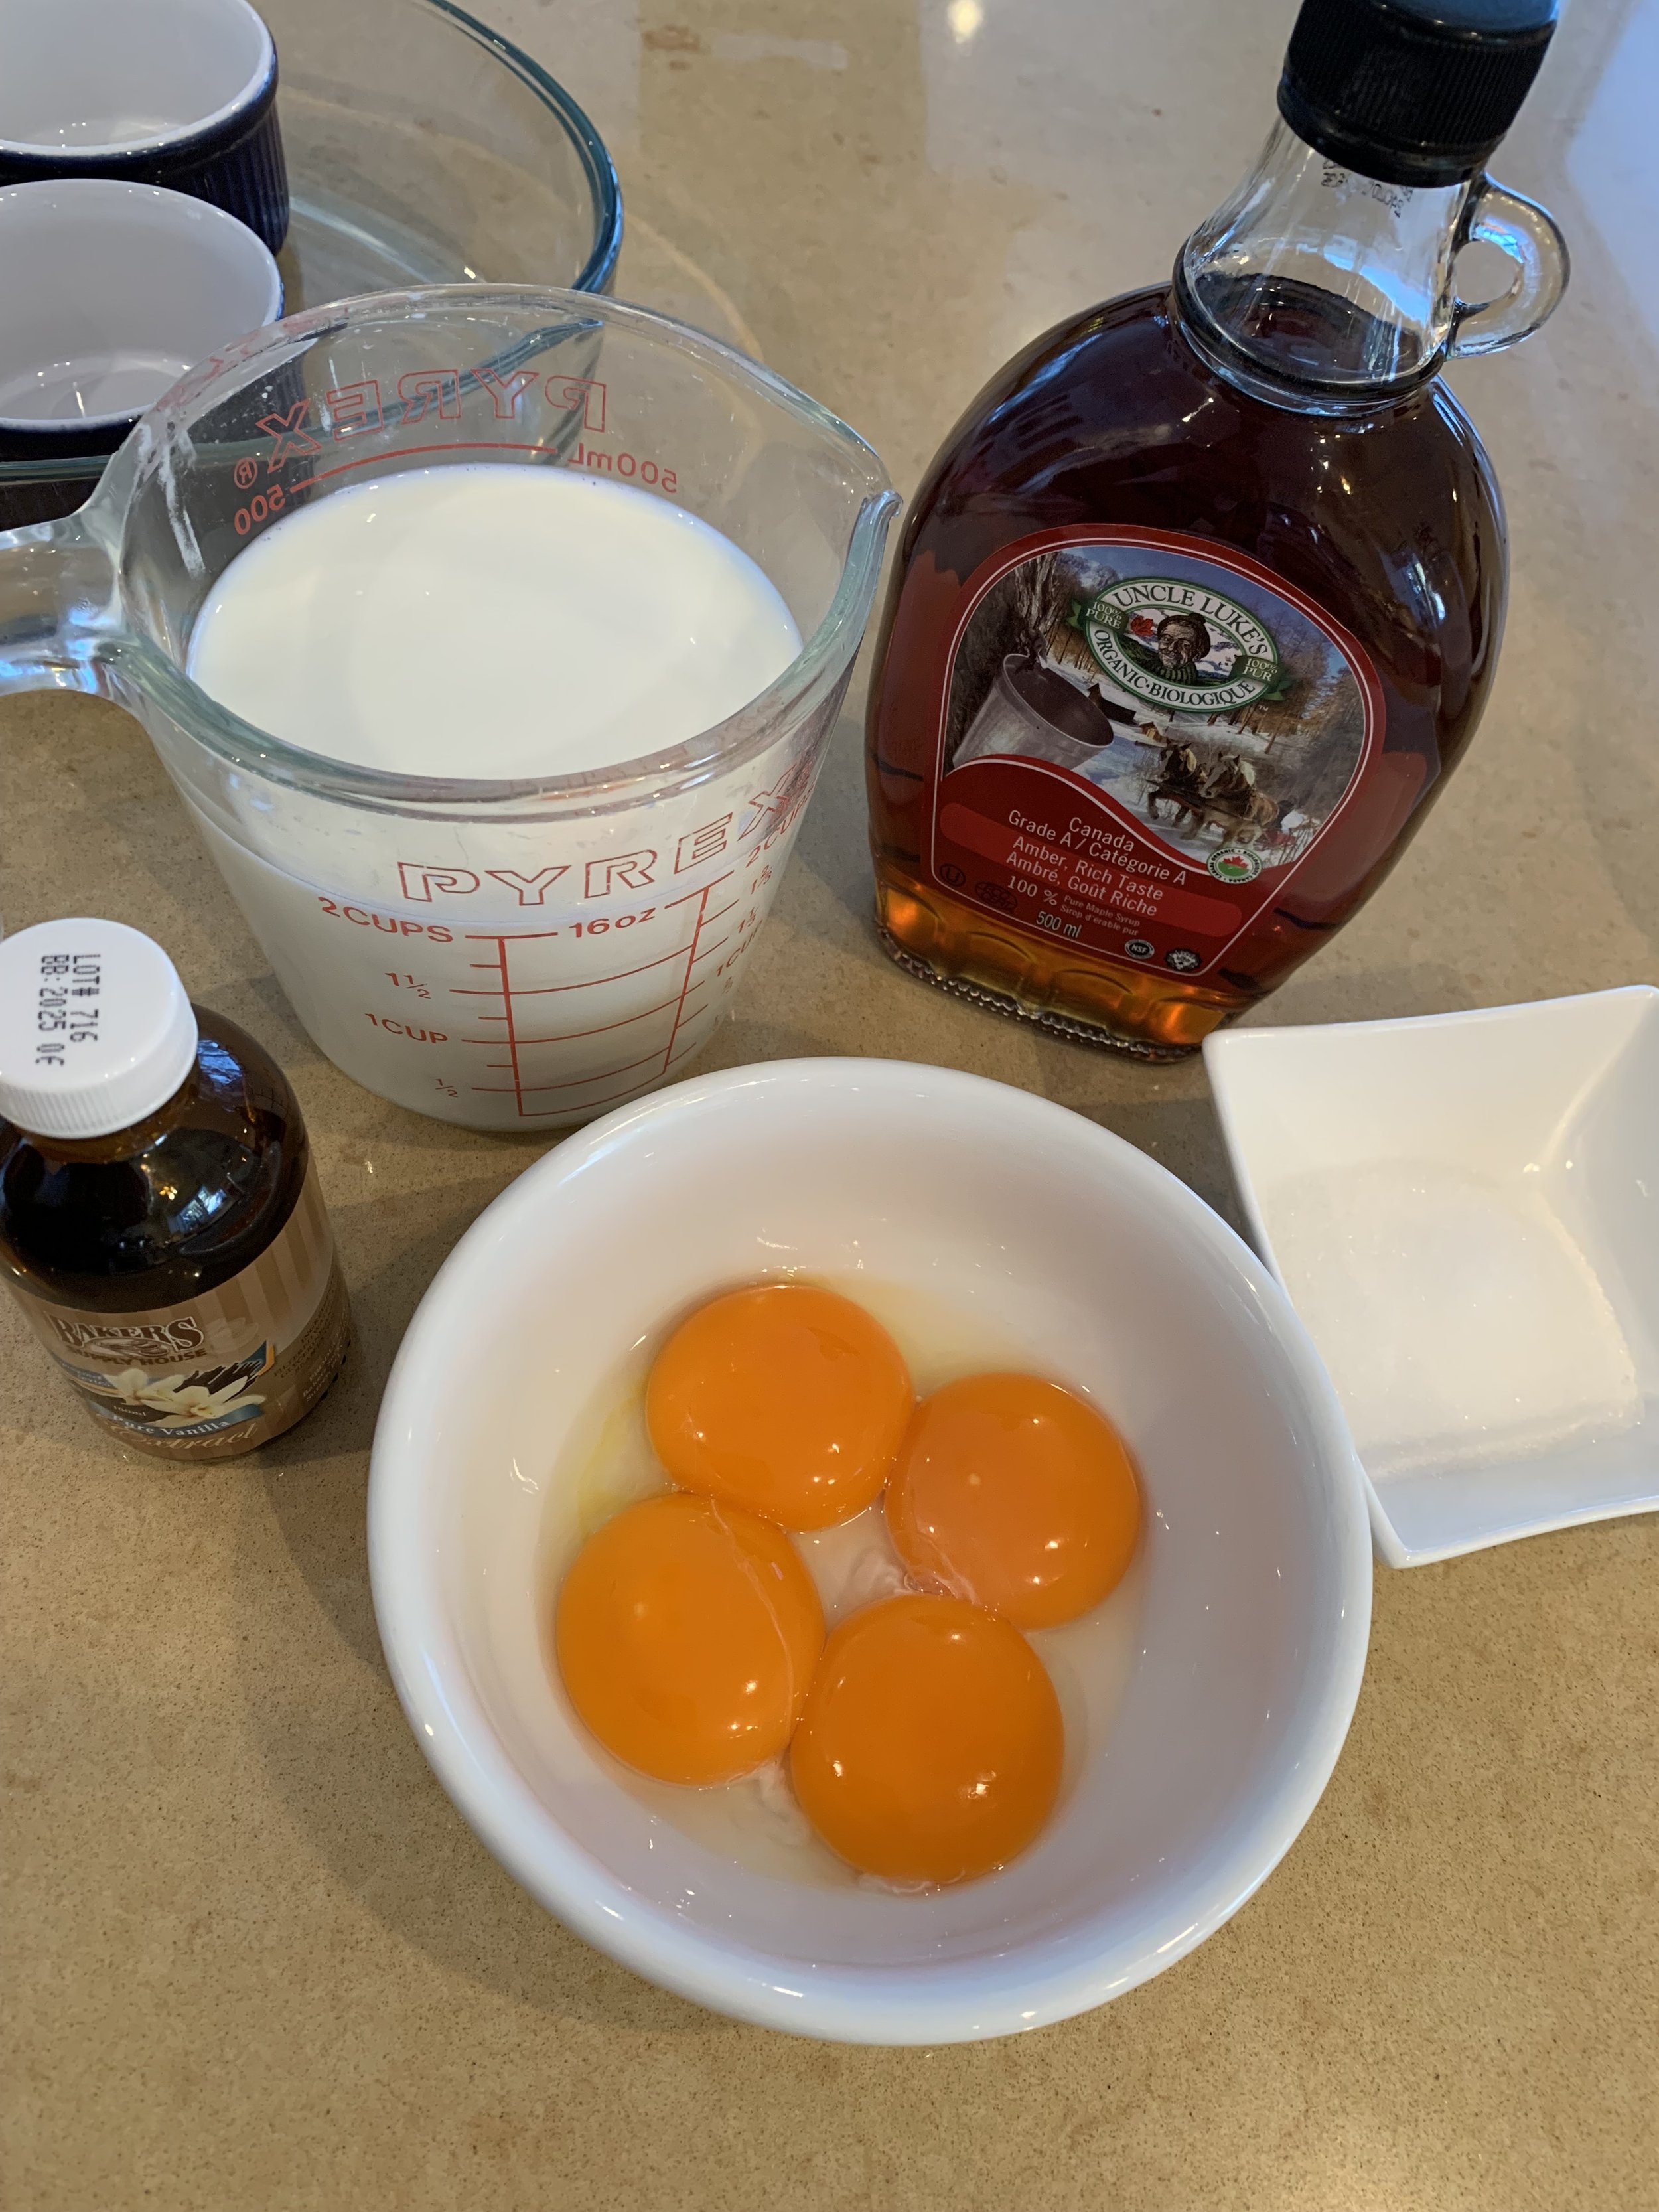
Ingredients:
2c milk (I used skim milk here…)
1/3c maple syrup
2 tsp vanilla extract
4 large egg yolks
4 tbsp brown sugar (for the topping)
Instructions:
Preheat oven to 325 degrees F.
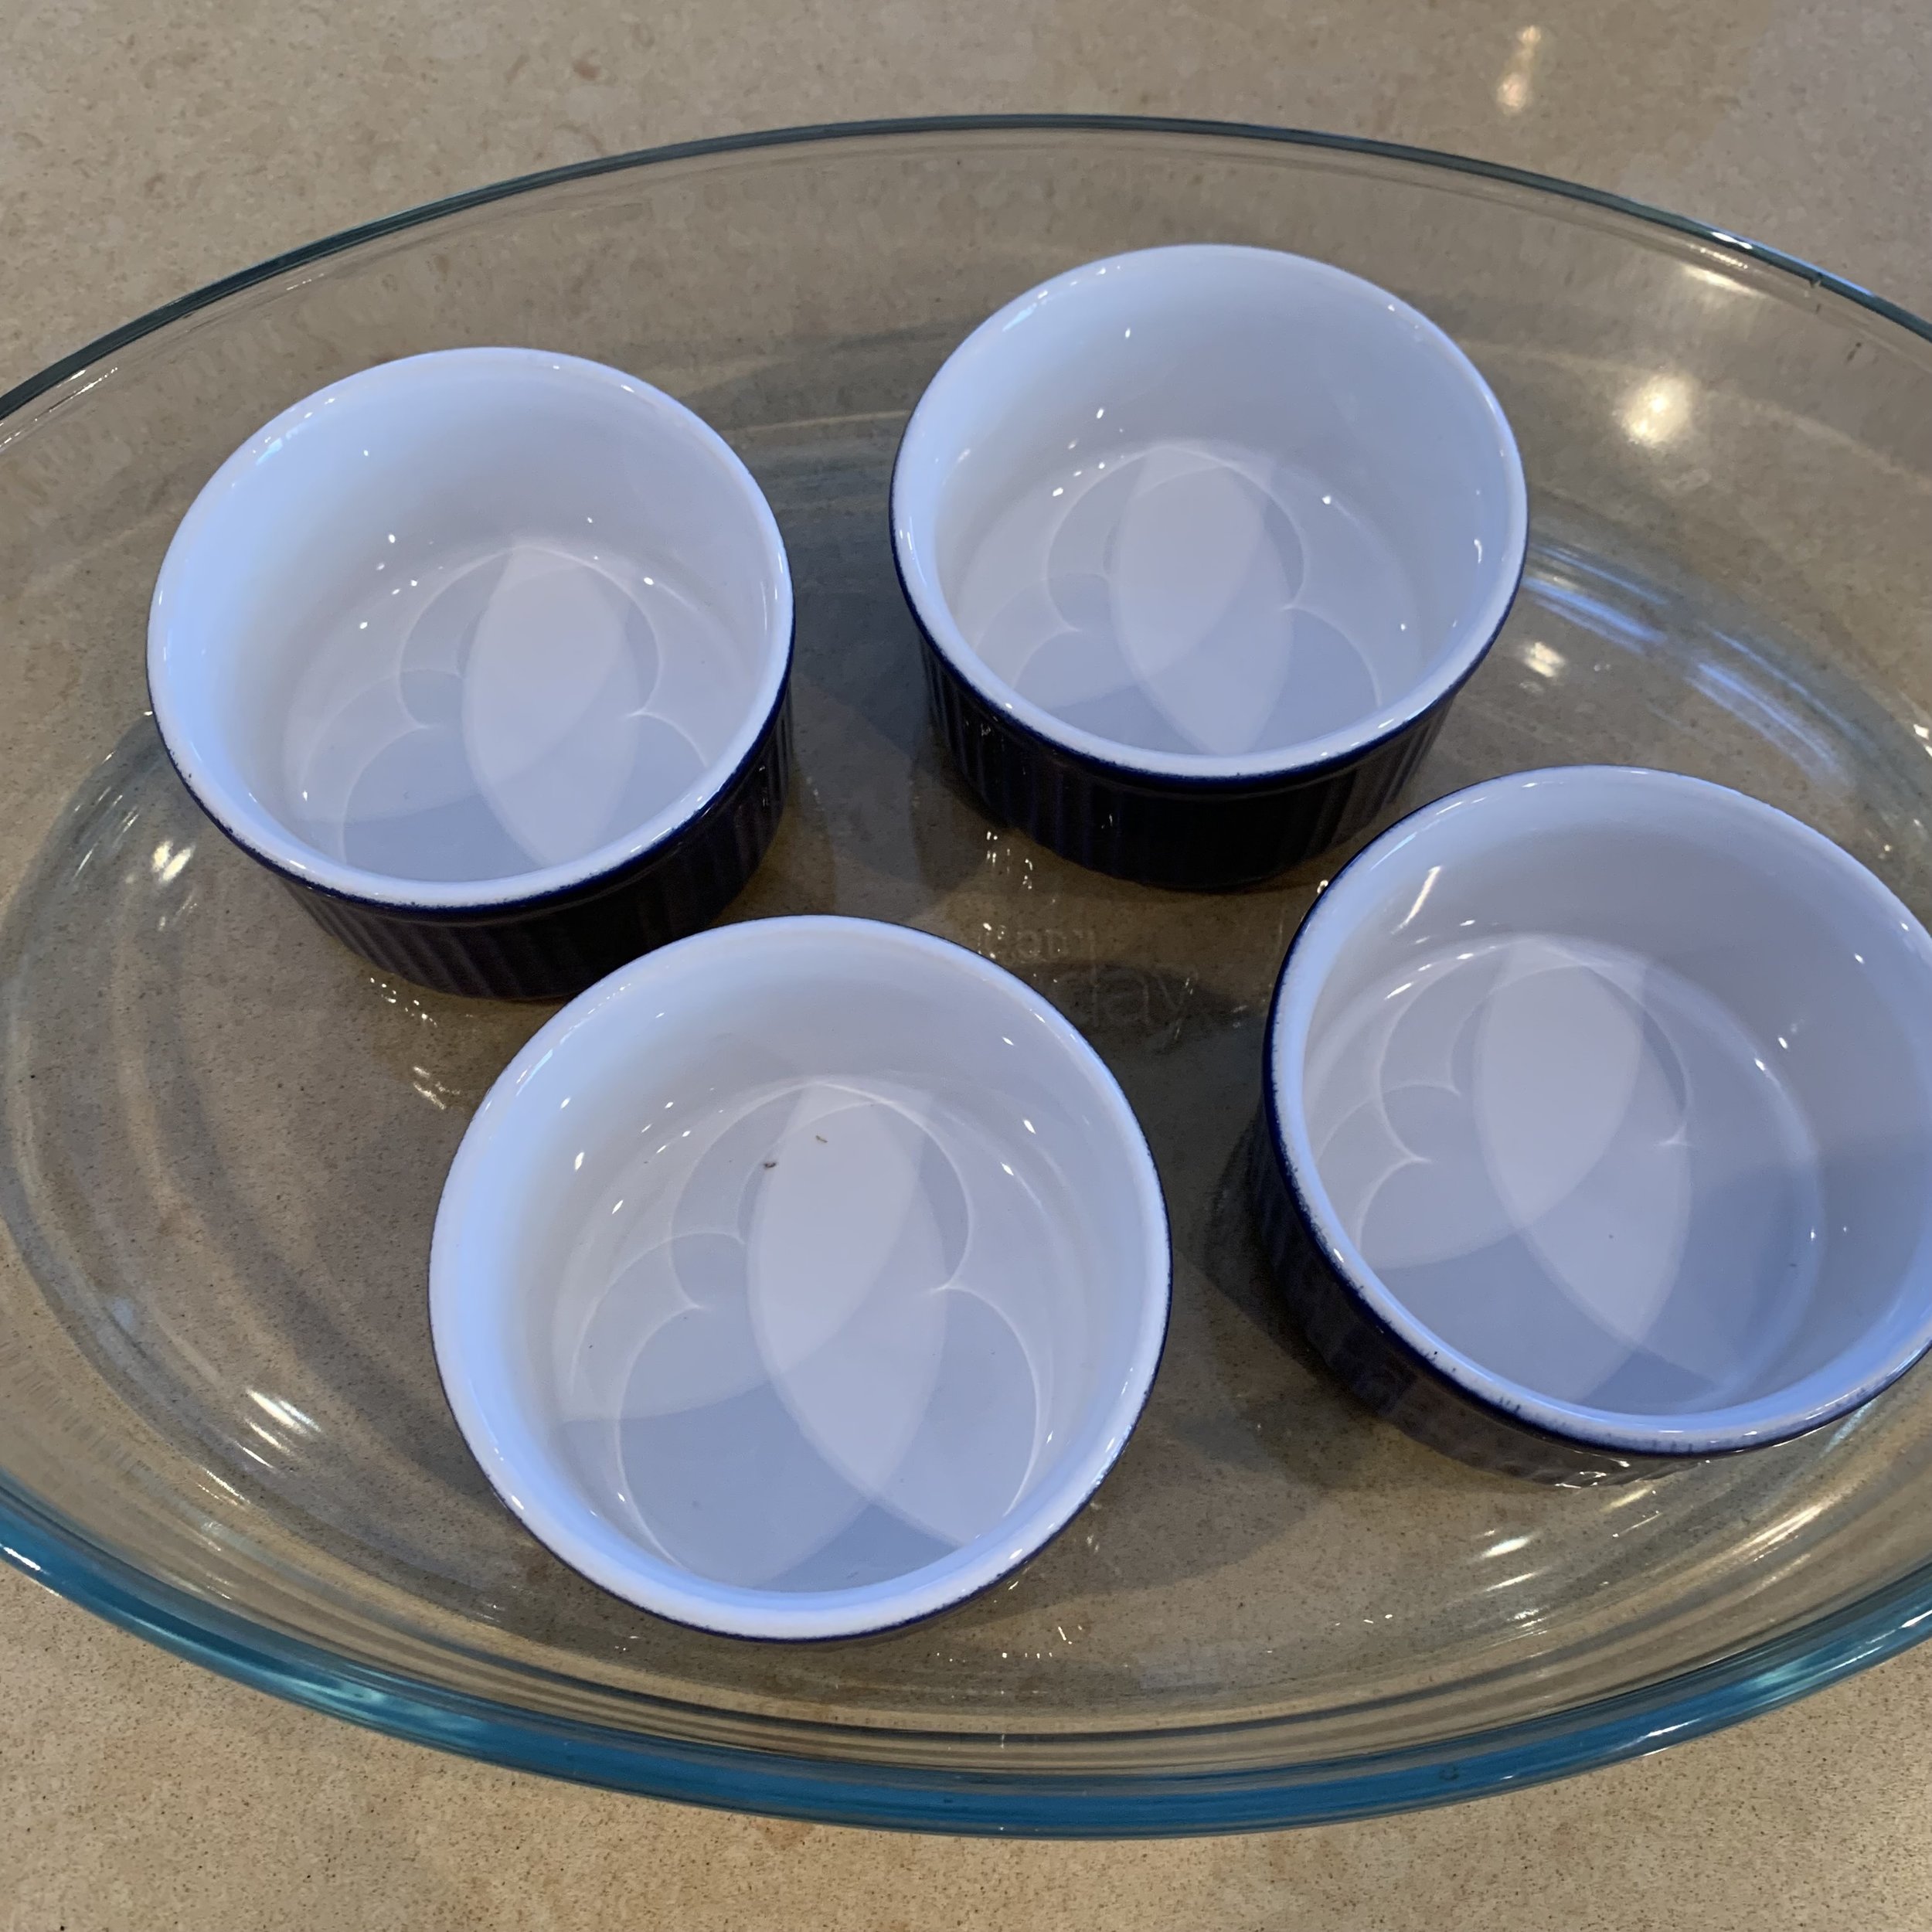
Gather together the ramekins and set in an oven proof plan.
Get a kettle of water boiling for the boiling water bath.
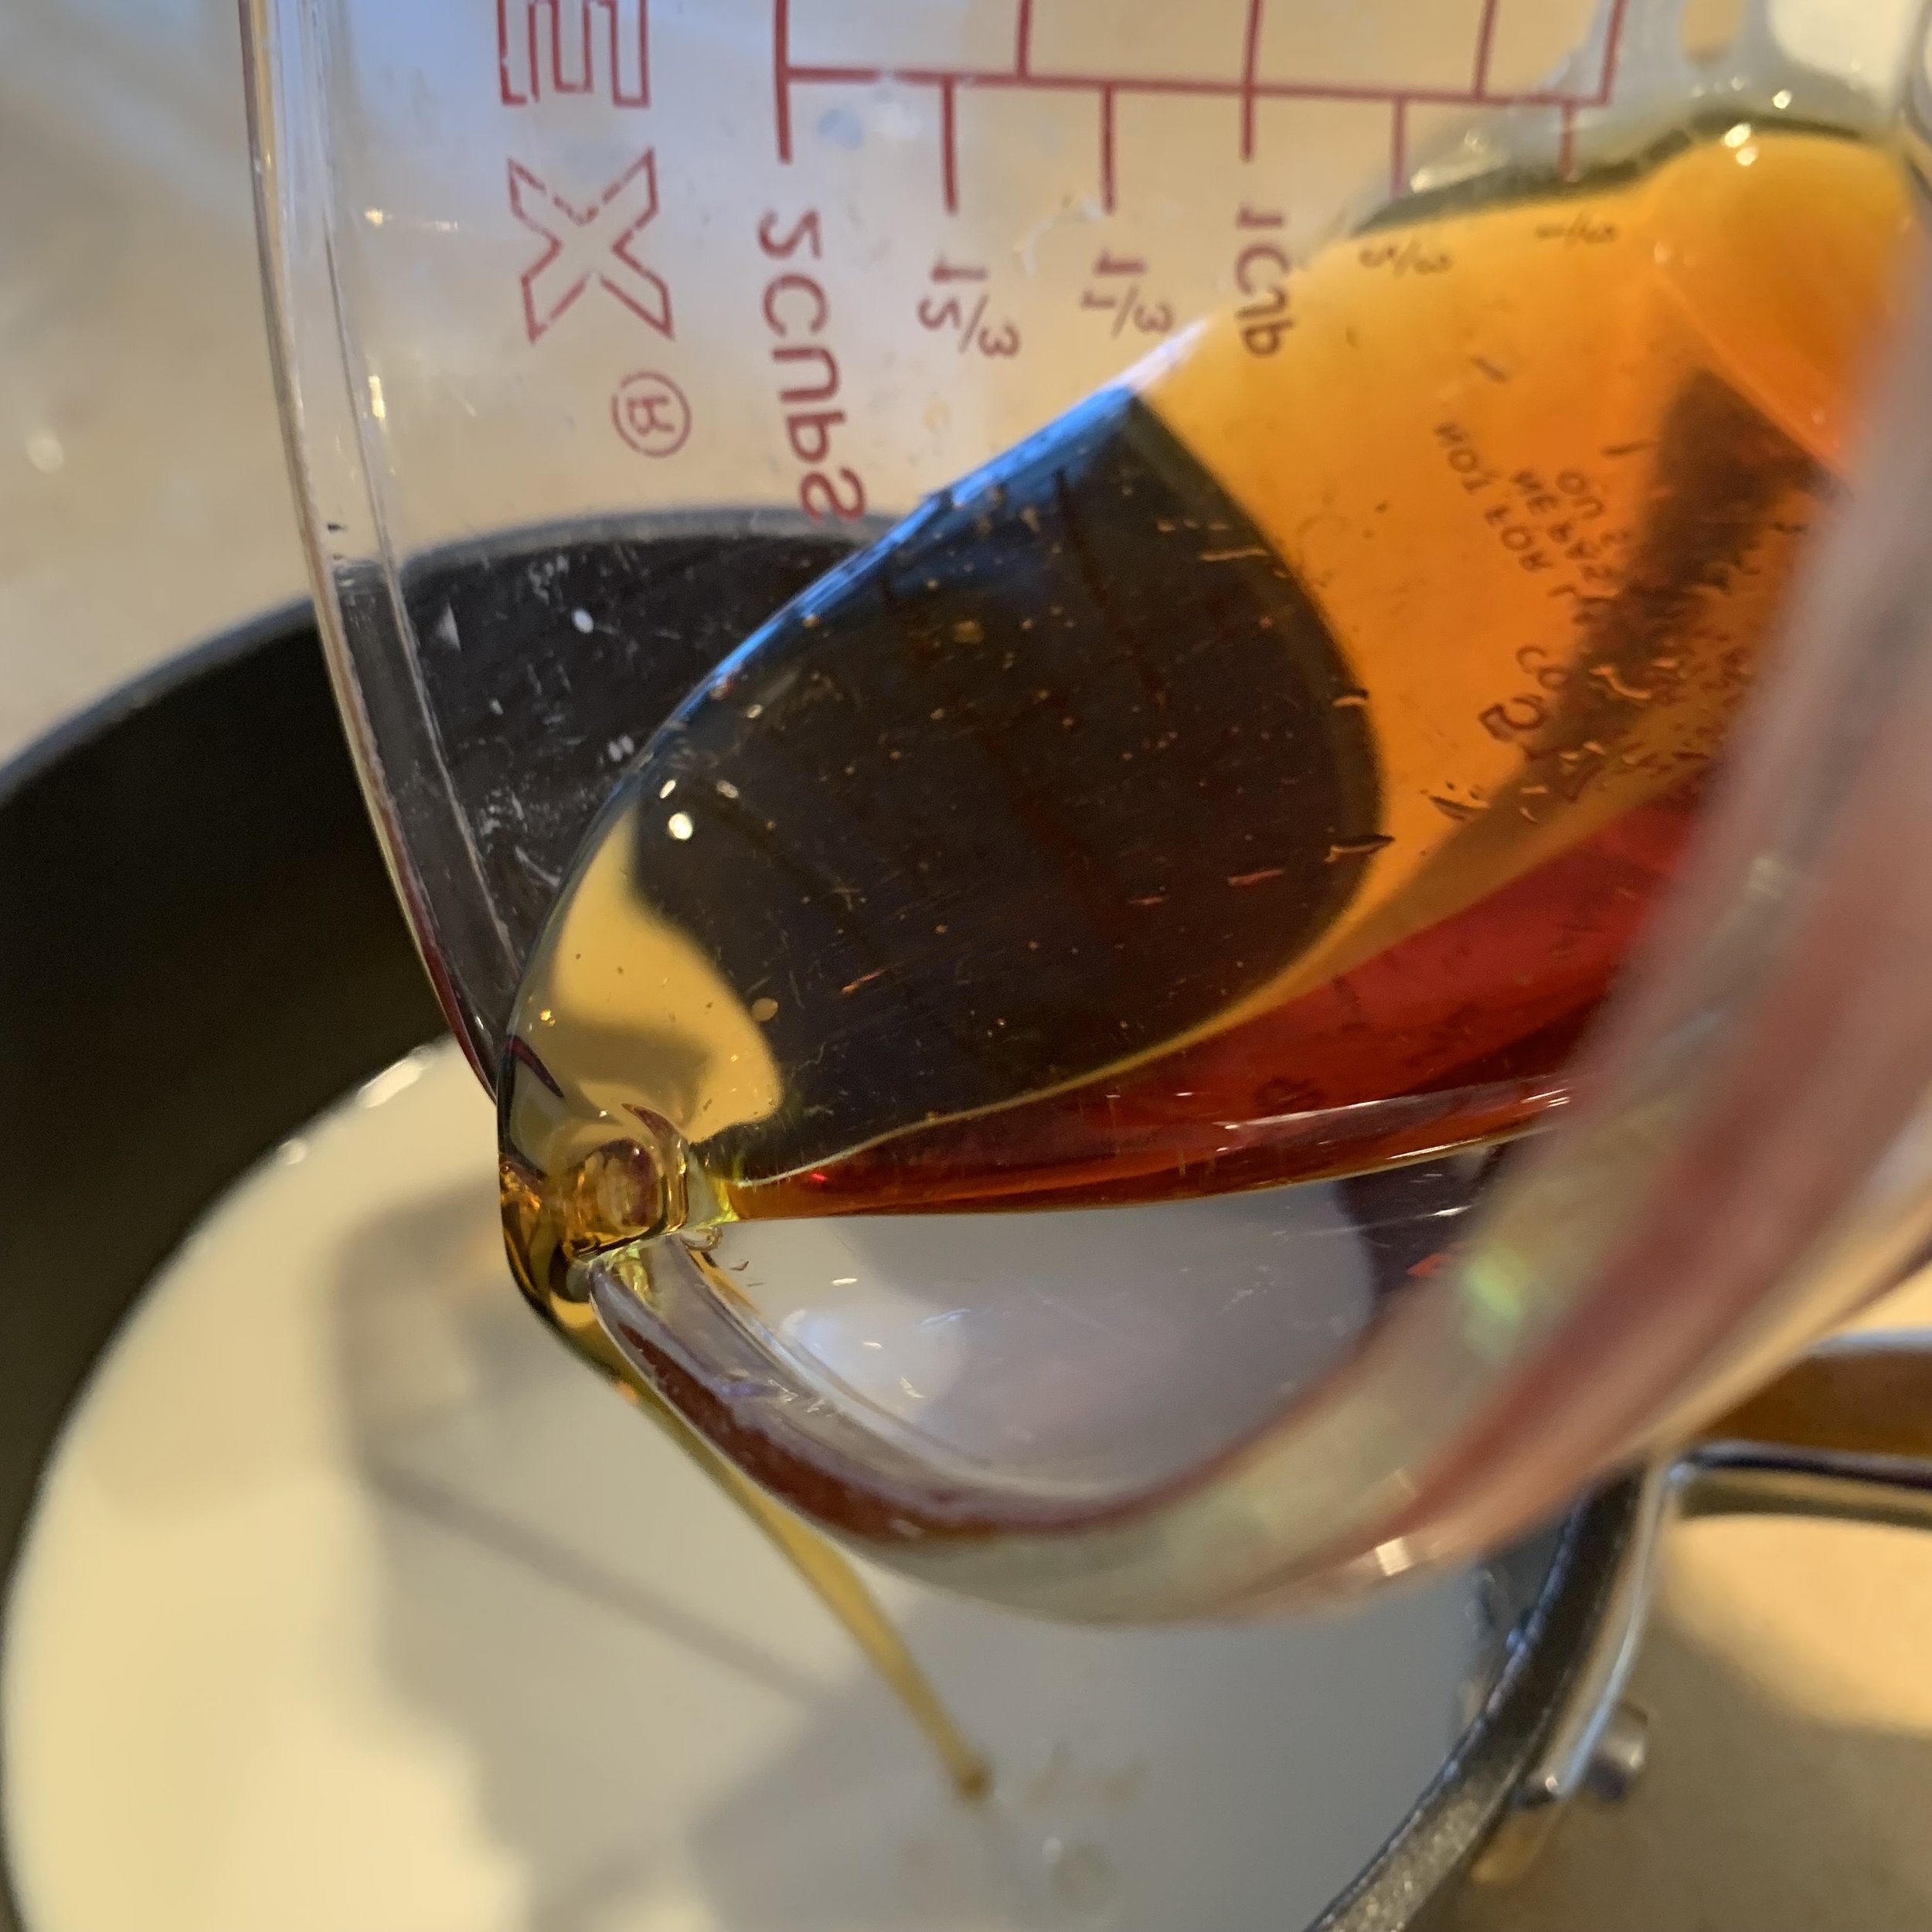
In a small saucepan, combine the milk and maple syrup. Scald or gently simmer for 1 to 2 minutes. Keep a close eye here because milk can go from ‘scalded’ to ‘boiling over’ in the blink of an eye.
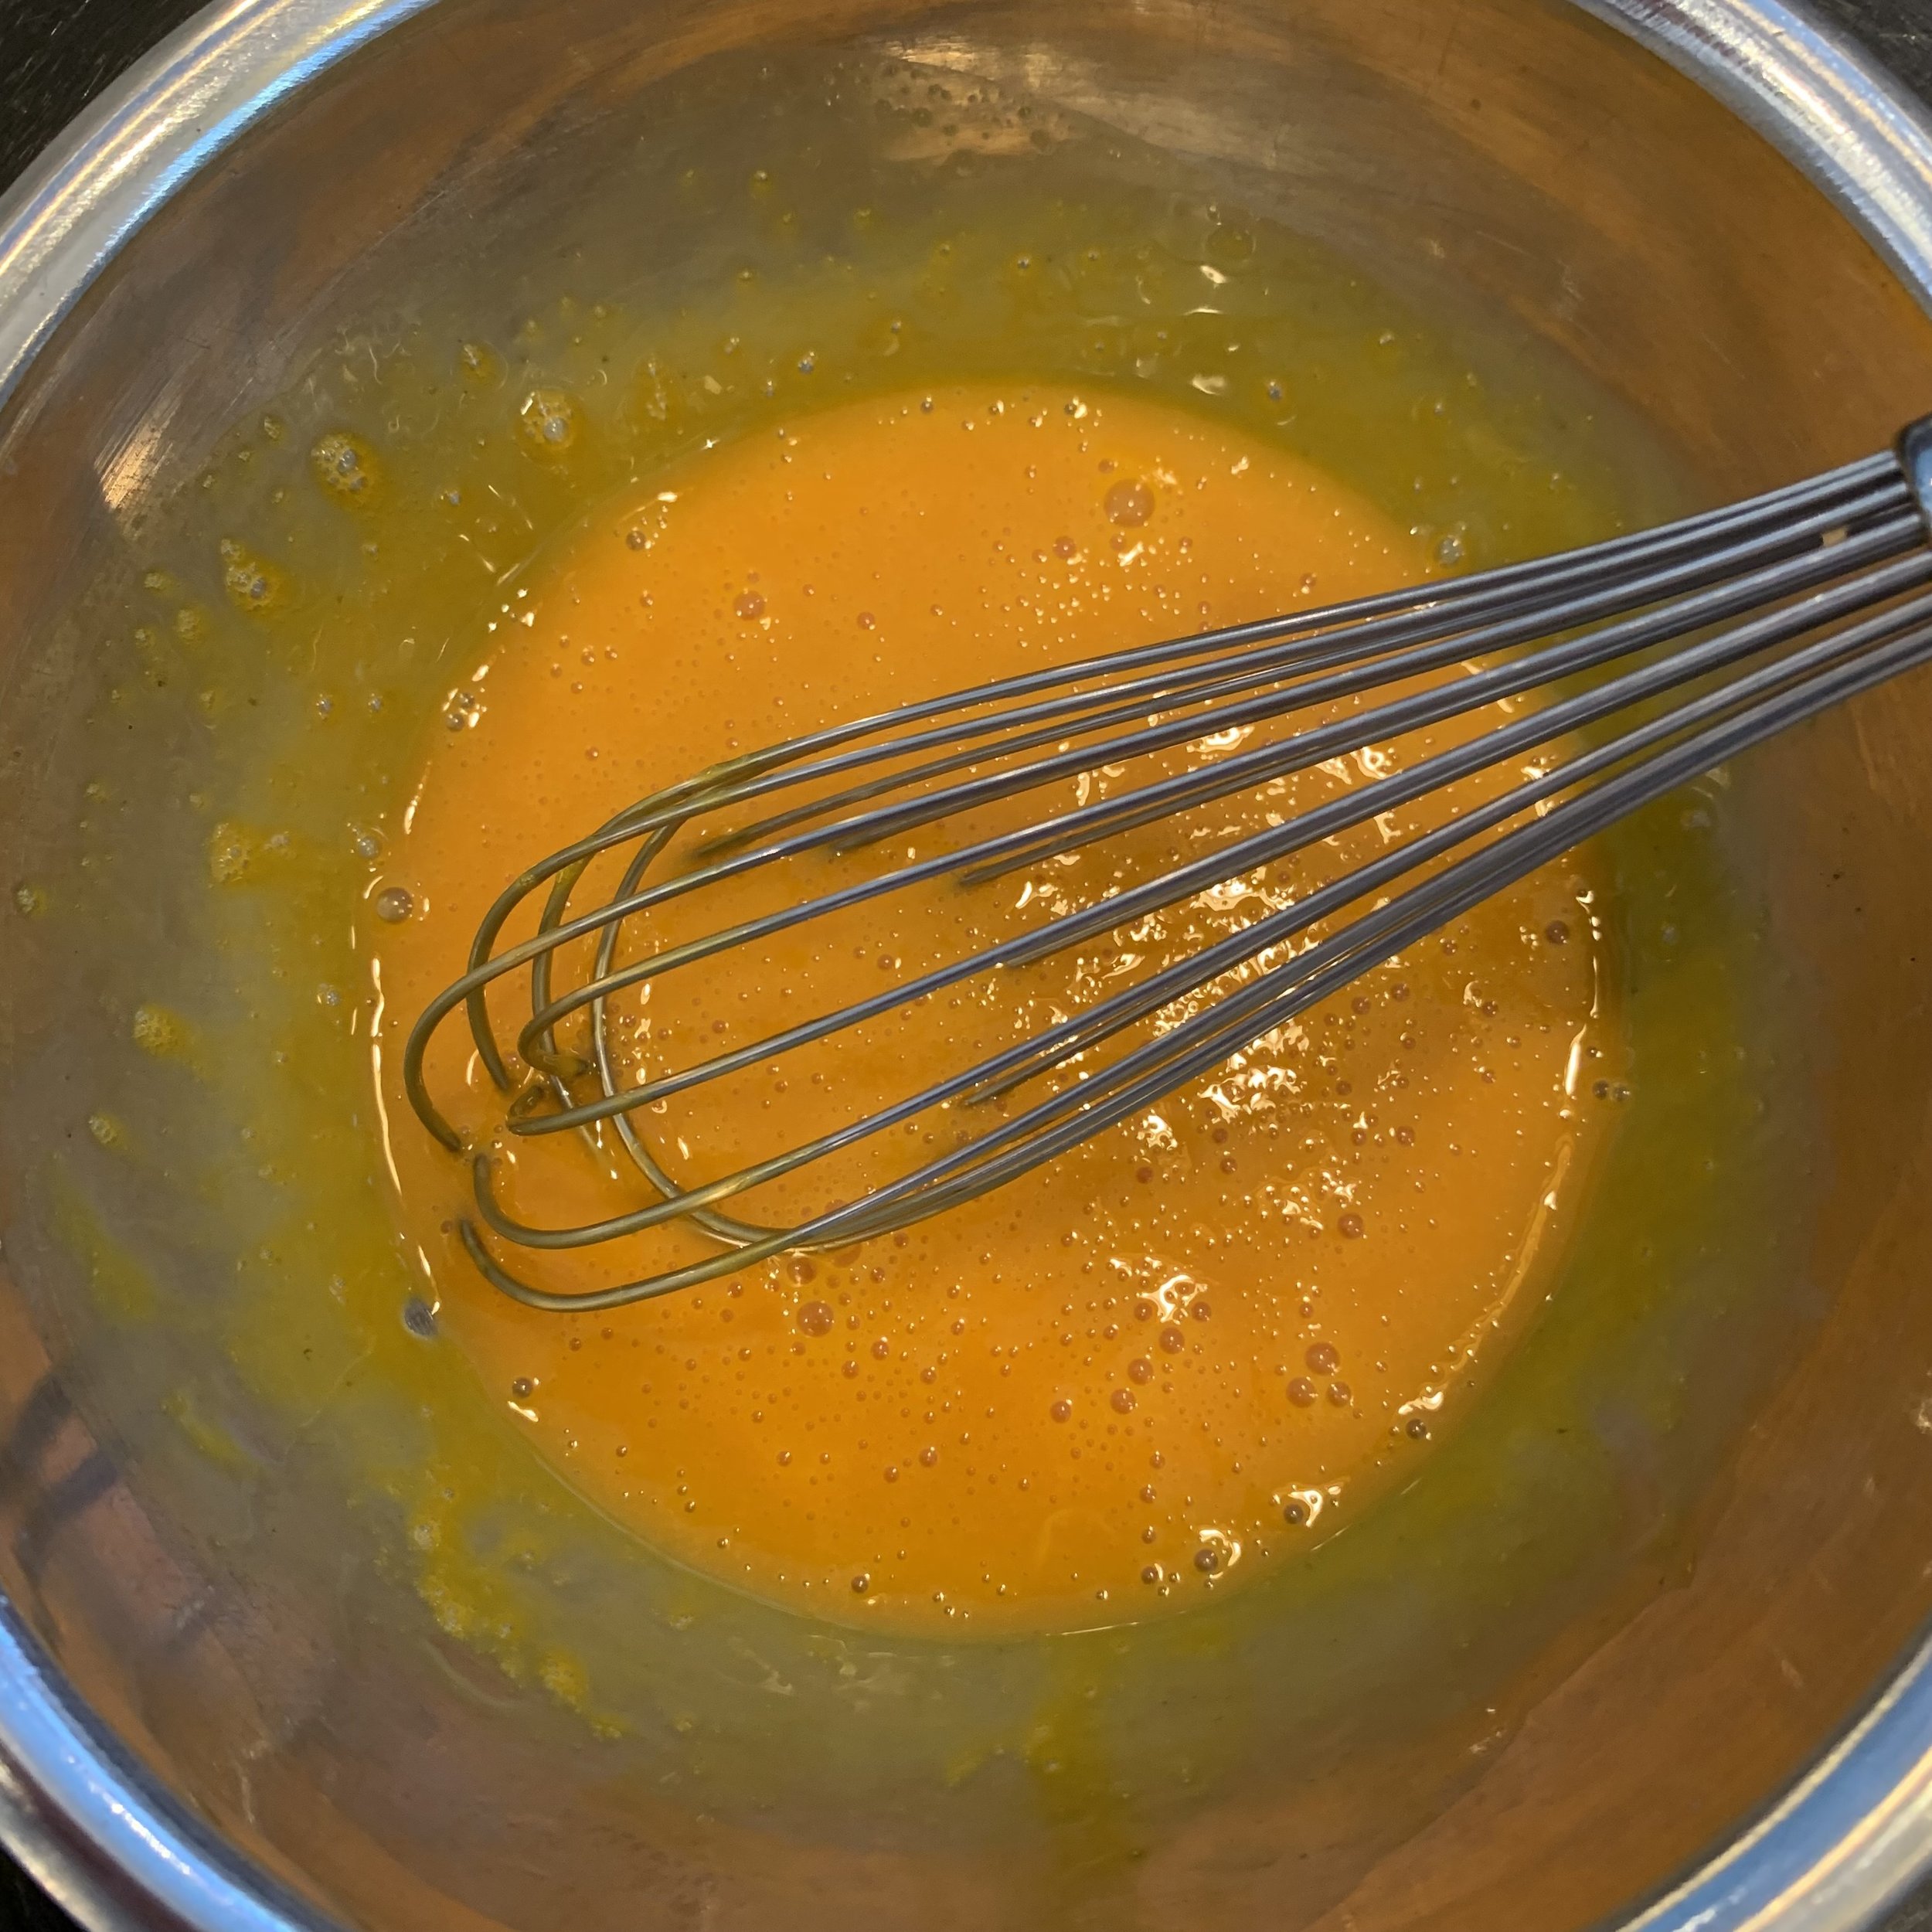
In a separate small bowl, whisk the egg yolks and the vanilla extract.
Remove the milk from the heat and let cool 1 - 2 minutes.
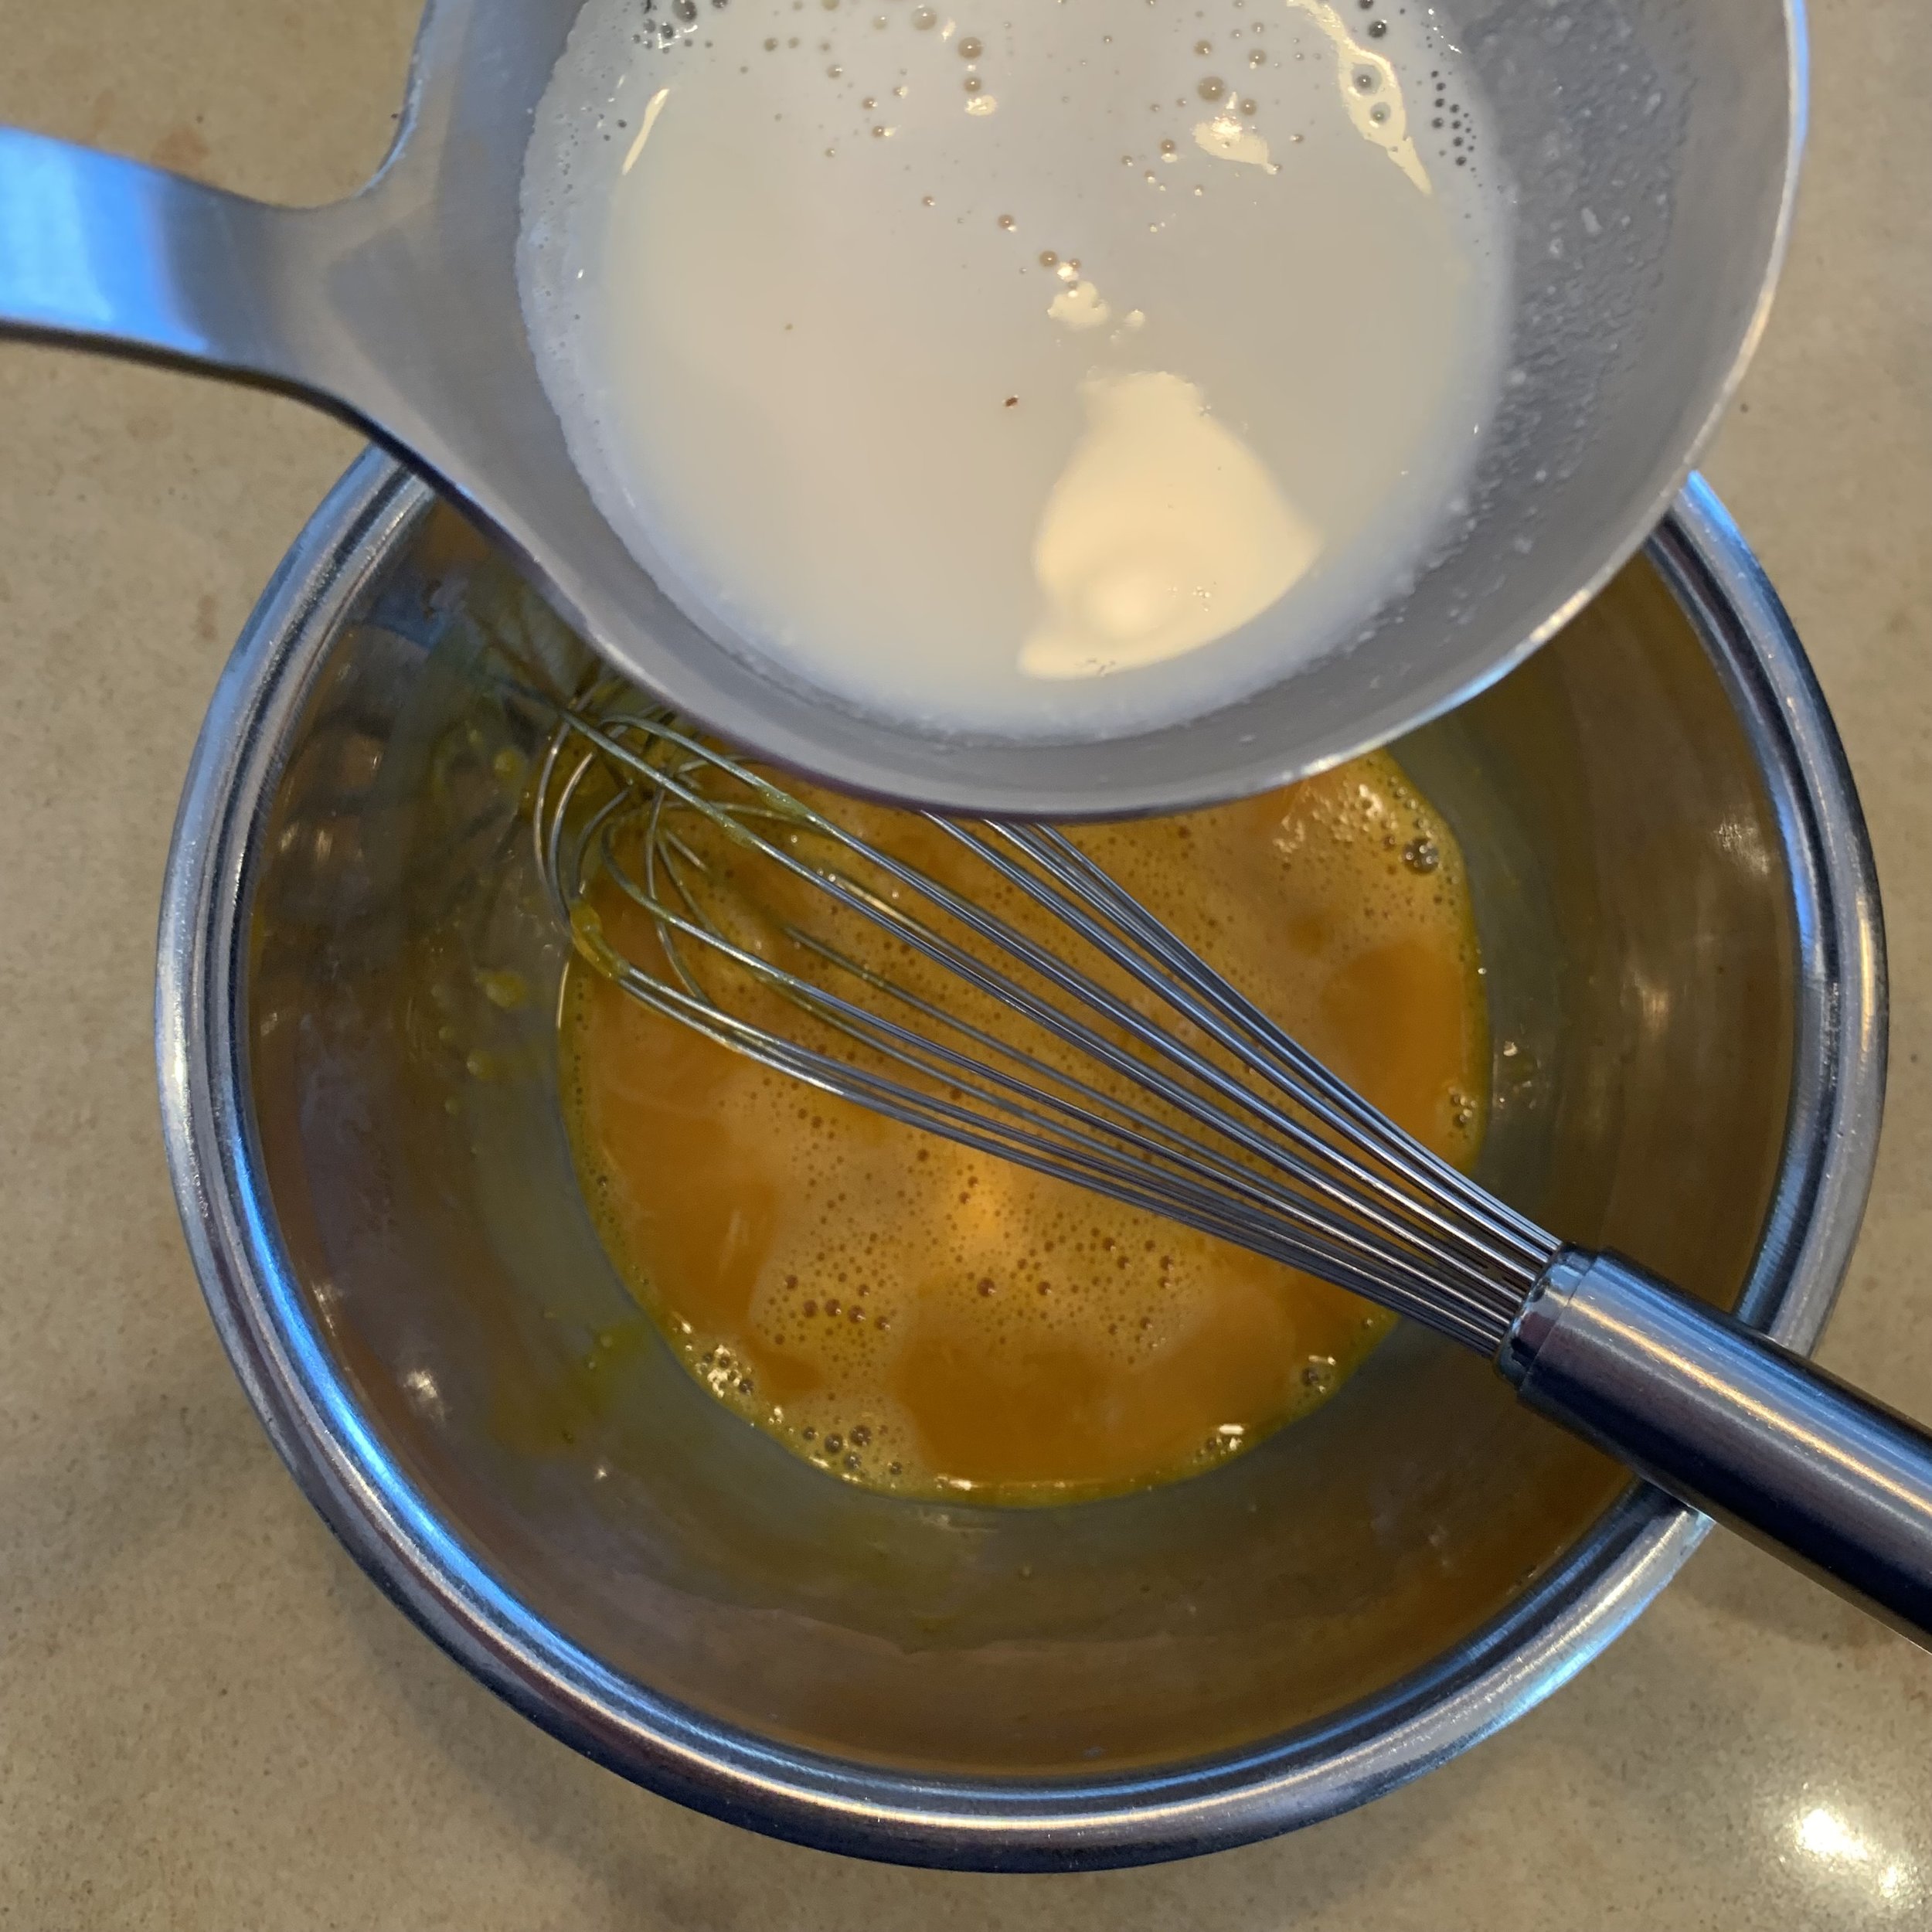
Now for the Tempering: Carefully mix a small scoop (large spoonful) of the heated milk into the egg yolks stirring with a whisk or fork. Add a bit more milk to prevent curdling. The point here is to gently raise the temperature of the egg yolks before completely adding them to the heated milk.
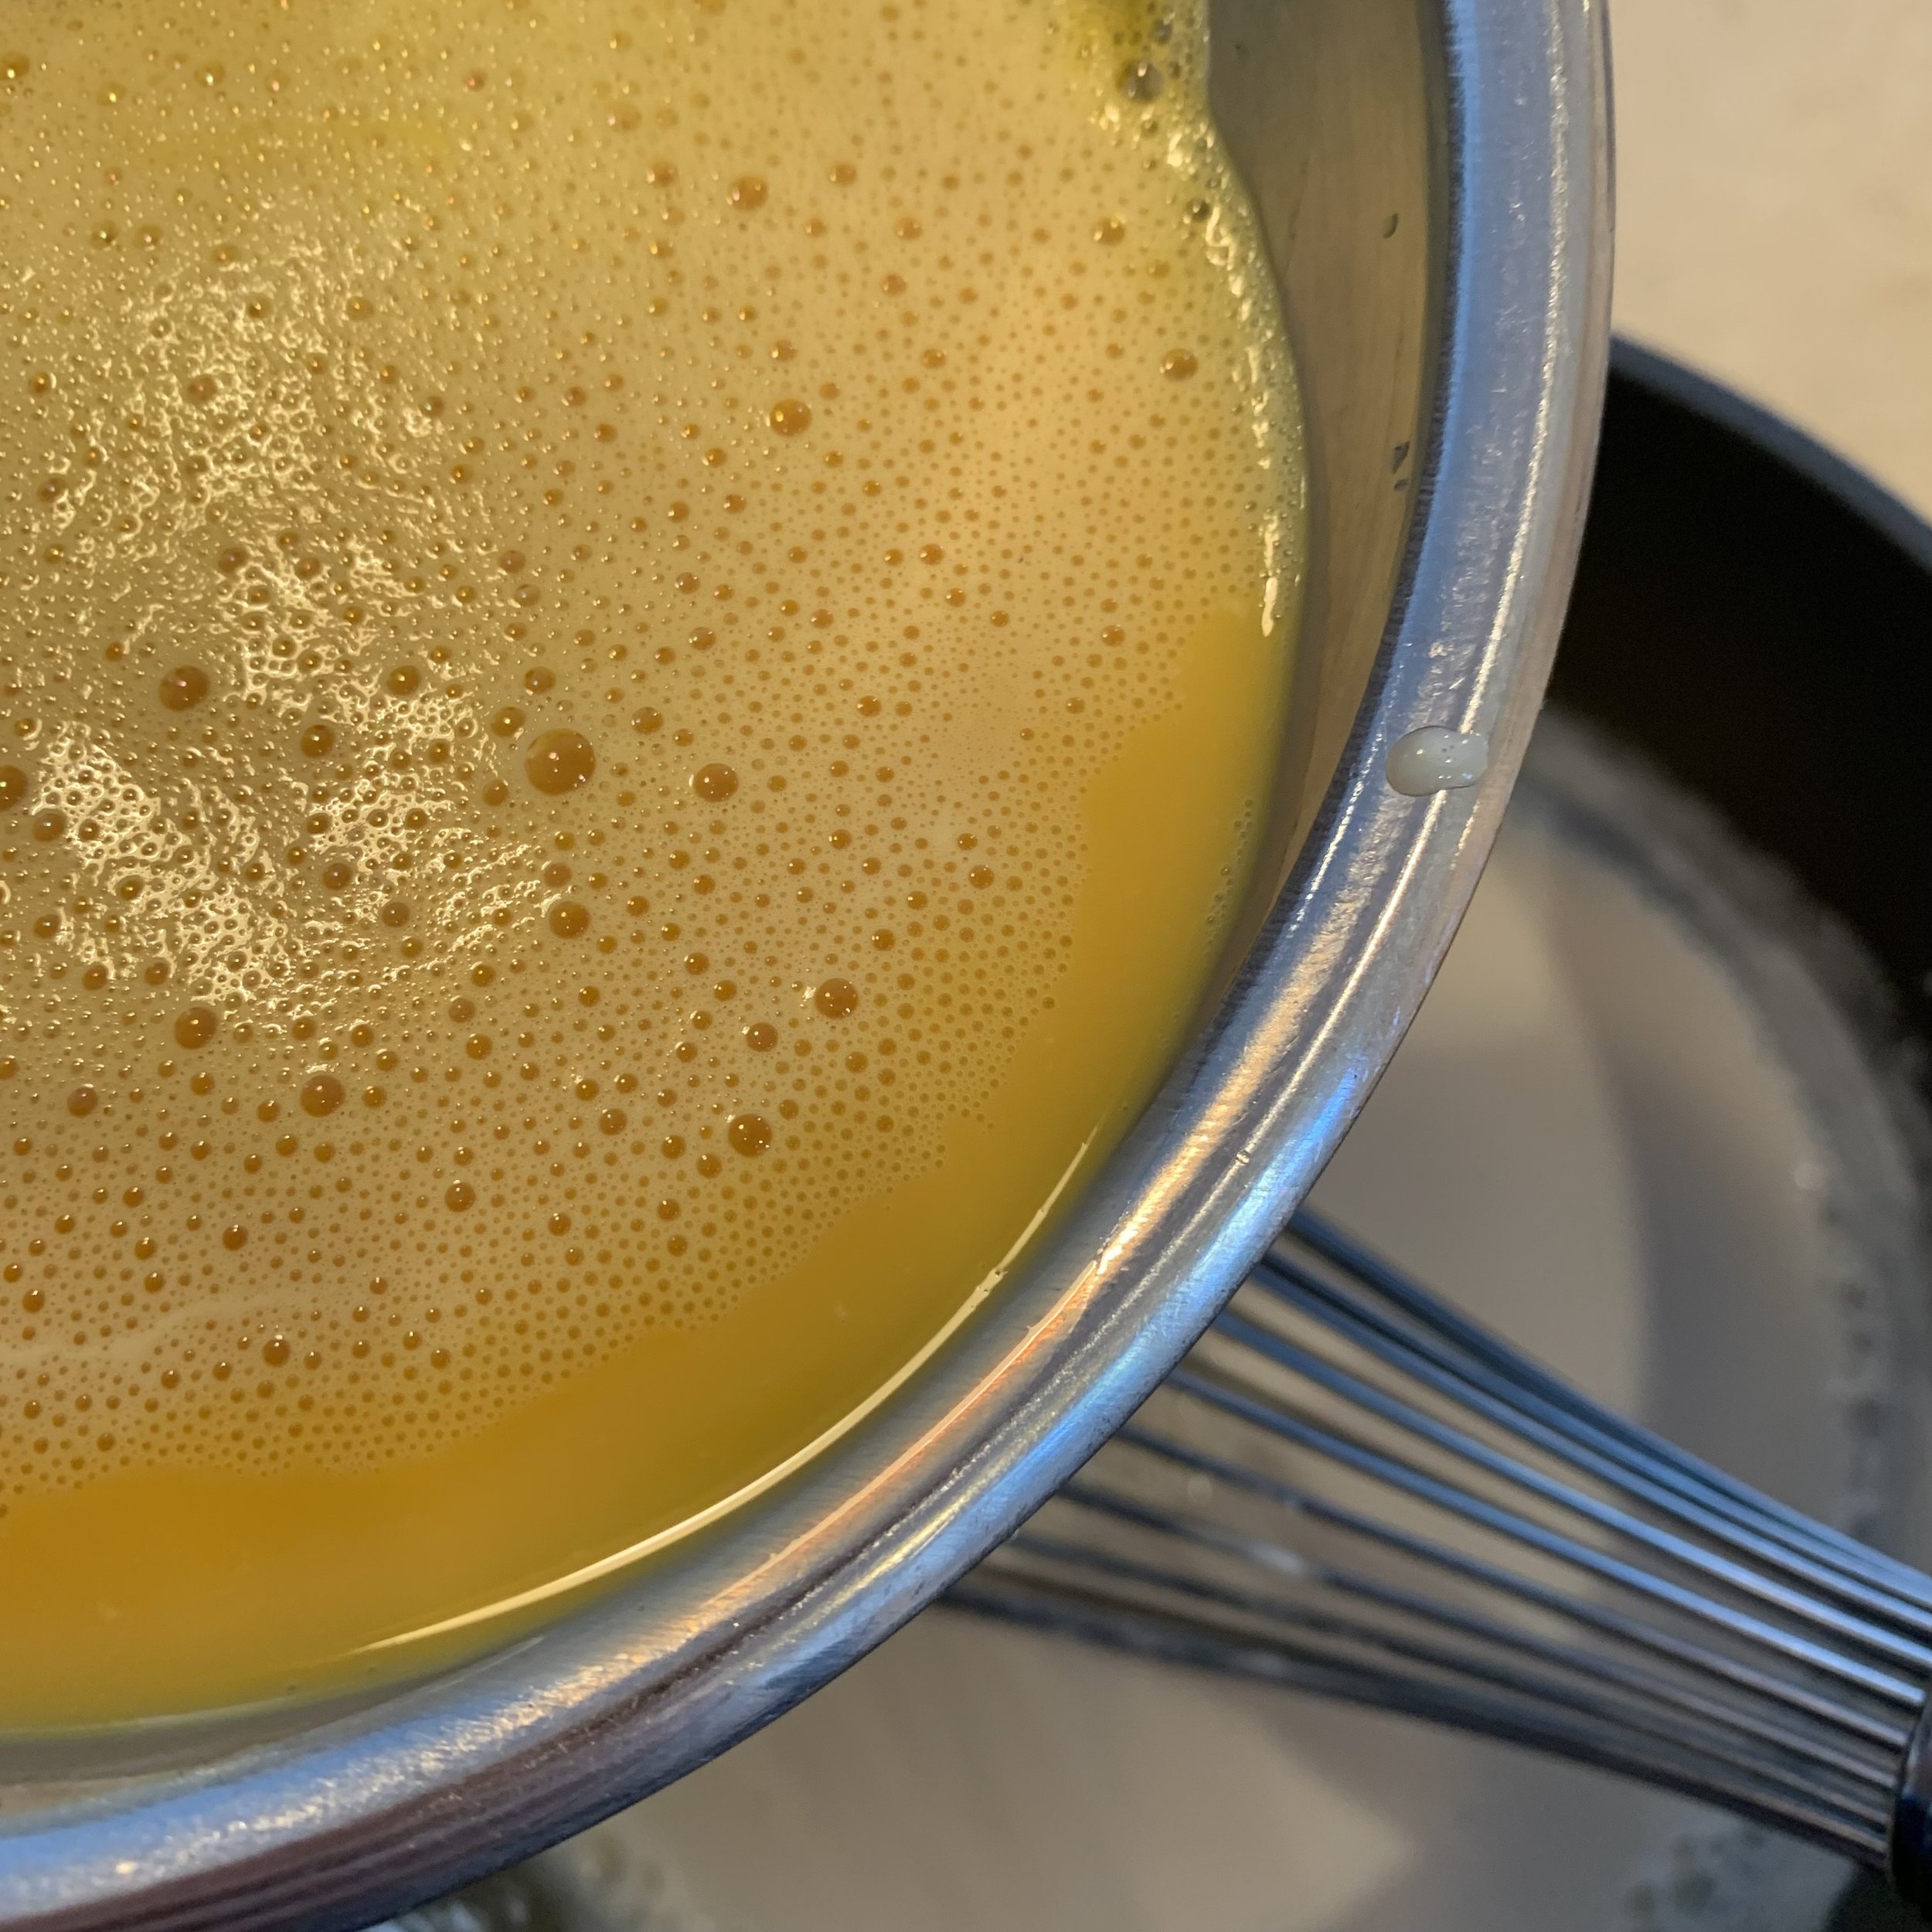
Once tempered slowly add the egg yolks to the milk, stirring with a whisk.
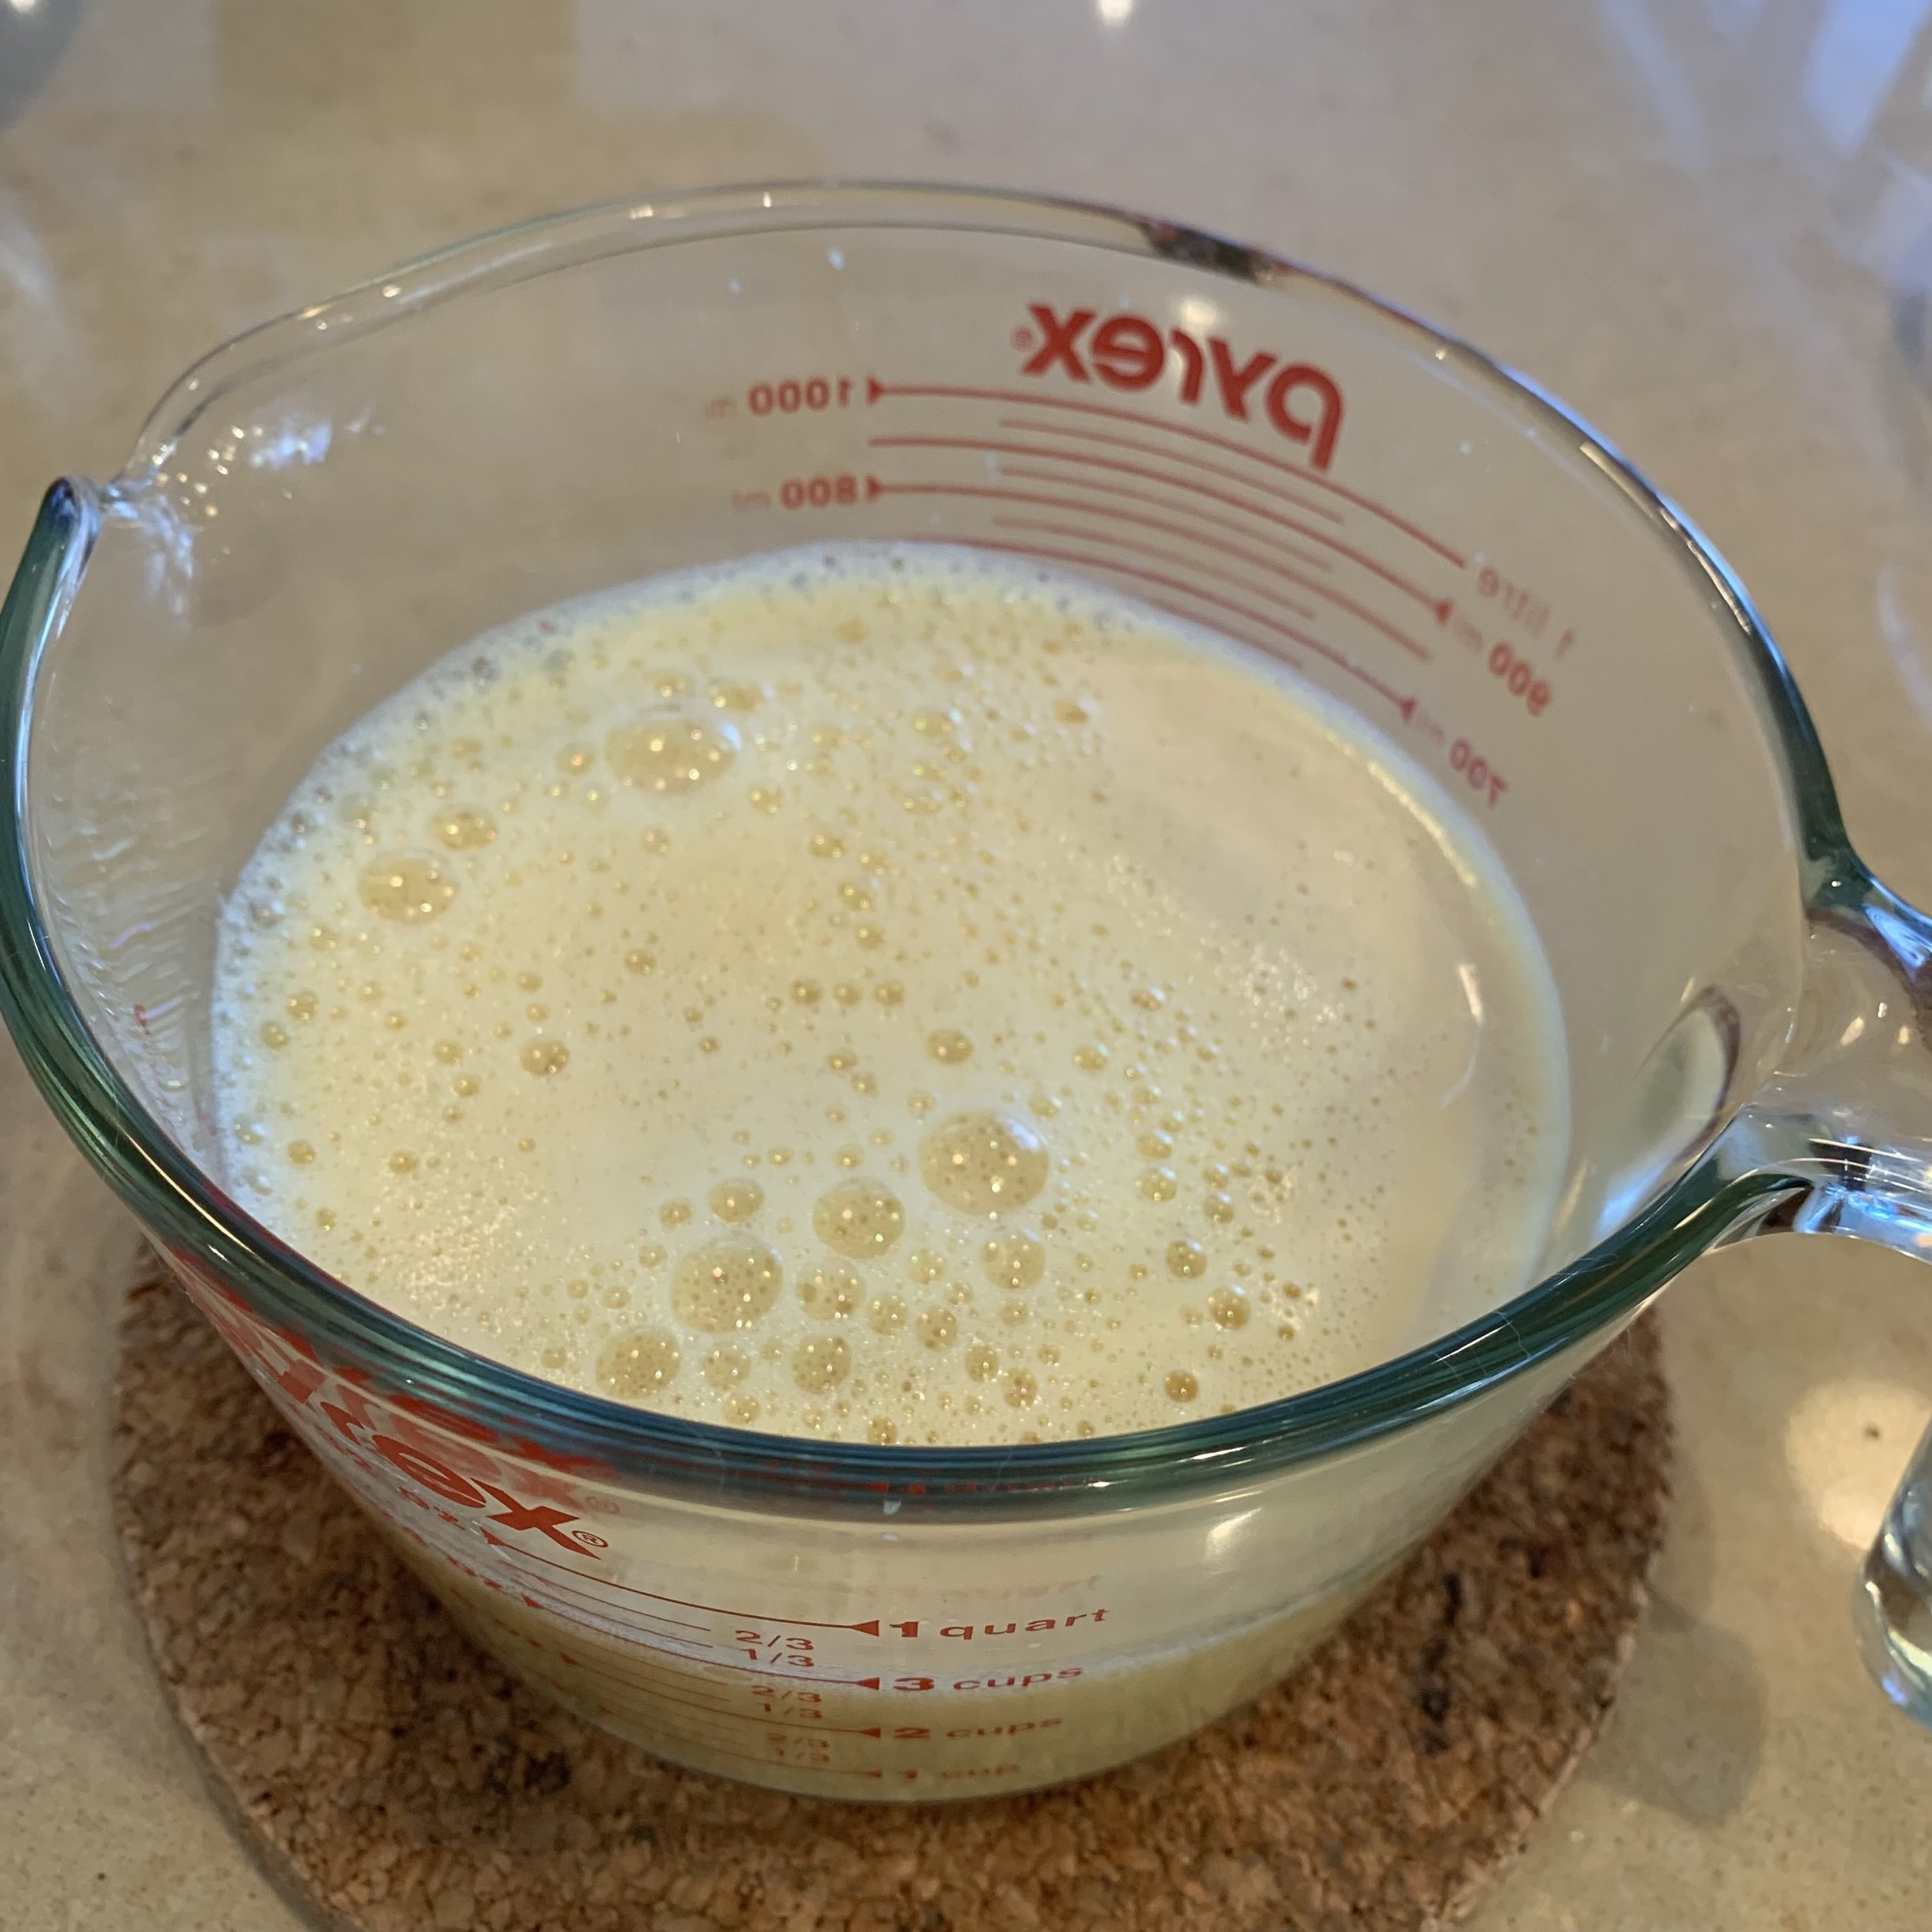
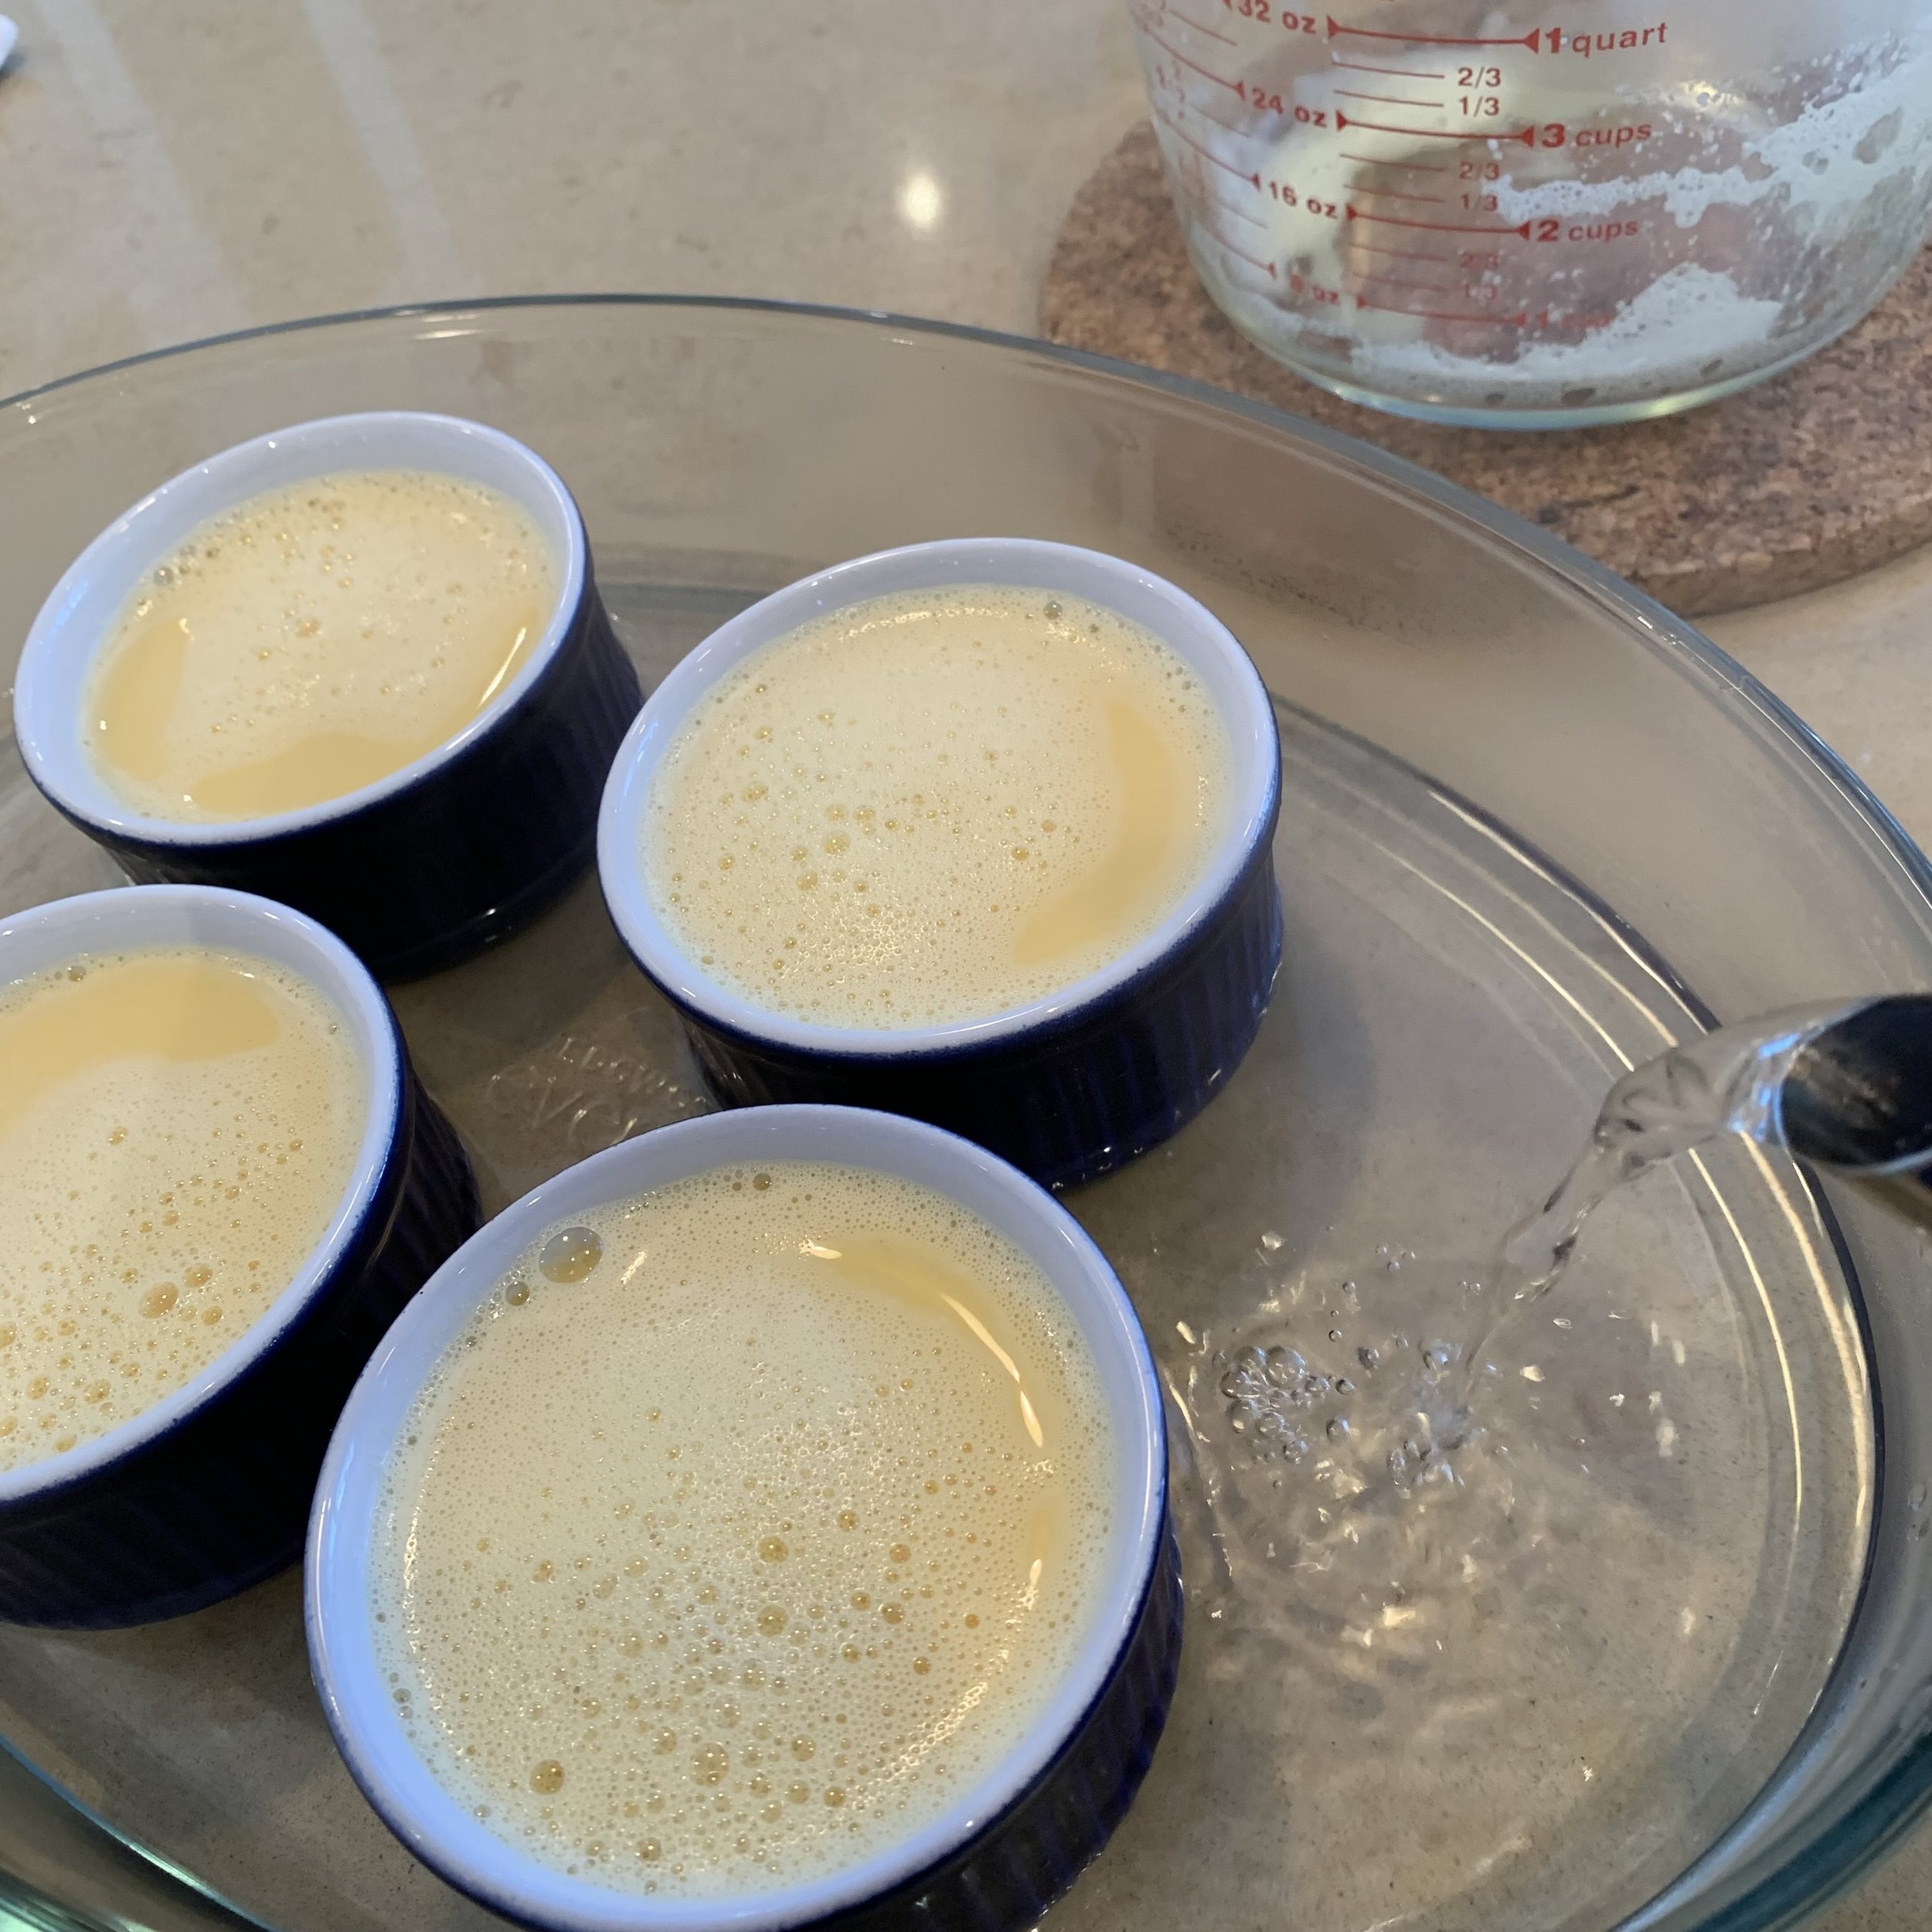
Divide the mixture among 4 small ramekins (or creme brûlée dishes)already situated in the baking dish.
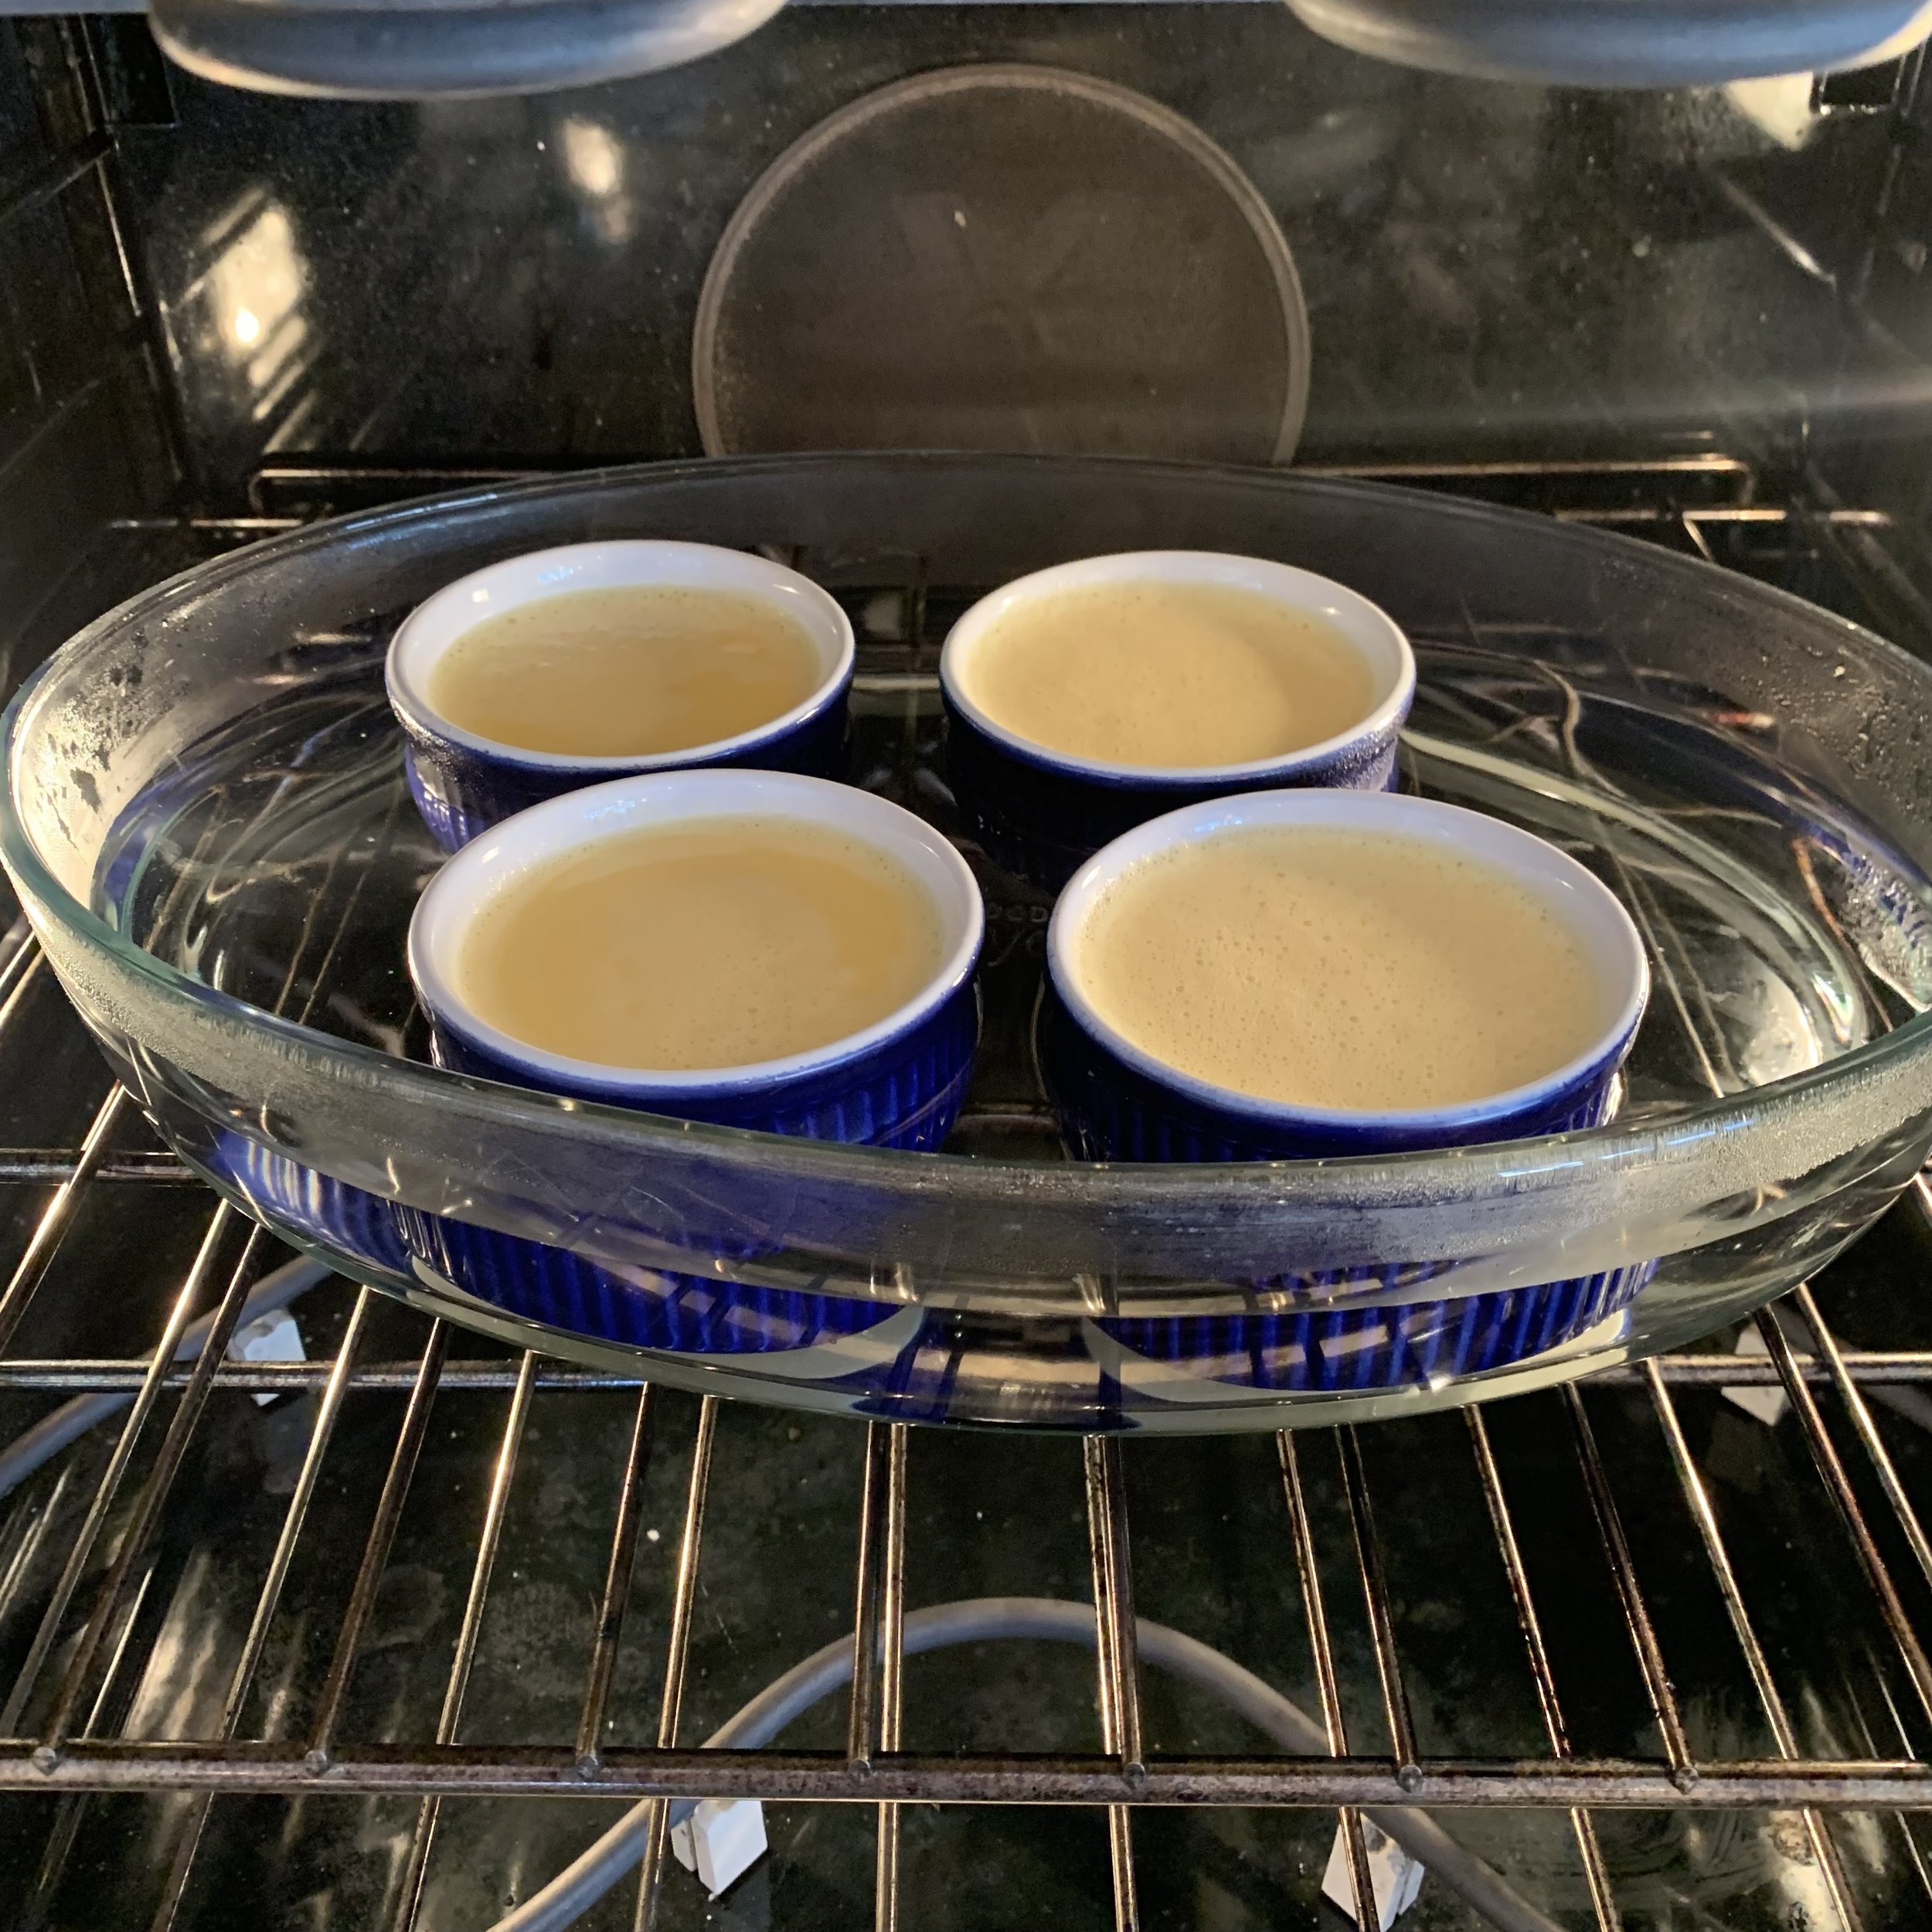
Place the baking dish into the oven.
Add boiling water to the baking dish at least 1/2 way the sides of the ramekins.
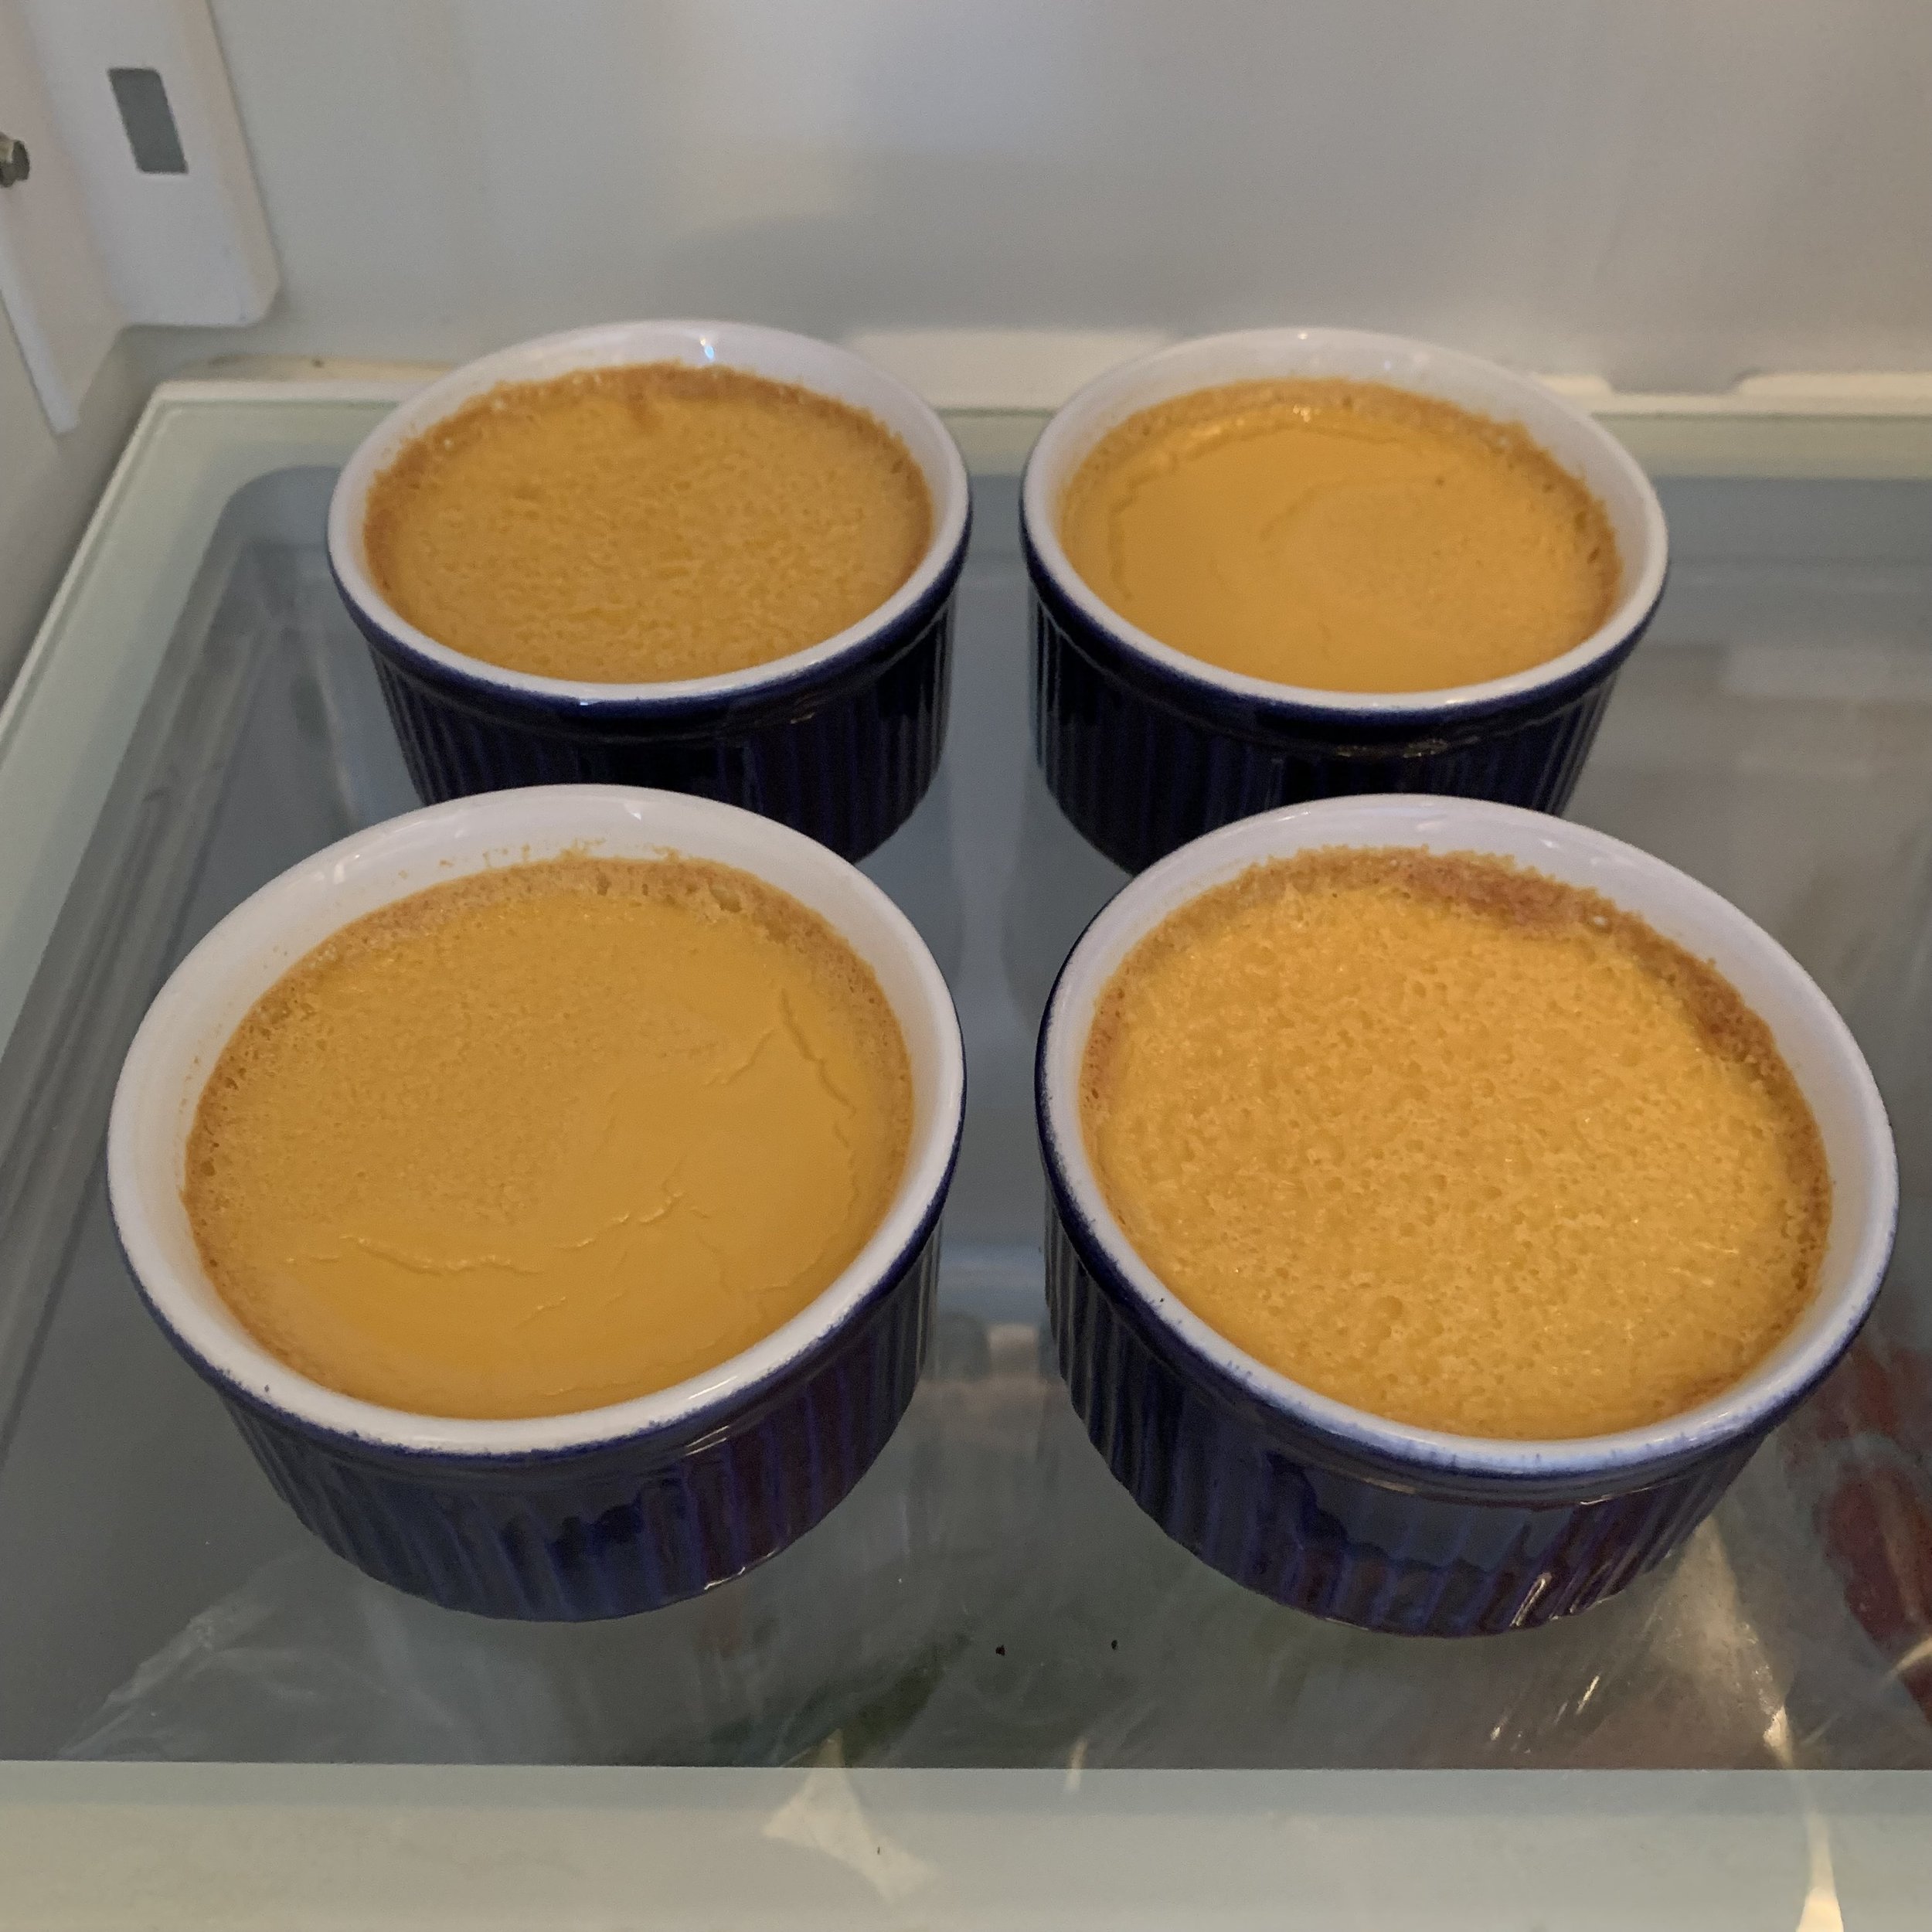
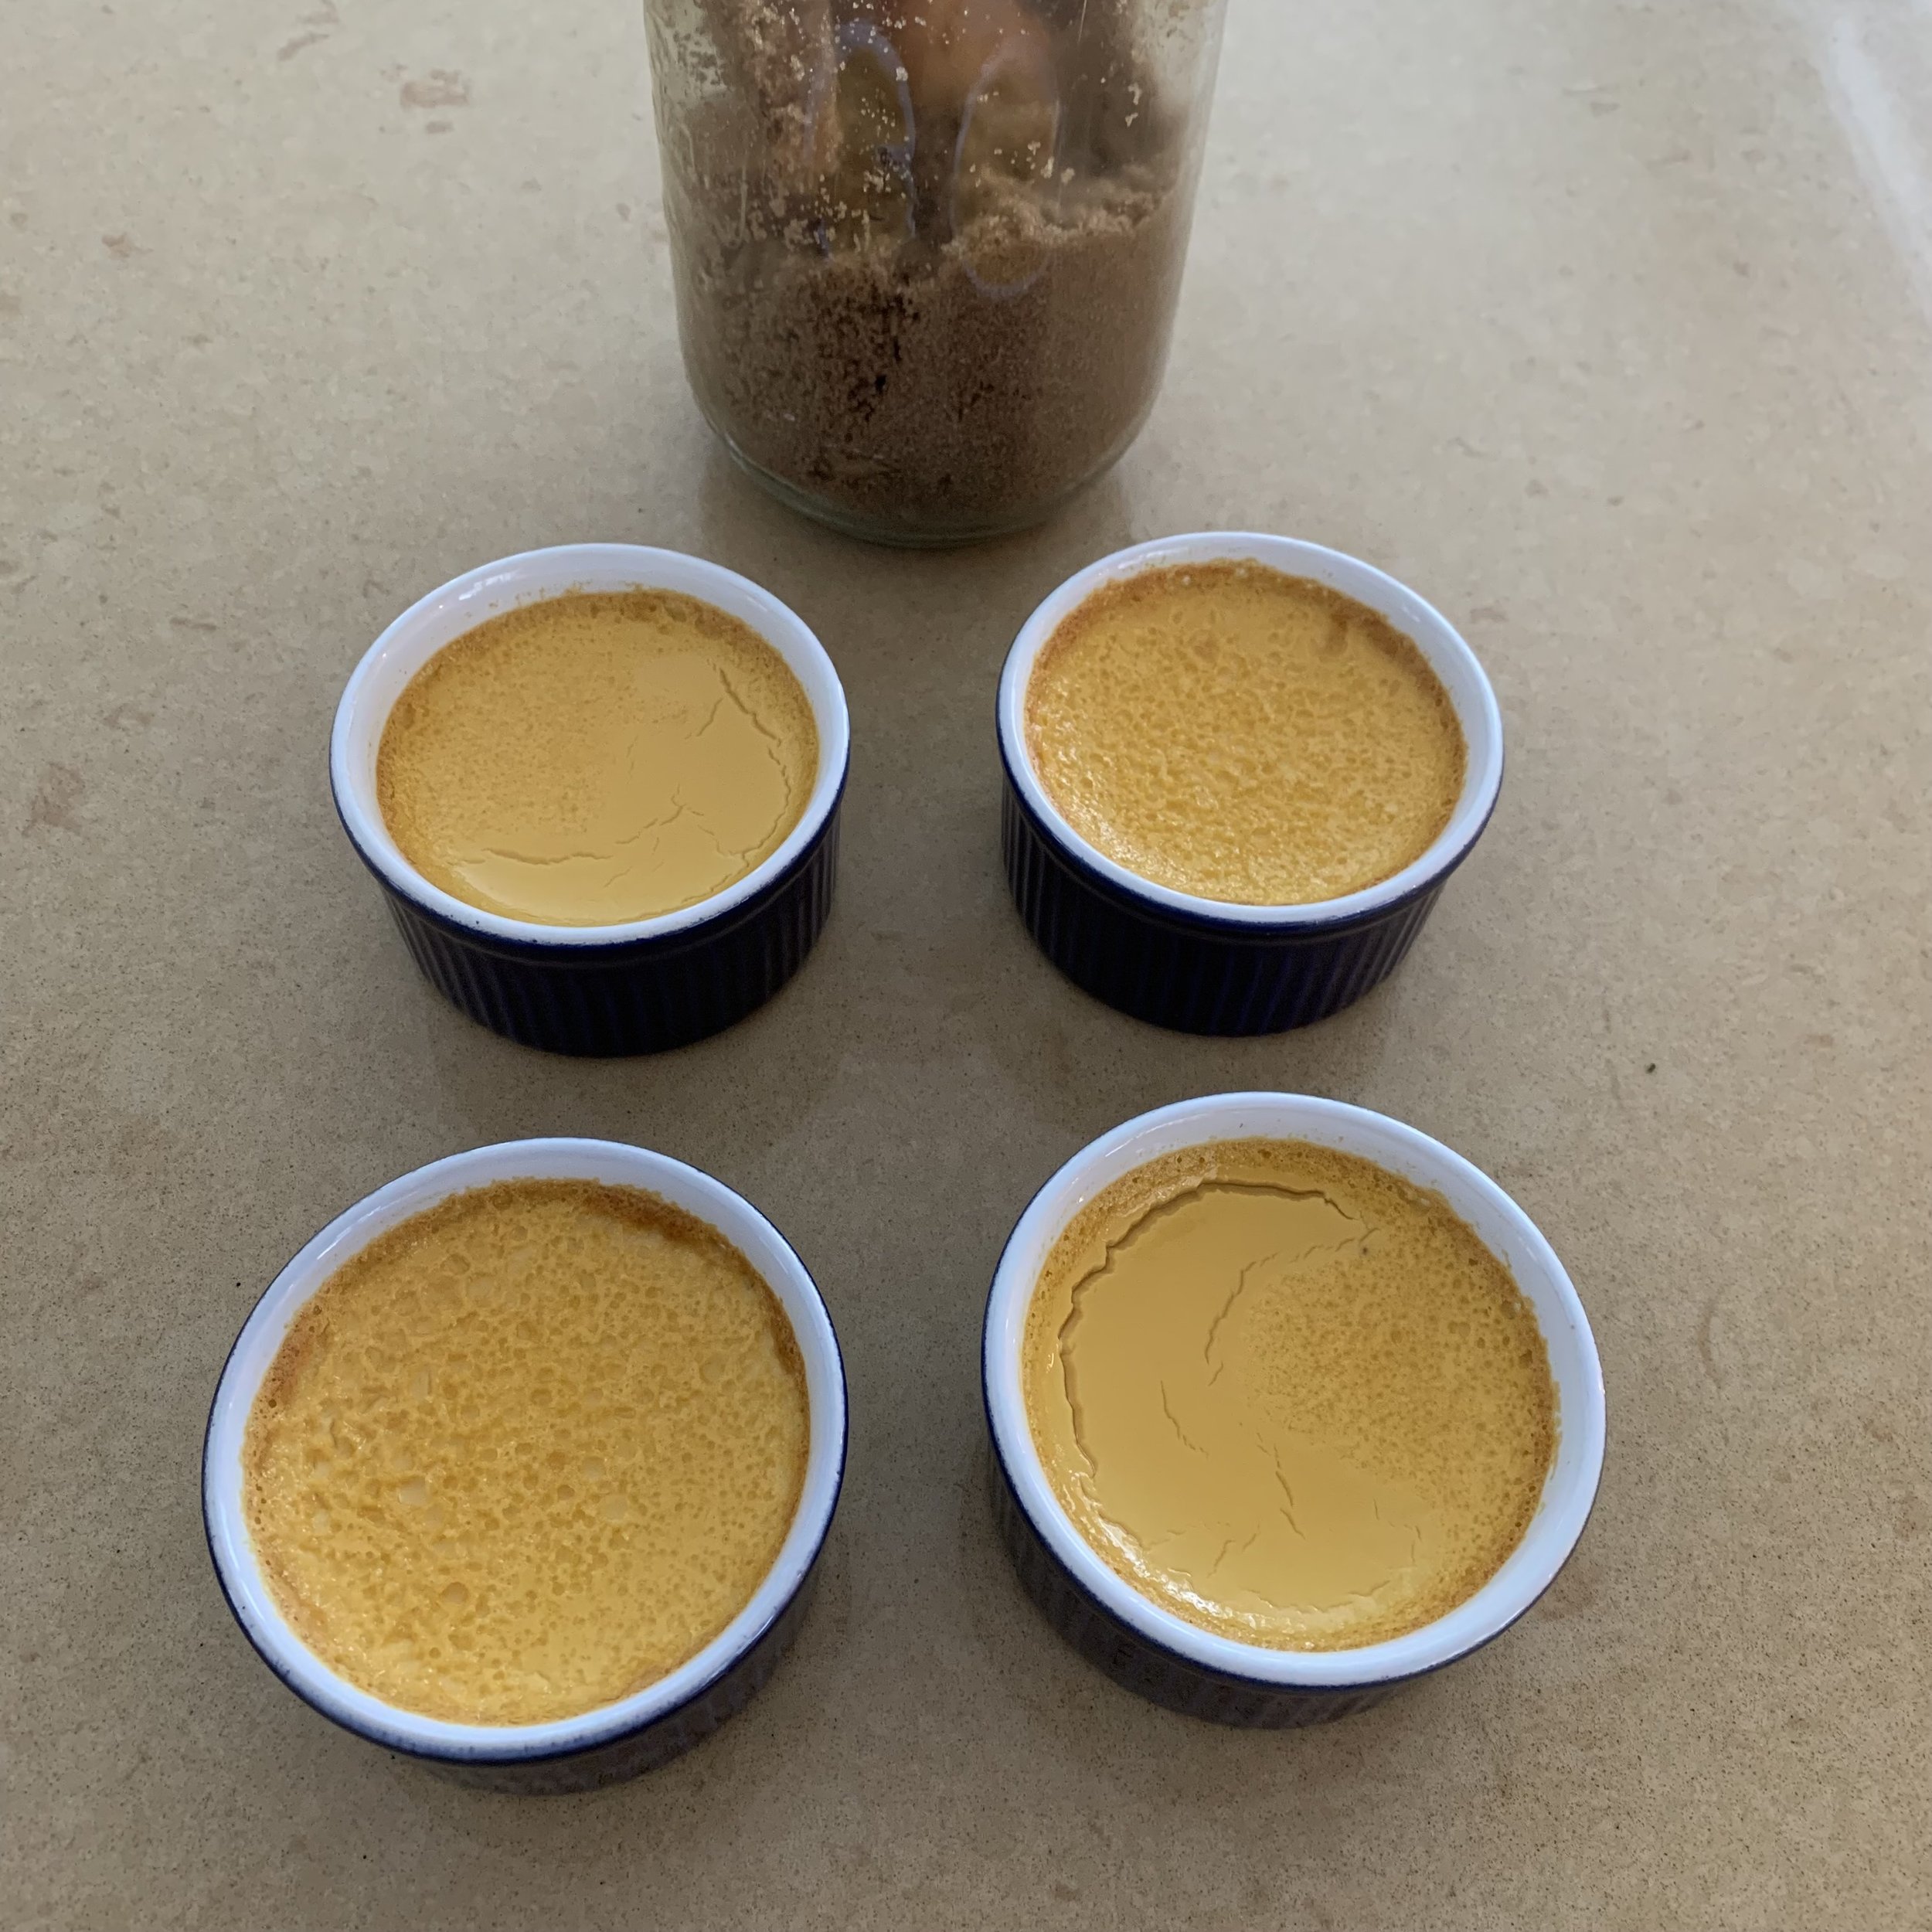
Carefully slide the oven rack back into the oven and bake for about 35 minutes or until set. They will be lightly coloured and a little jiggly…but not runny.
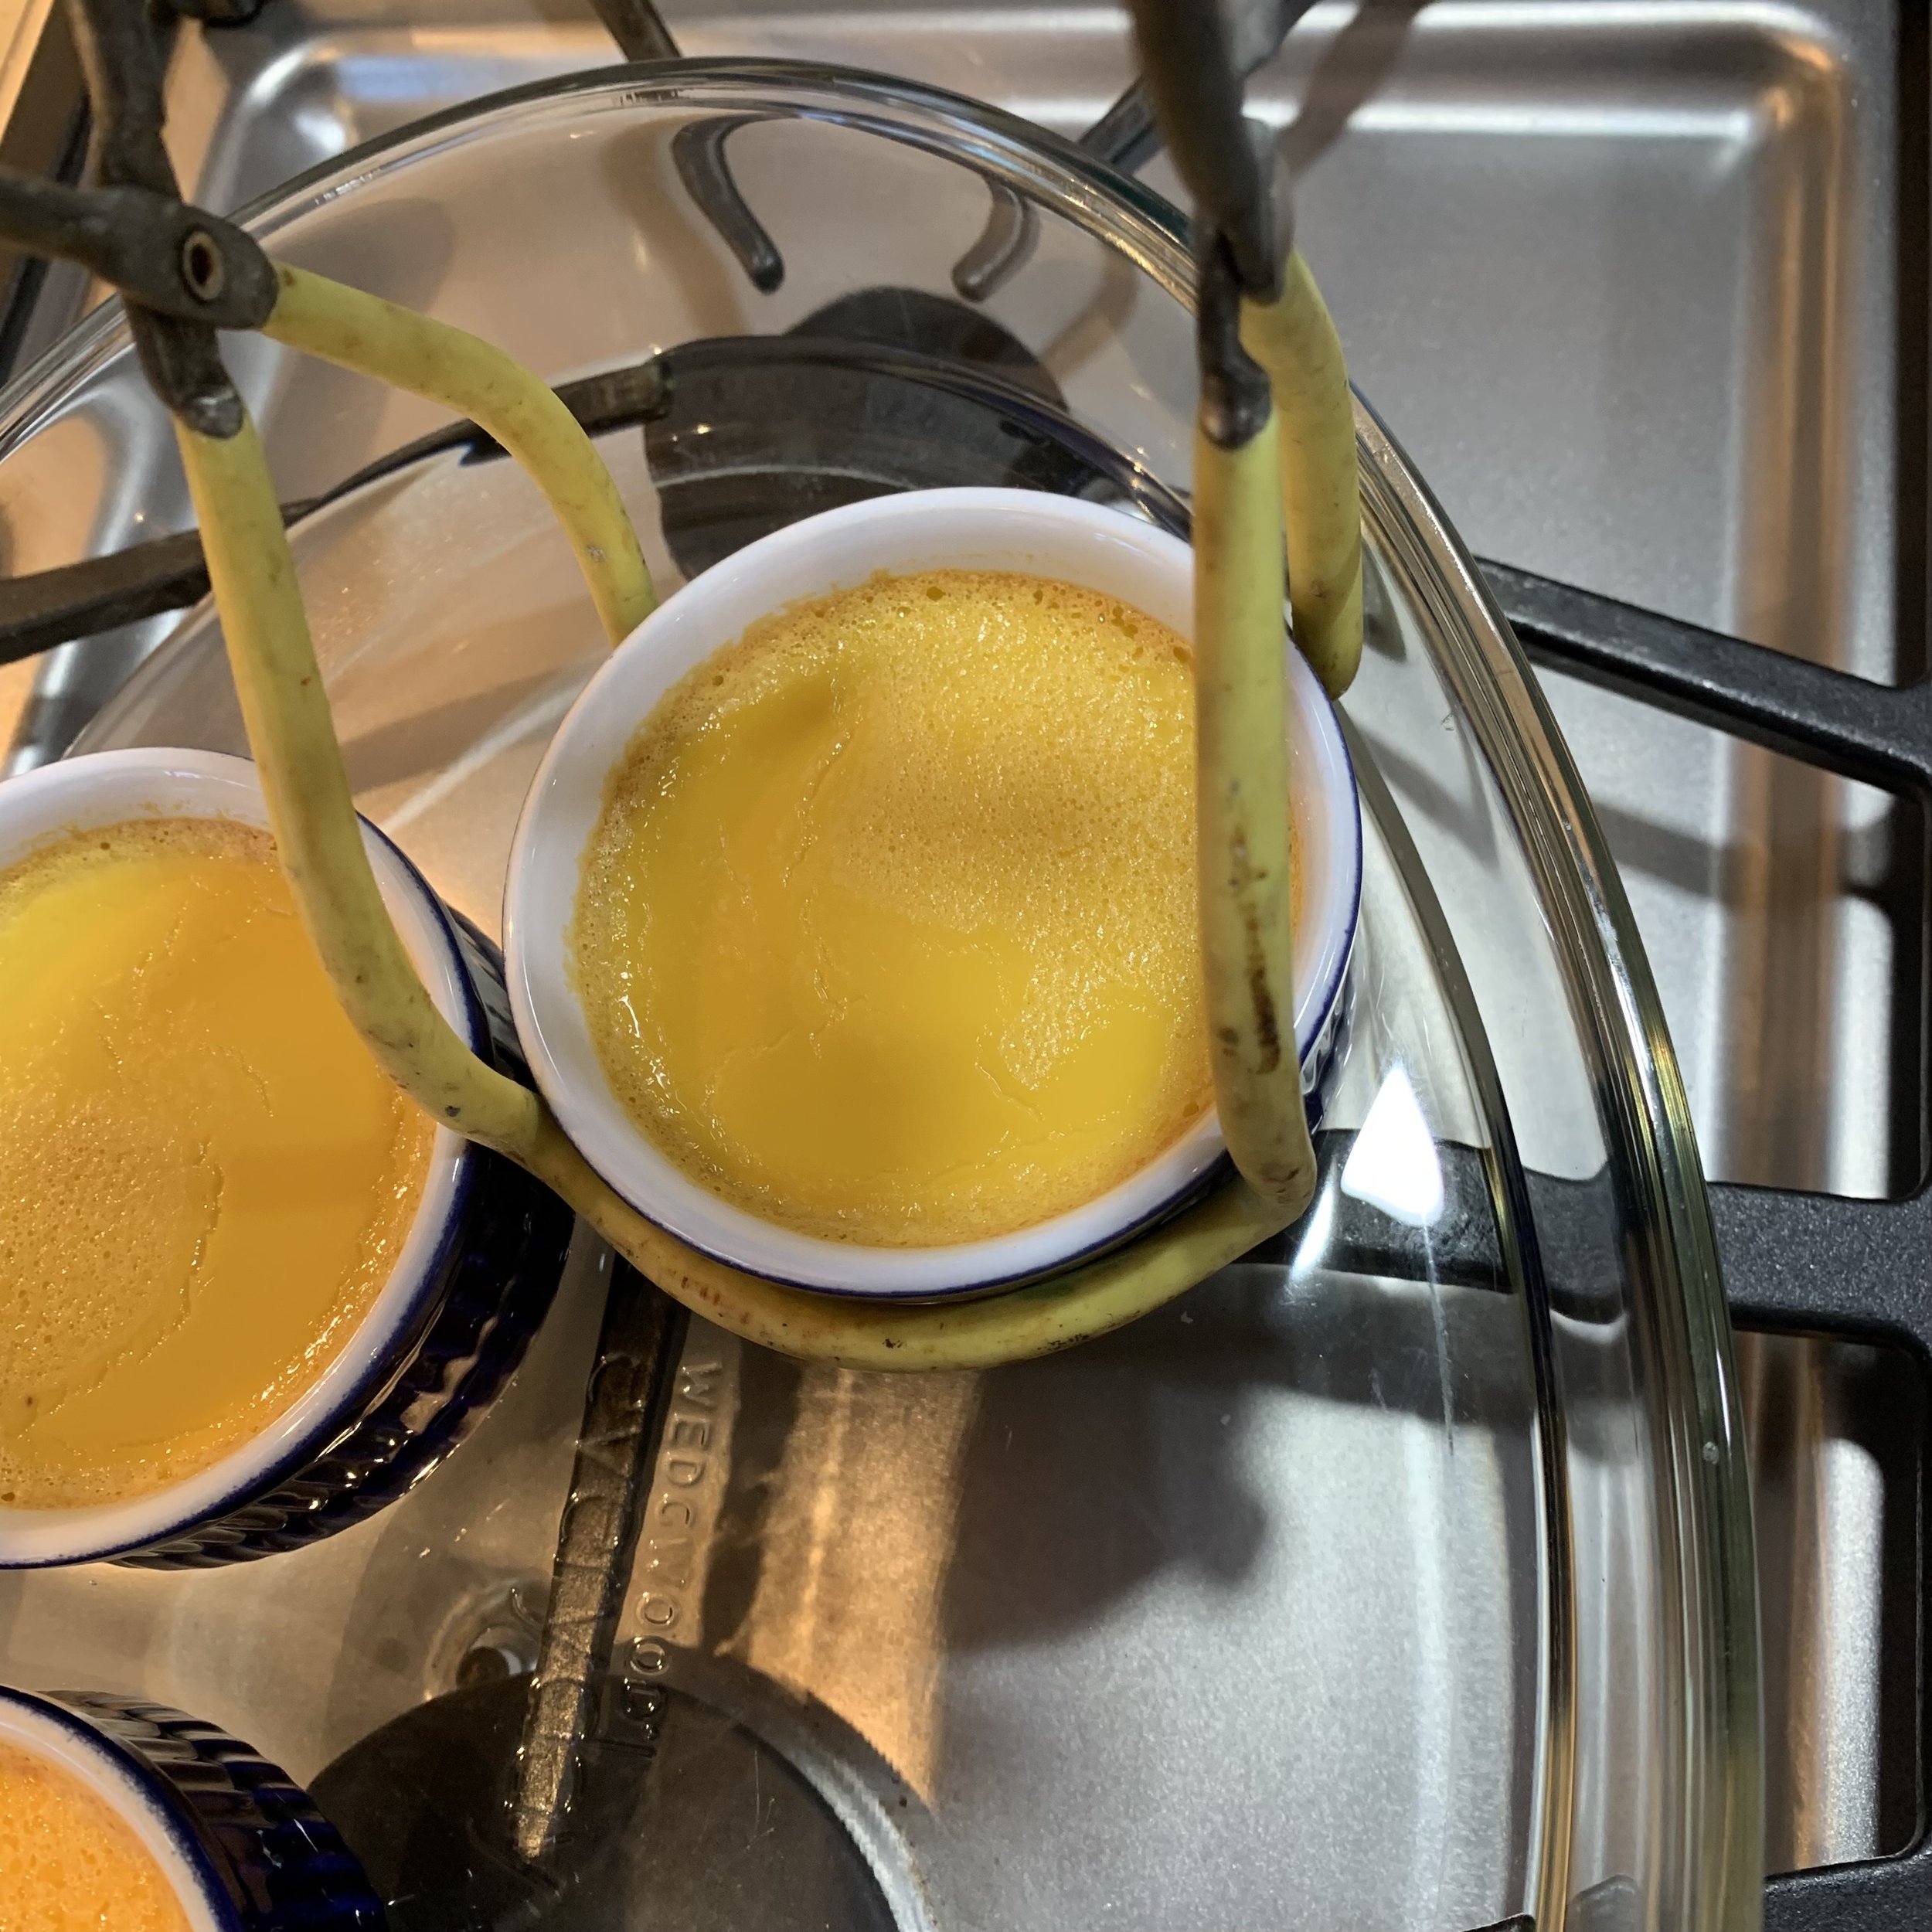
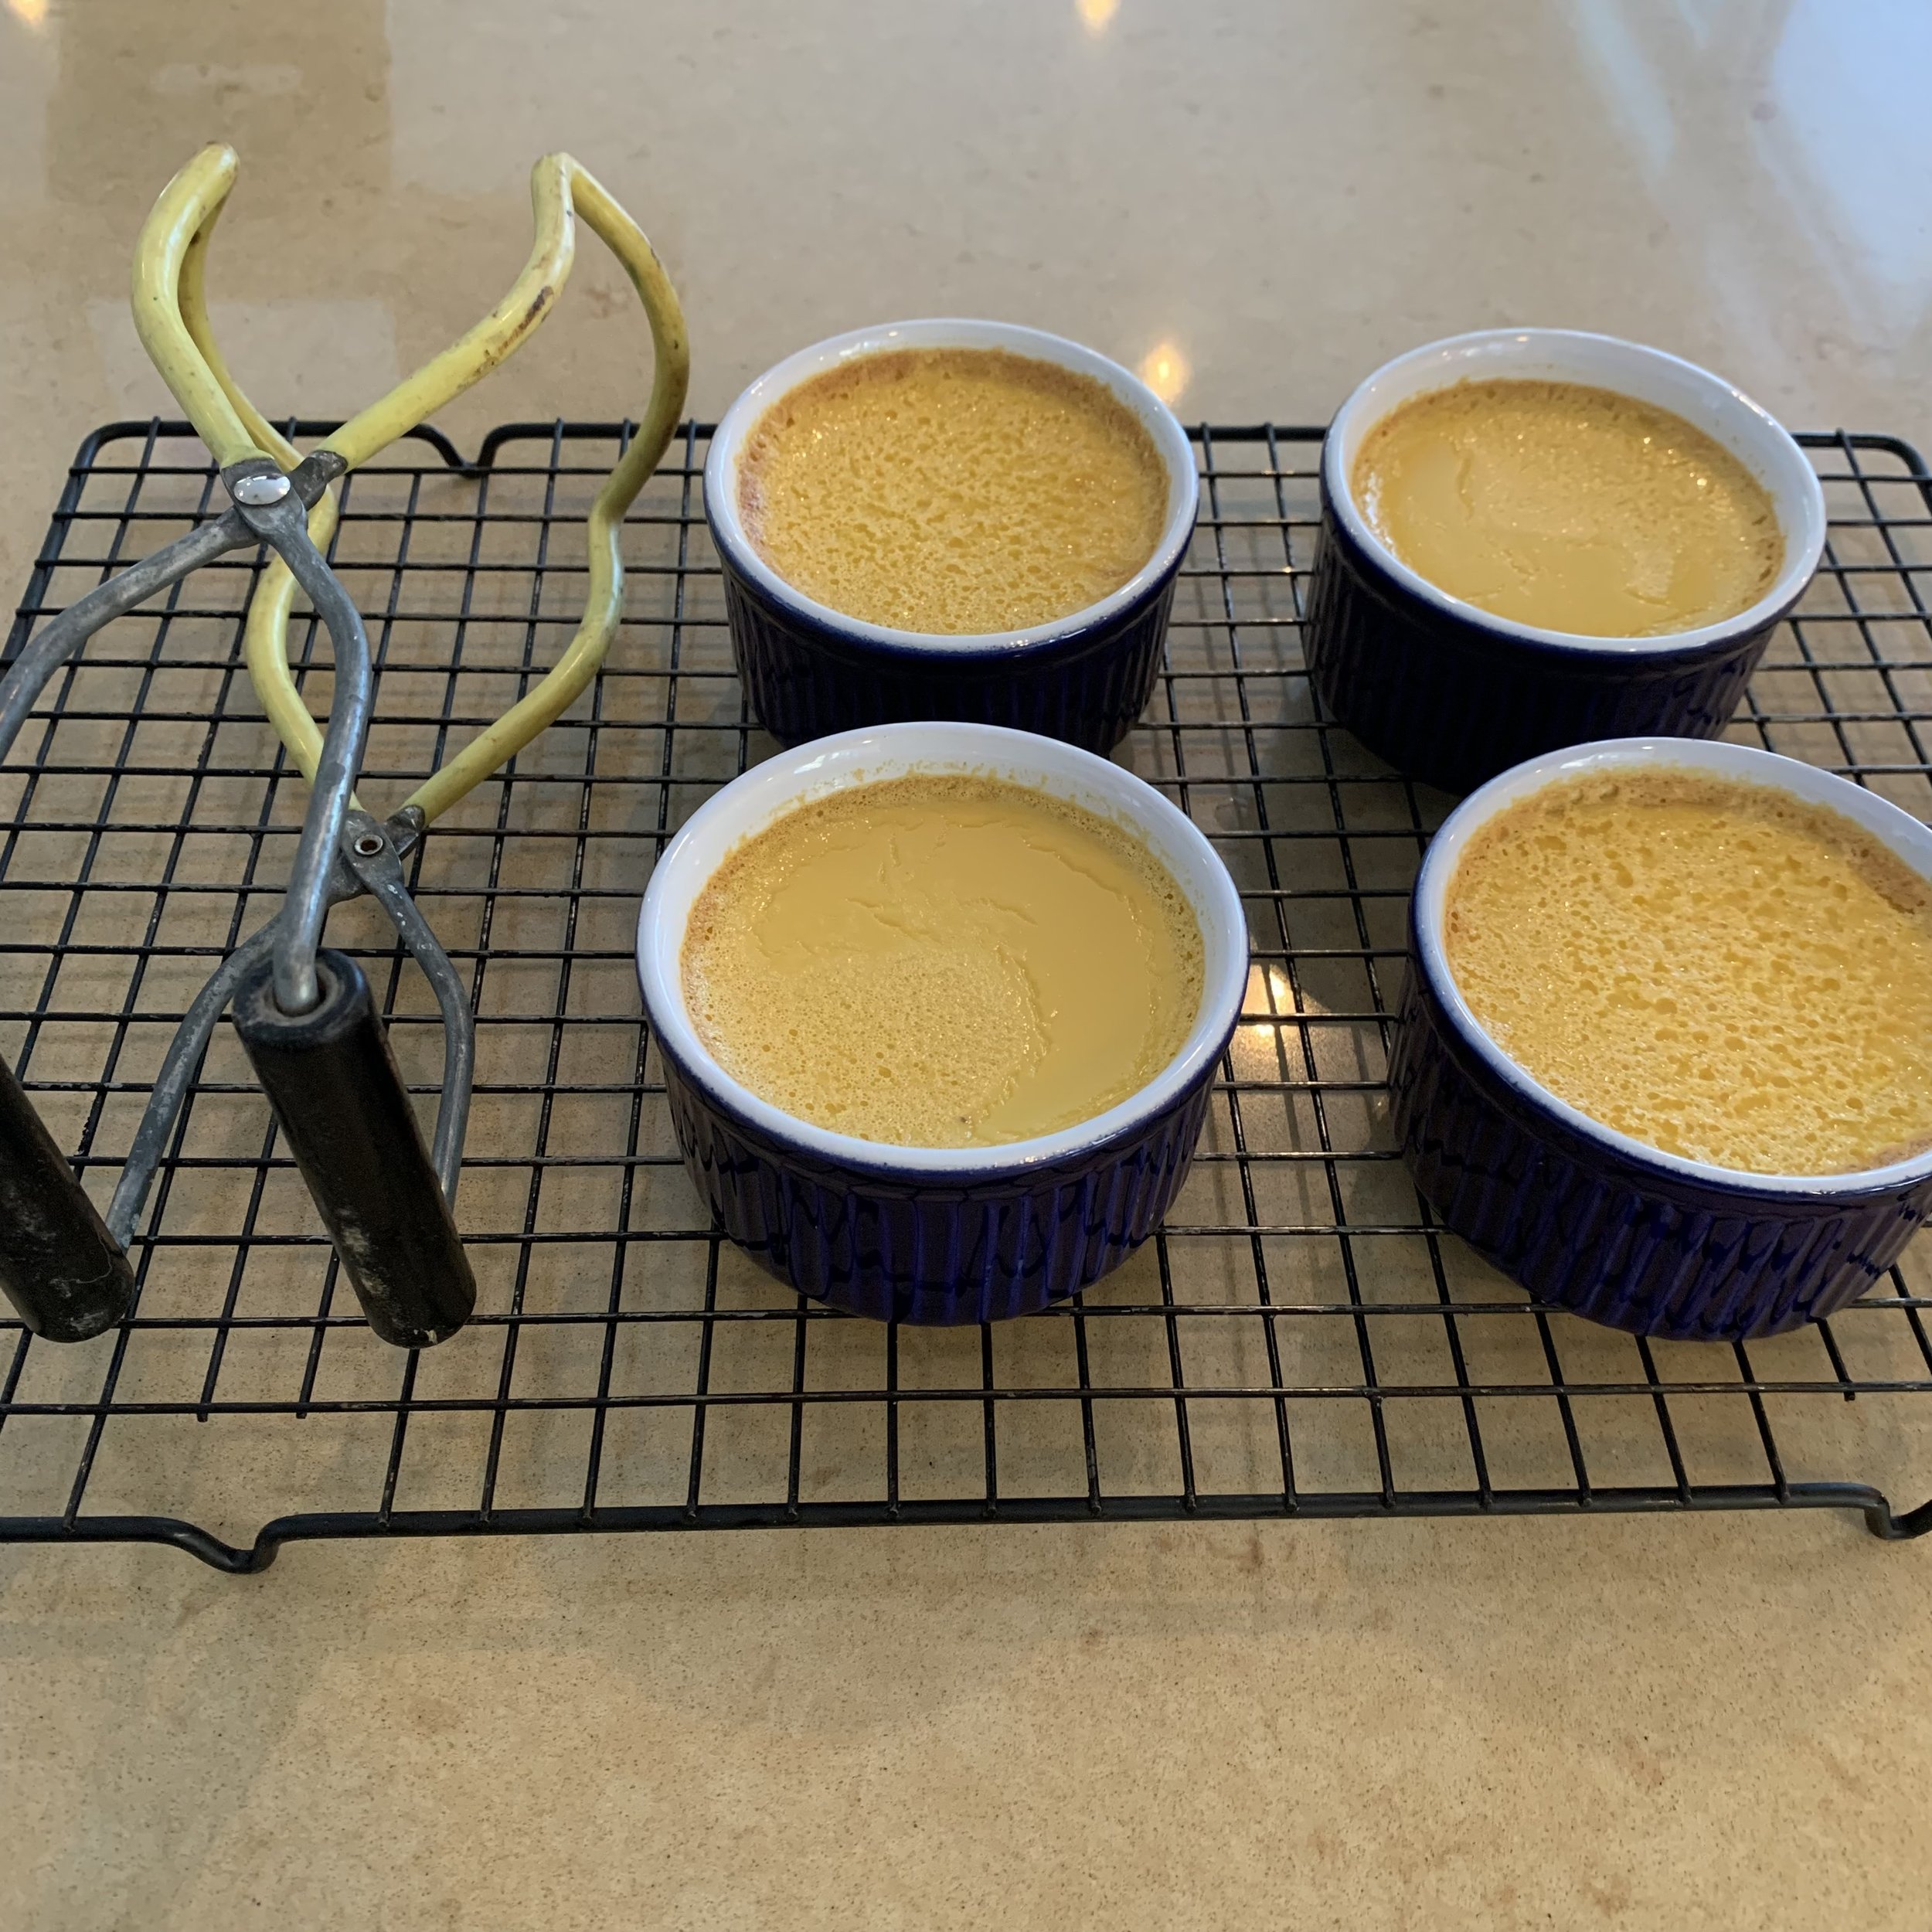
Remove from the oven, cool and if not enjoying immediately, refrigerate. Note: these can be made to this point a day ahead.
When ready to serve, turn your oven on broil.
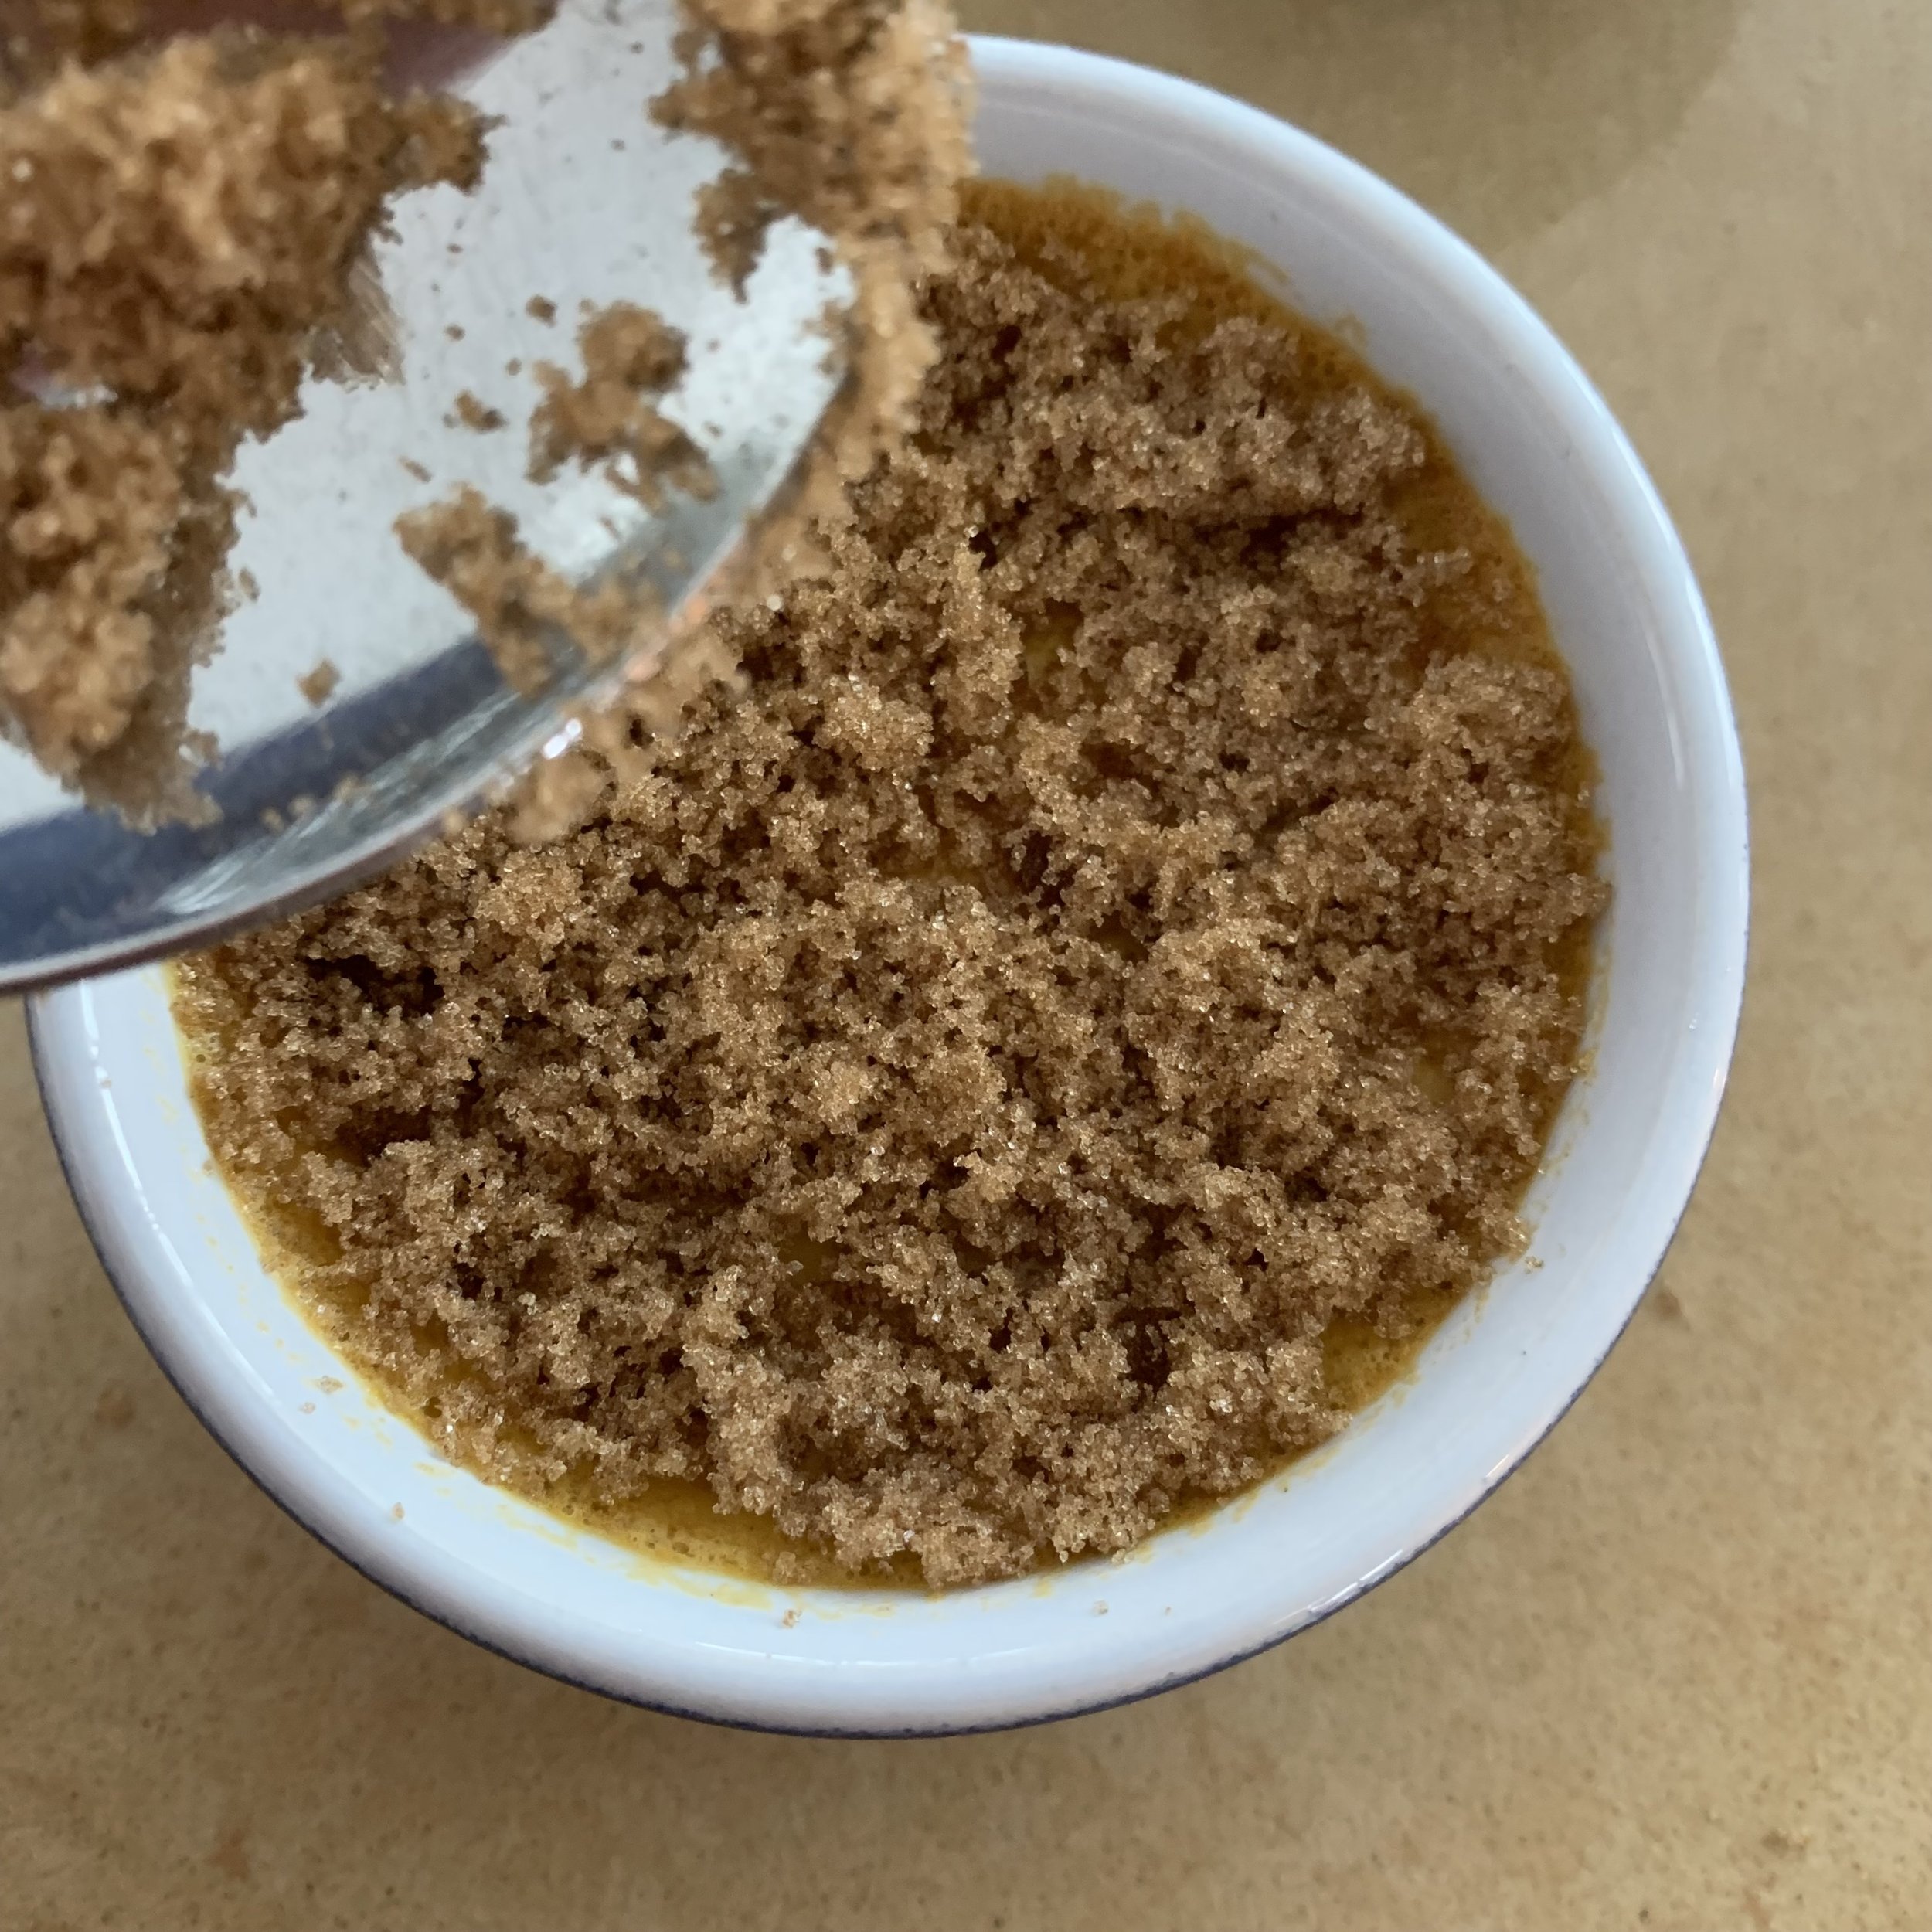
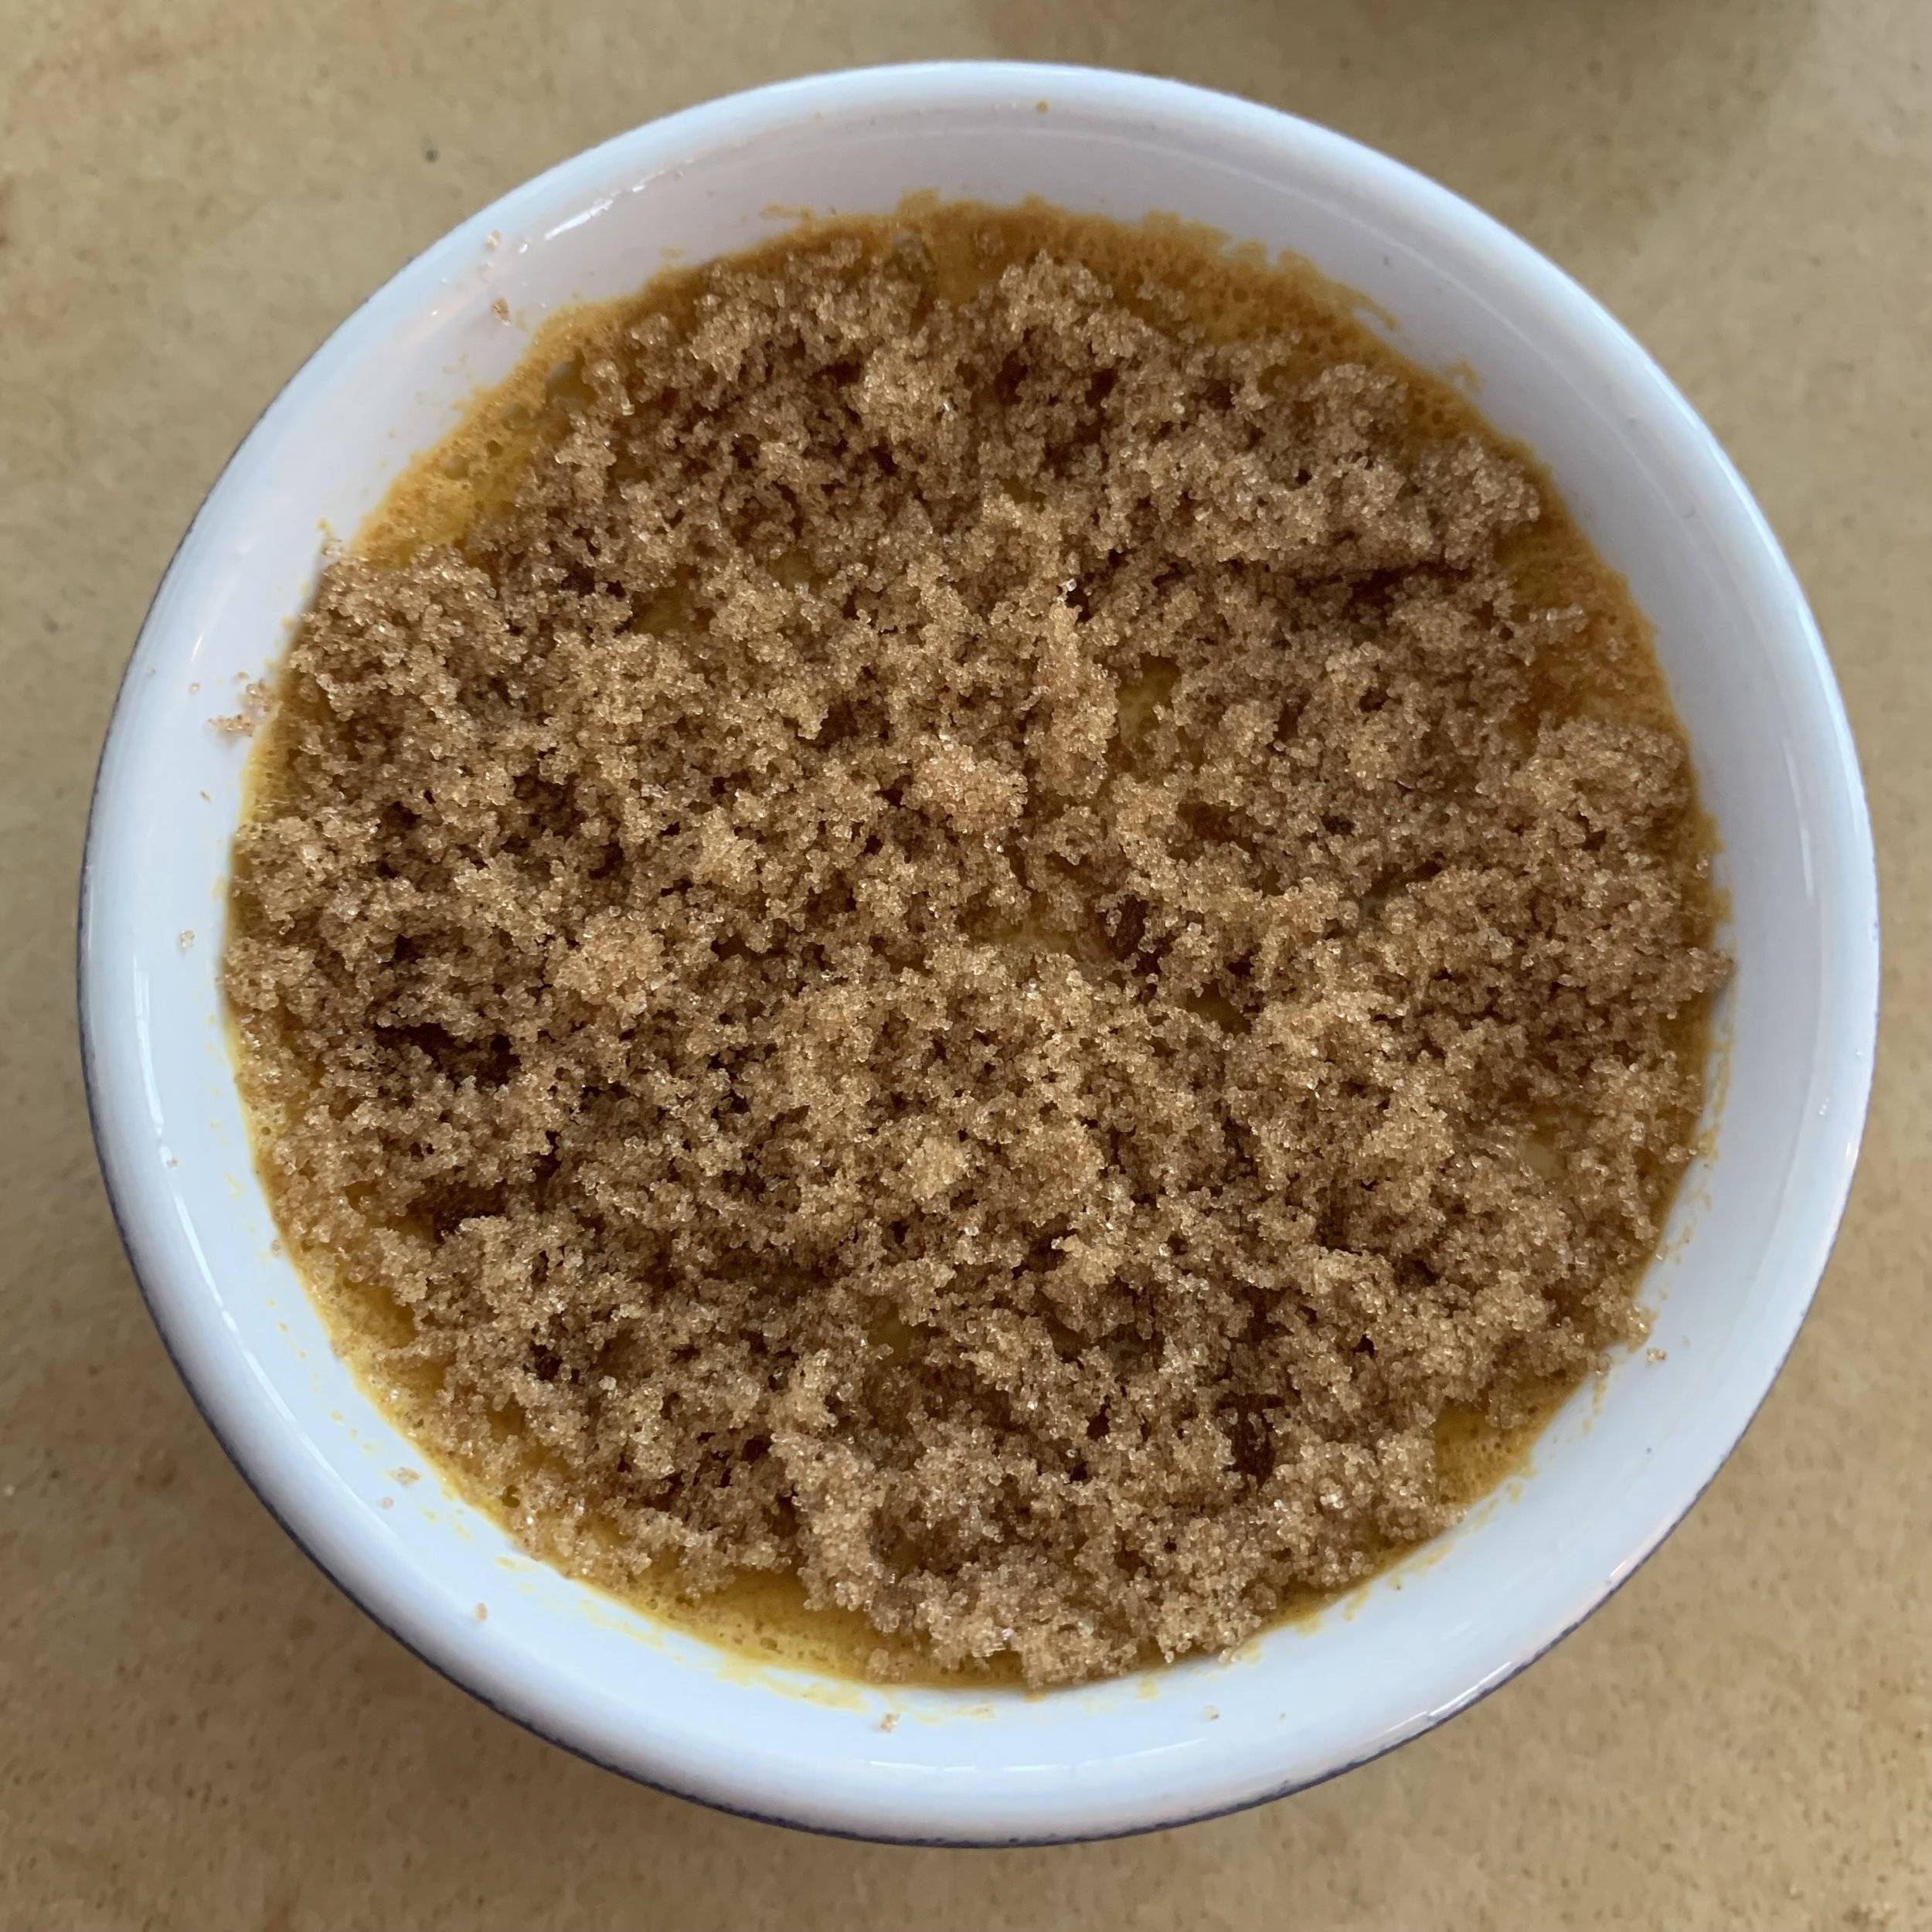
Carefully sprinkle the top of each dish with 1tbsp brown sugar.
I did this next step ine at a time - place a dish under the broiler. I kept a constant eye on the topping, holding the oven open about an inch. It doesn’t take long for the topping to melt and then begin to bubble. Again, like scalding milk, the brown sugar here can go from perfect to burnt in the blink of an eye.
In the above recipe, I put all 4 dishes after doing the topping into the fridge. 2 were enjoyed several hours later and the topping was cooled and crunchy. However, as I mentioned at the toppong of the other 2 turned to liquid. So, I’d save ‘doing the topping’ until I was about to serve them :).


