Canning 101
Canning Basics: Preserving the Taste of Summer, One Jar at a Time
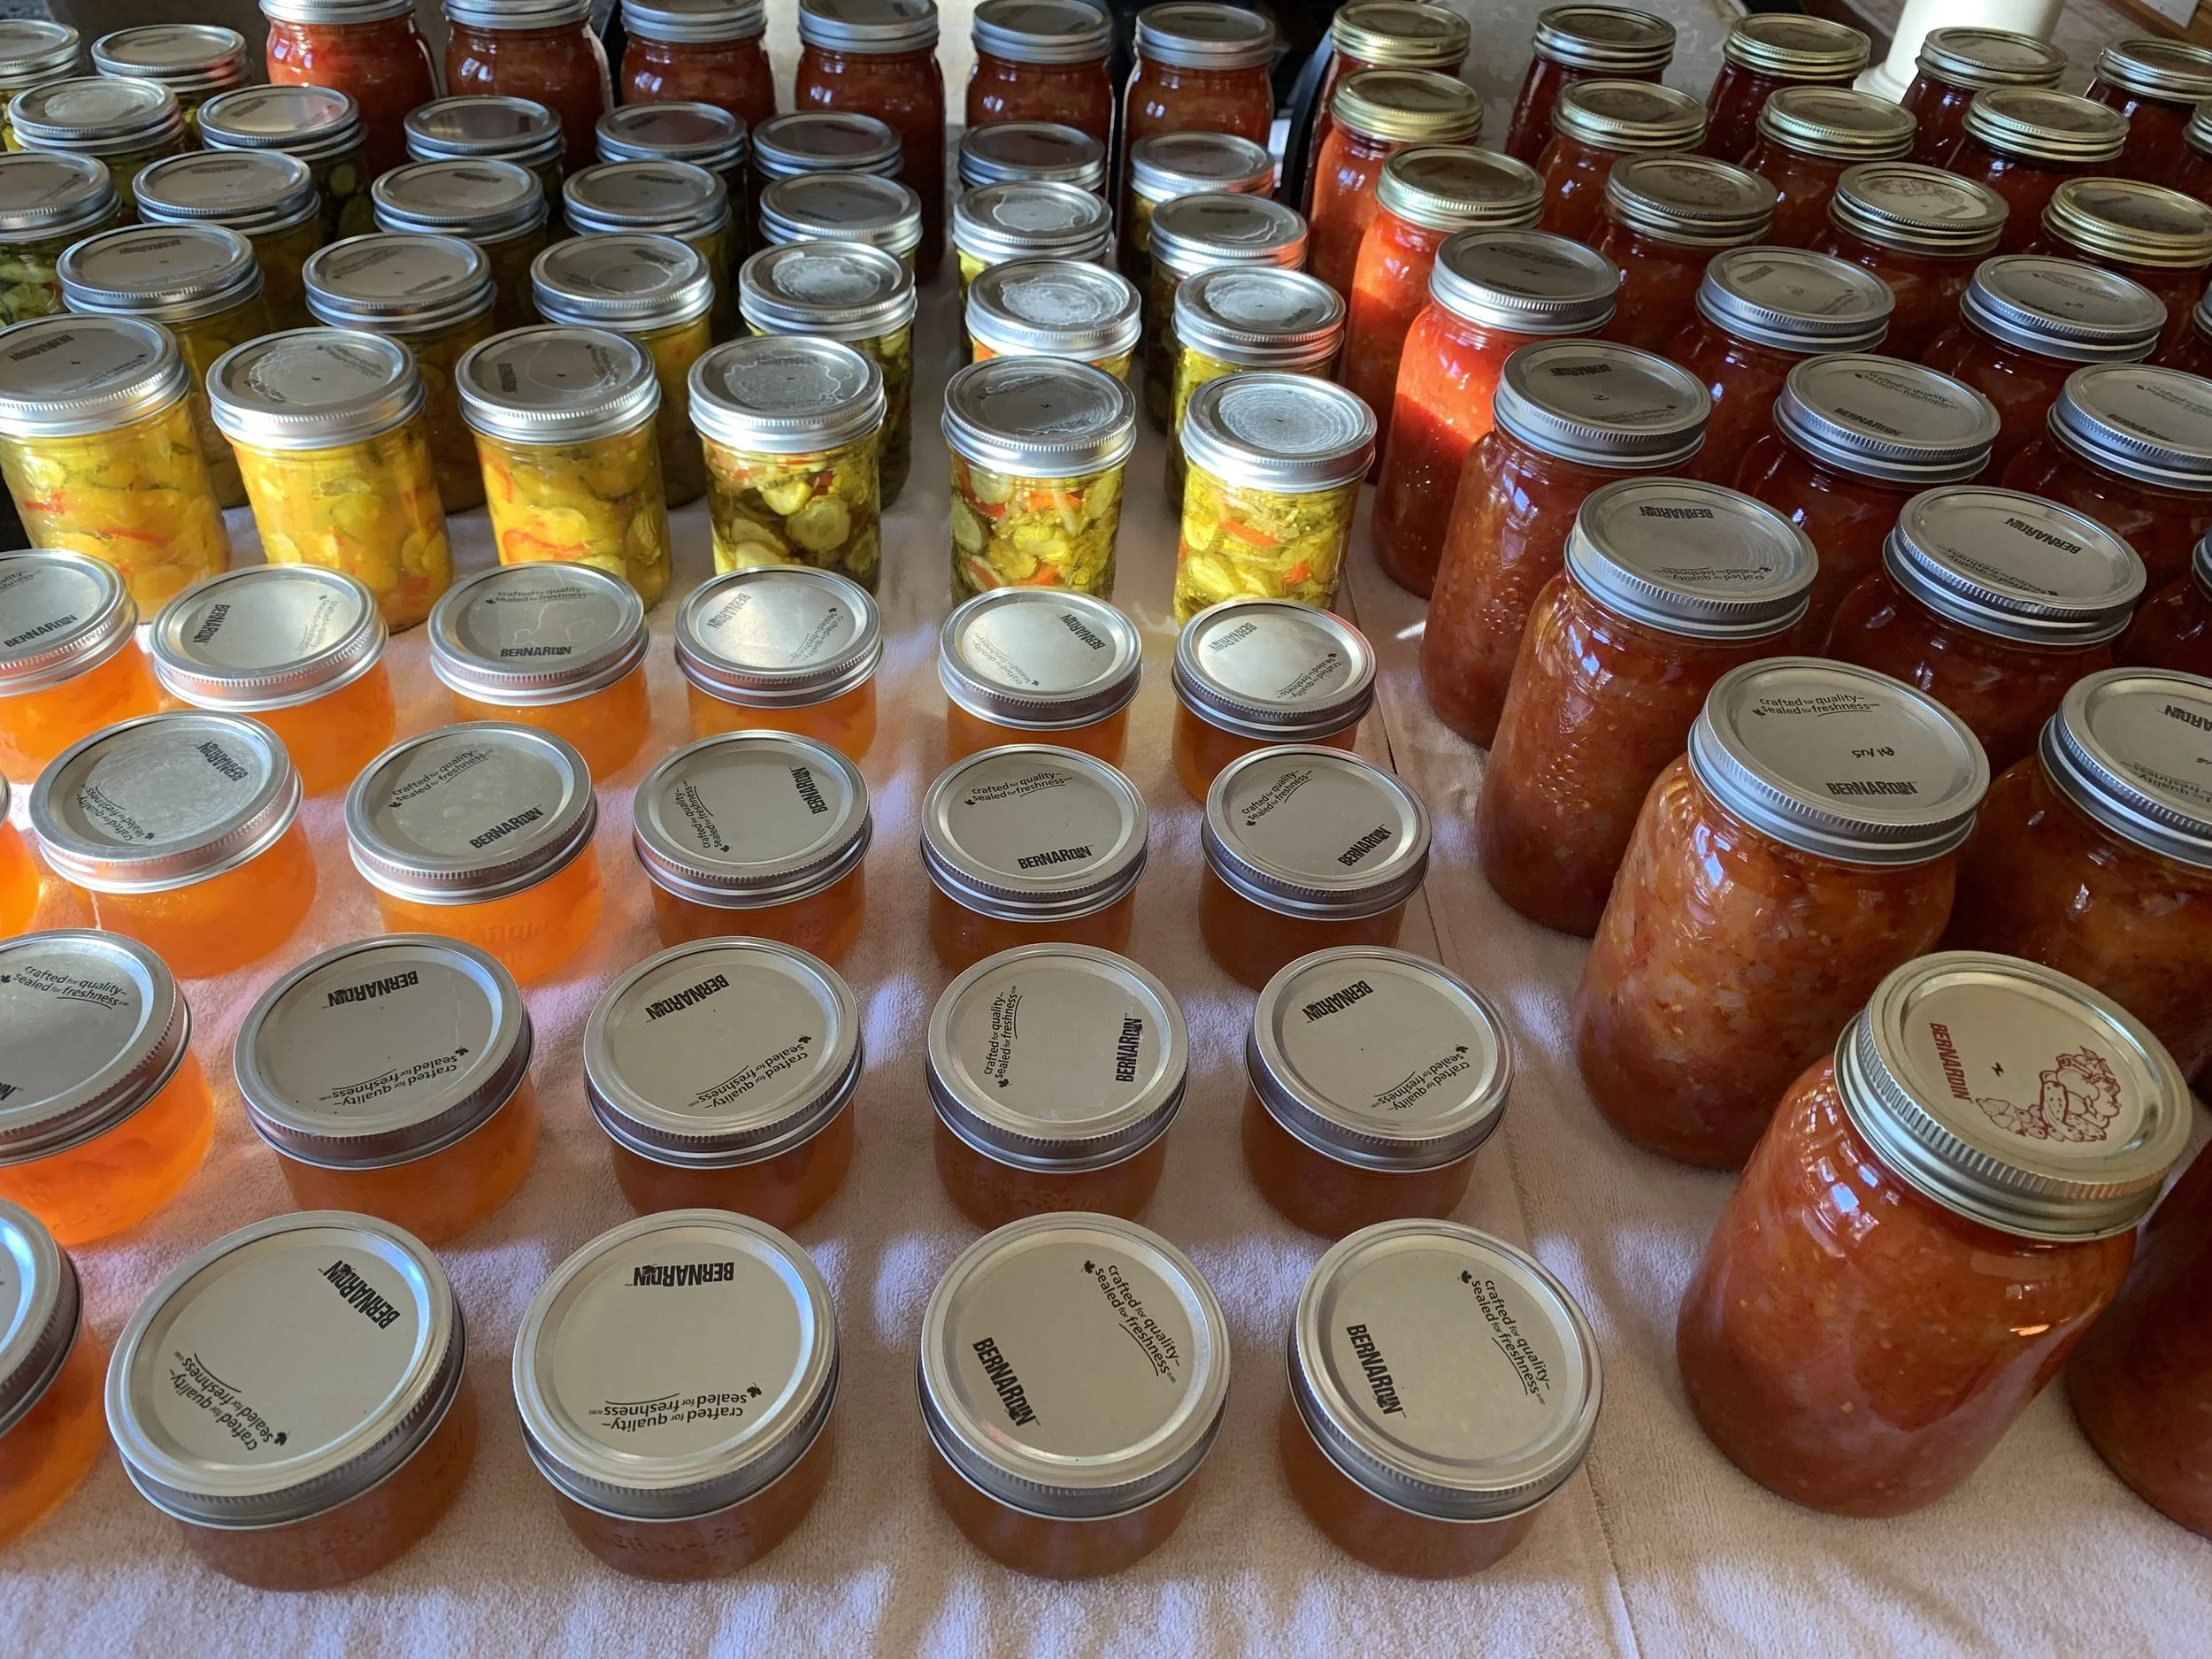
Growing up, I watched my mom transform summer’s bounty into jams, jellies, and pickles. Her method of choice? The hot wax method. She’d carefully pour hot, sterile ingredients into sterilized jars and then top each one with a layer of molten wax to create a seal.
I gave this method a try, but dealing with hot wax made me nervous. And let’s be honest—weeks or months later, cracking open a jar, popping off the wax, and hoping the contents were still safe? It just wasn’t for me. So, I decided to teach myself a different approach: the boiling water bath method.
Boiling water bath canning is a step below pressure canning and a safer, simpler process for high-acid foods like jams, jellies, pickles, and tomatoes. While pressure canning is needed for low-acid items, the boiling water bath keeps me safely in my comfort zone—and gives me peace of mind every time I open a jar.
Yes, canning takes a little extra effort, especially in the thick of fresh produce season. But the rewards? Oh, they’re so worth it. There’s something deeply satisfying about filling a shelf with jars of homemade goodness. I know exactly what’s inside each one, and the taste is something store-bought versions can never replicate.
More than that, canning keeps alive a skill that’s fading in our fast-paced, instant-gratification world. It connects us to a slower, more self-sufficient past—a time when people worked with the seasons, preserved nature’s abundance, and appreciated the simple joy of opening a jar of summer in the middle of winter.
So, here’s to canning:
To the sweet smell of ripe berries simmering on the stove.
To the satisfying pop of a jar sealing as it cools.
To knowing you’ve captured a little bit of summer sunshine to enjoy year-round.
It’s more than just food in a jar; it’s a connection to nature, to tradition, and to the joy of creating something with love. ❤️🥫
Canning 101
Special Note: Once you have the canning supplies, you have them for life :).
Ingredients:
Canning Equipment:
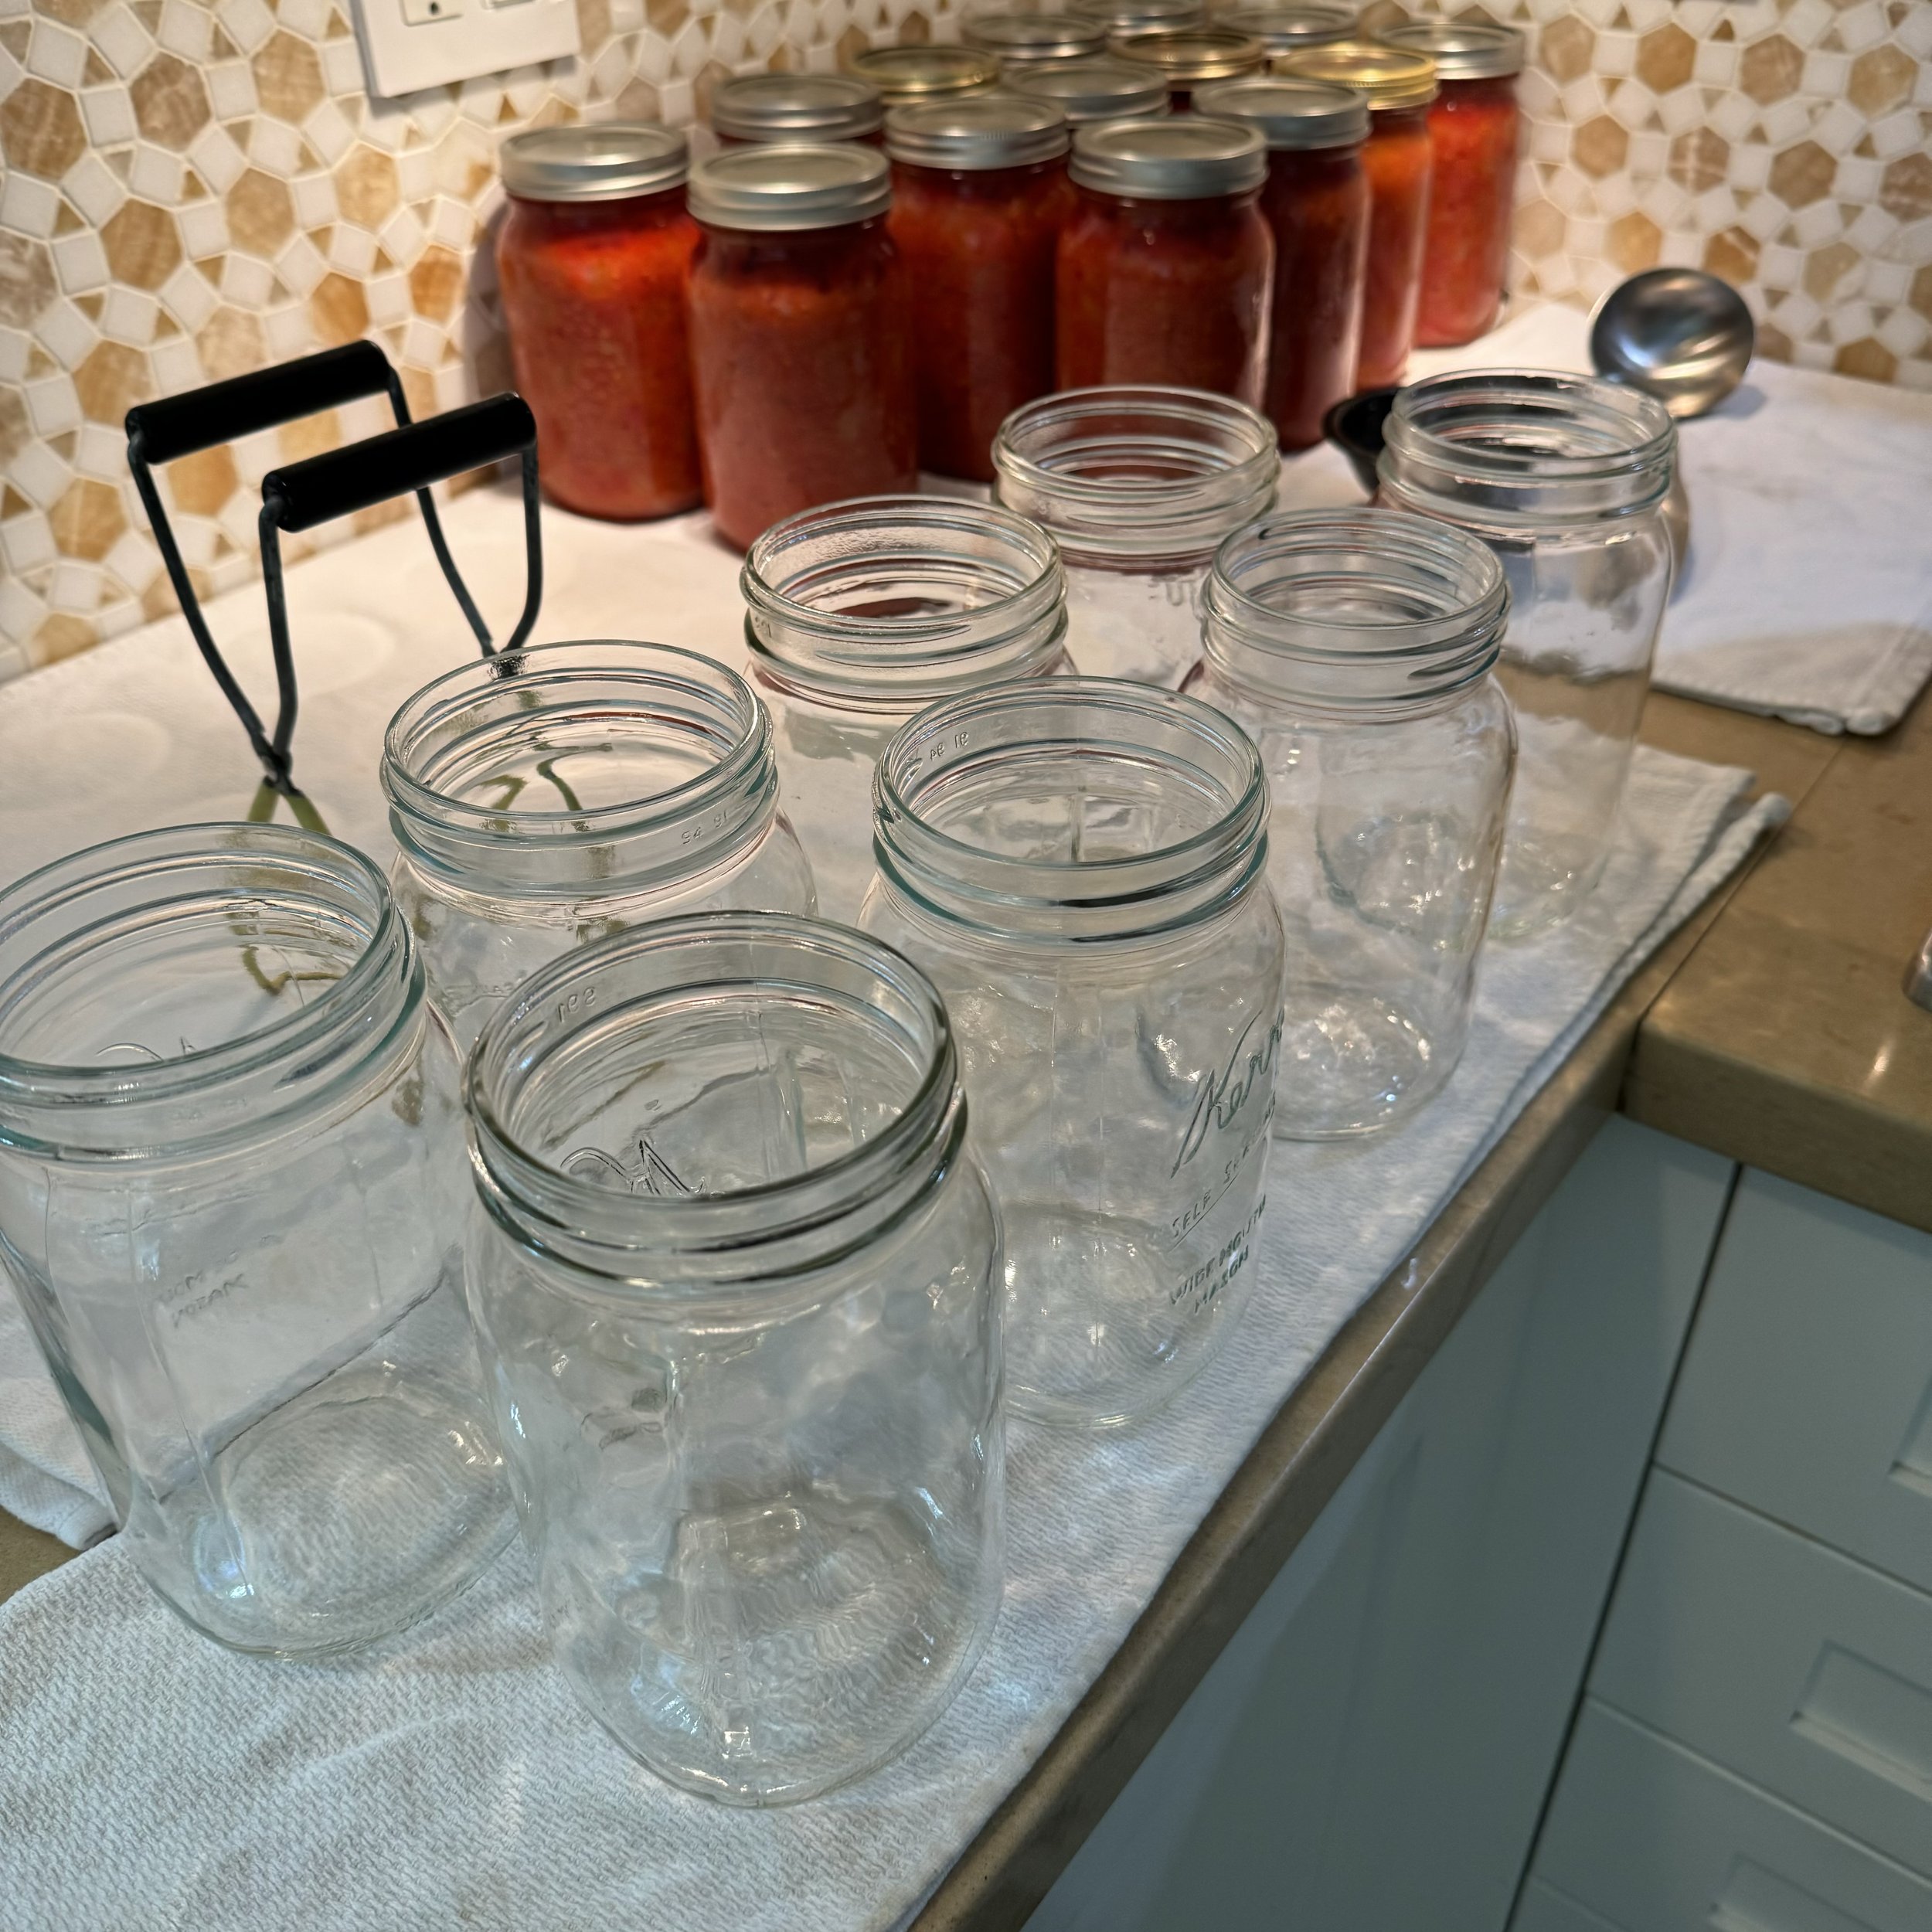
Canning Jars with new lids (rings can be recycled) - Ensure rims are NOT nicked in any way!
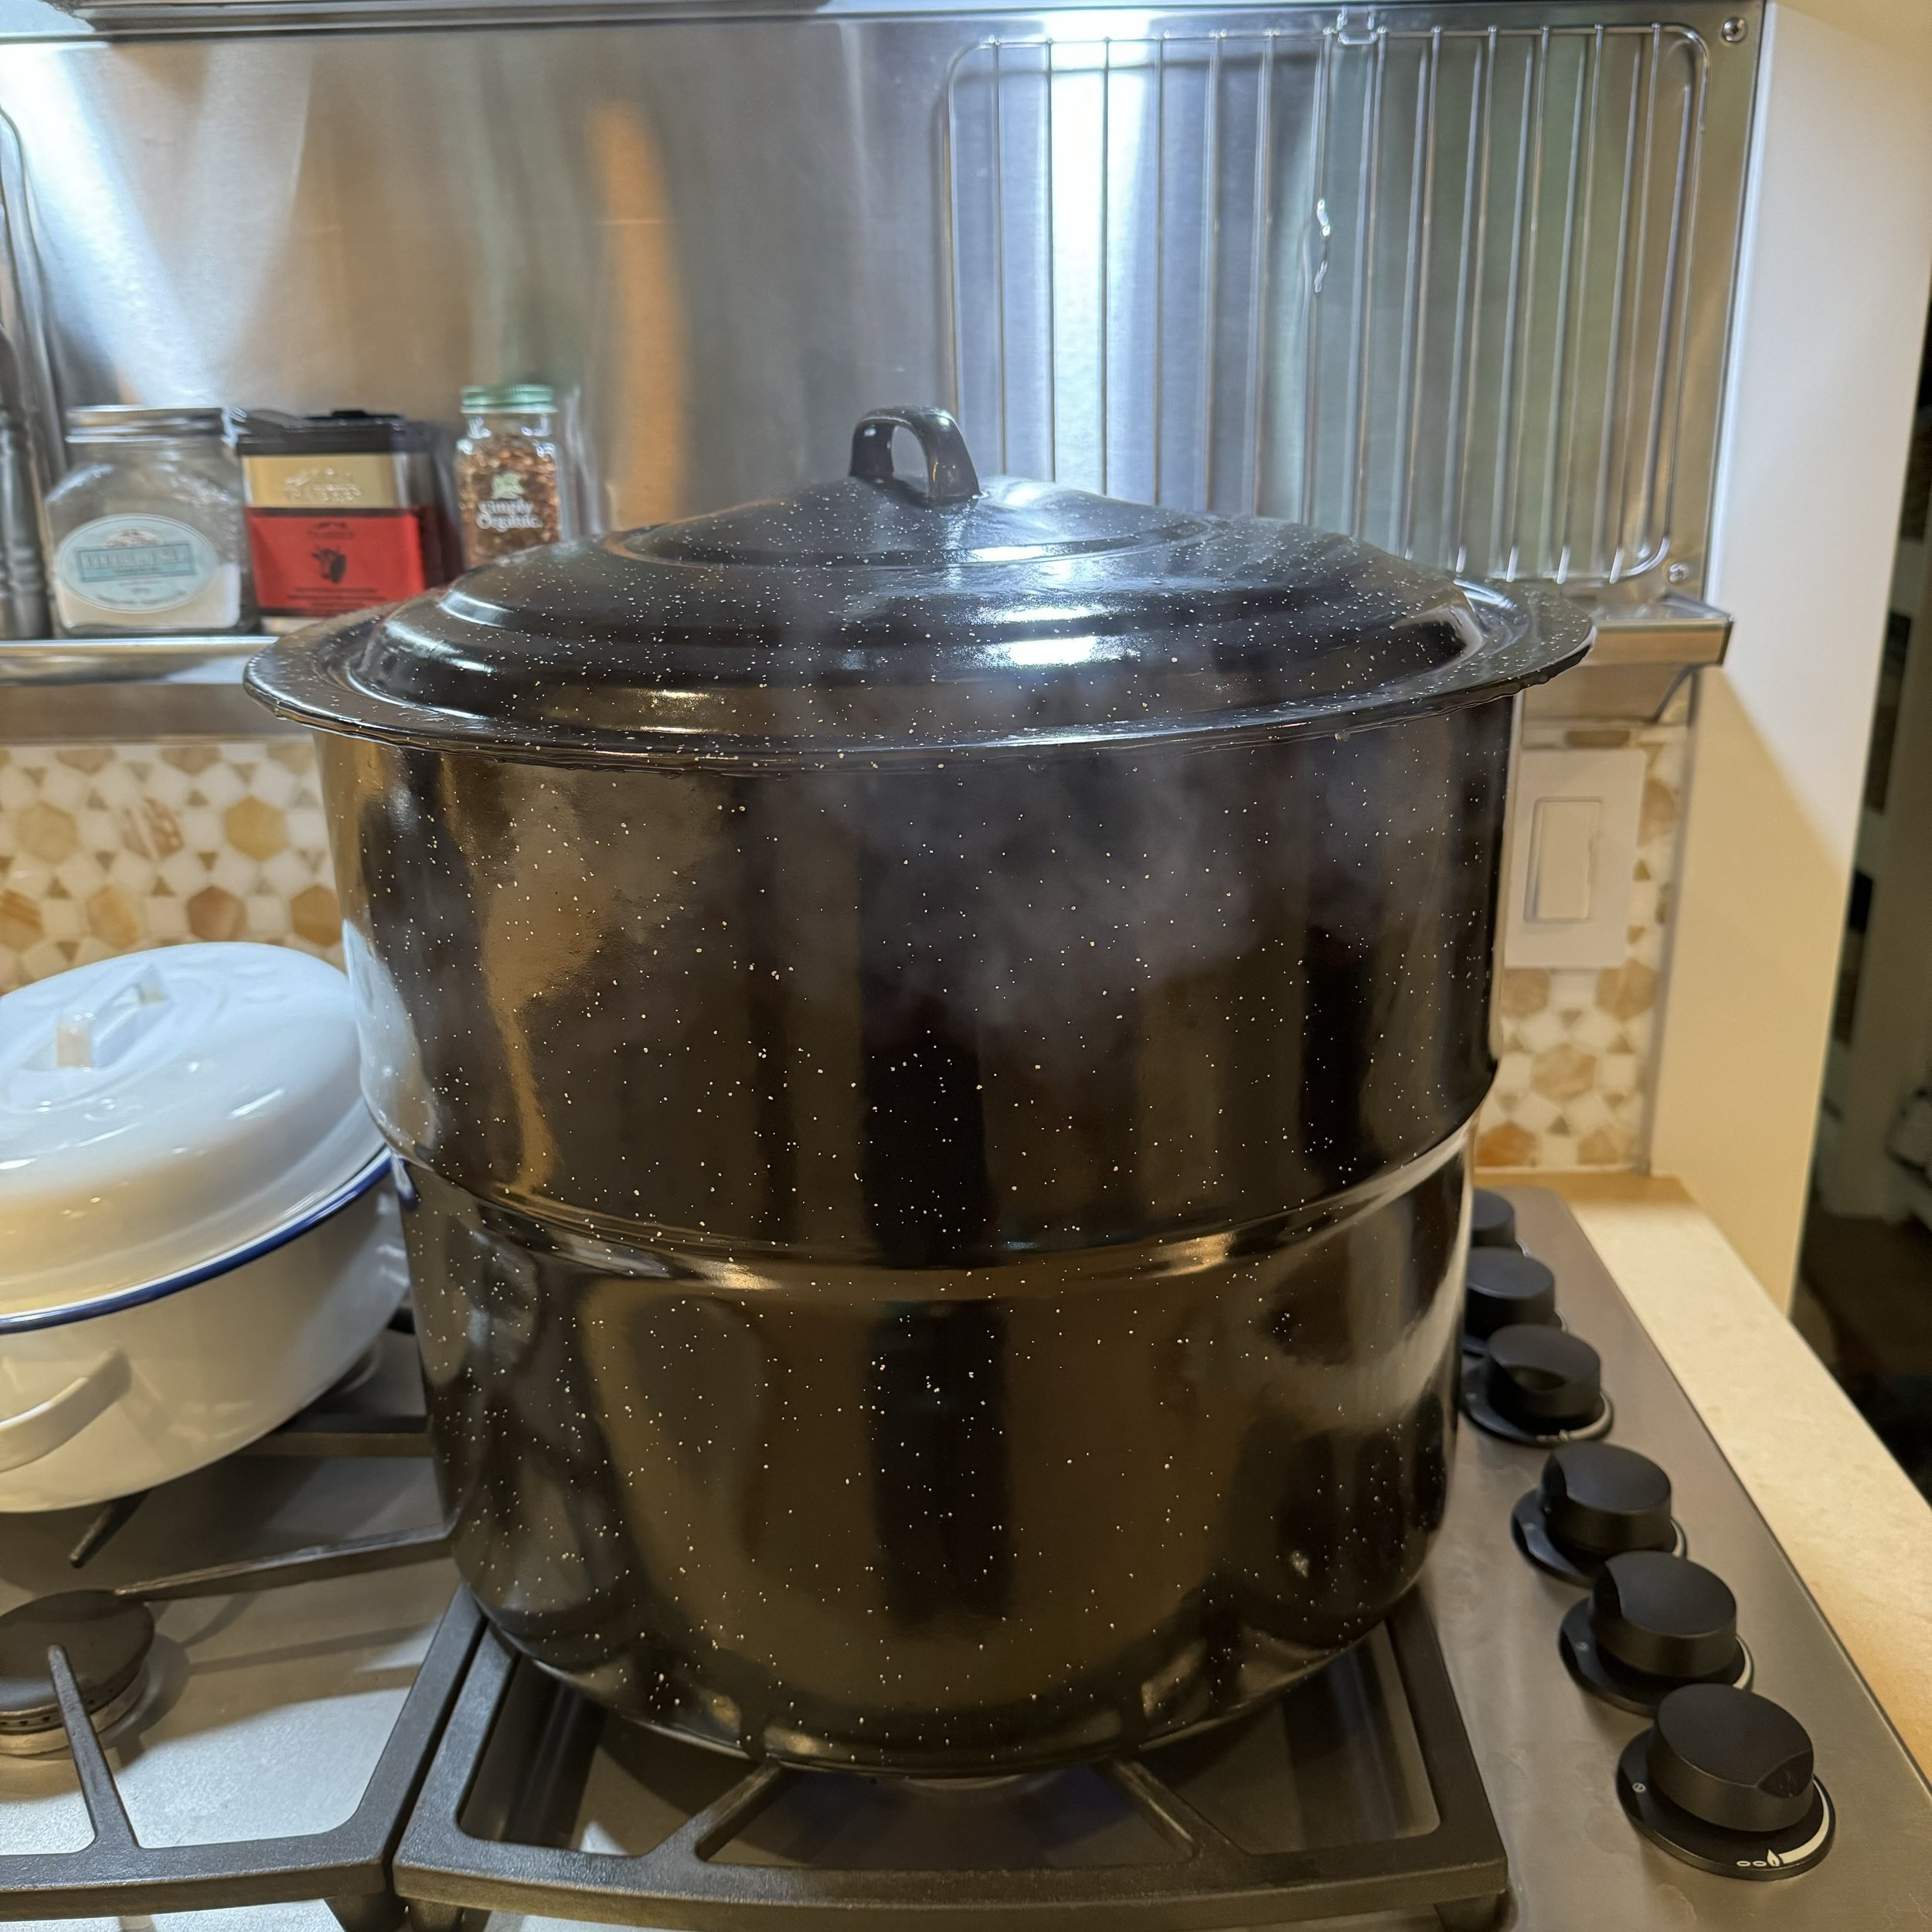
Large canning kettle and lid (jars need to be covered with at least 1” of water during boiling water bath)
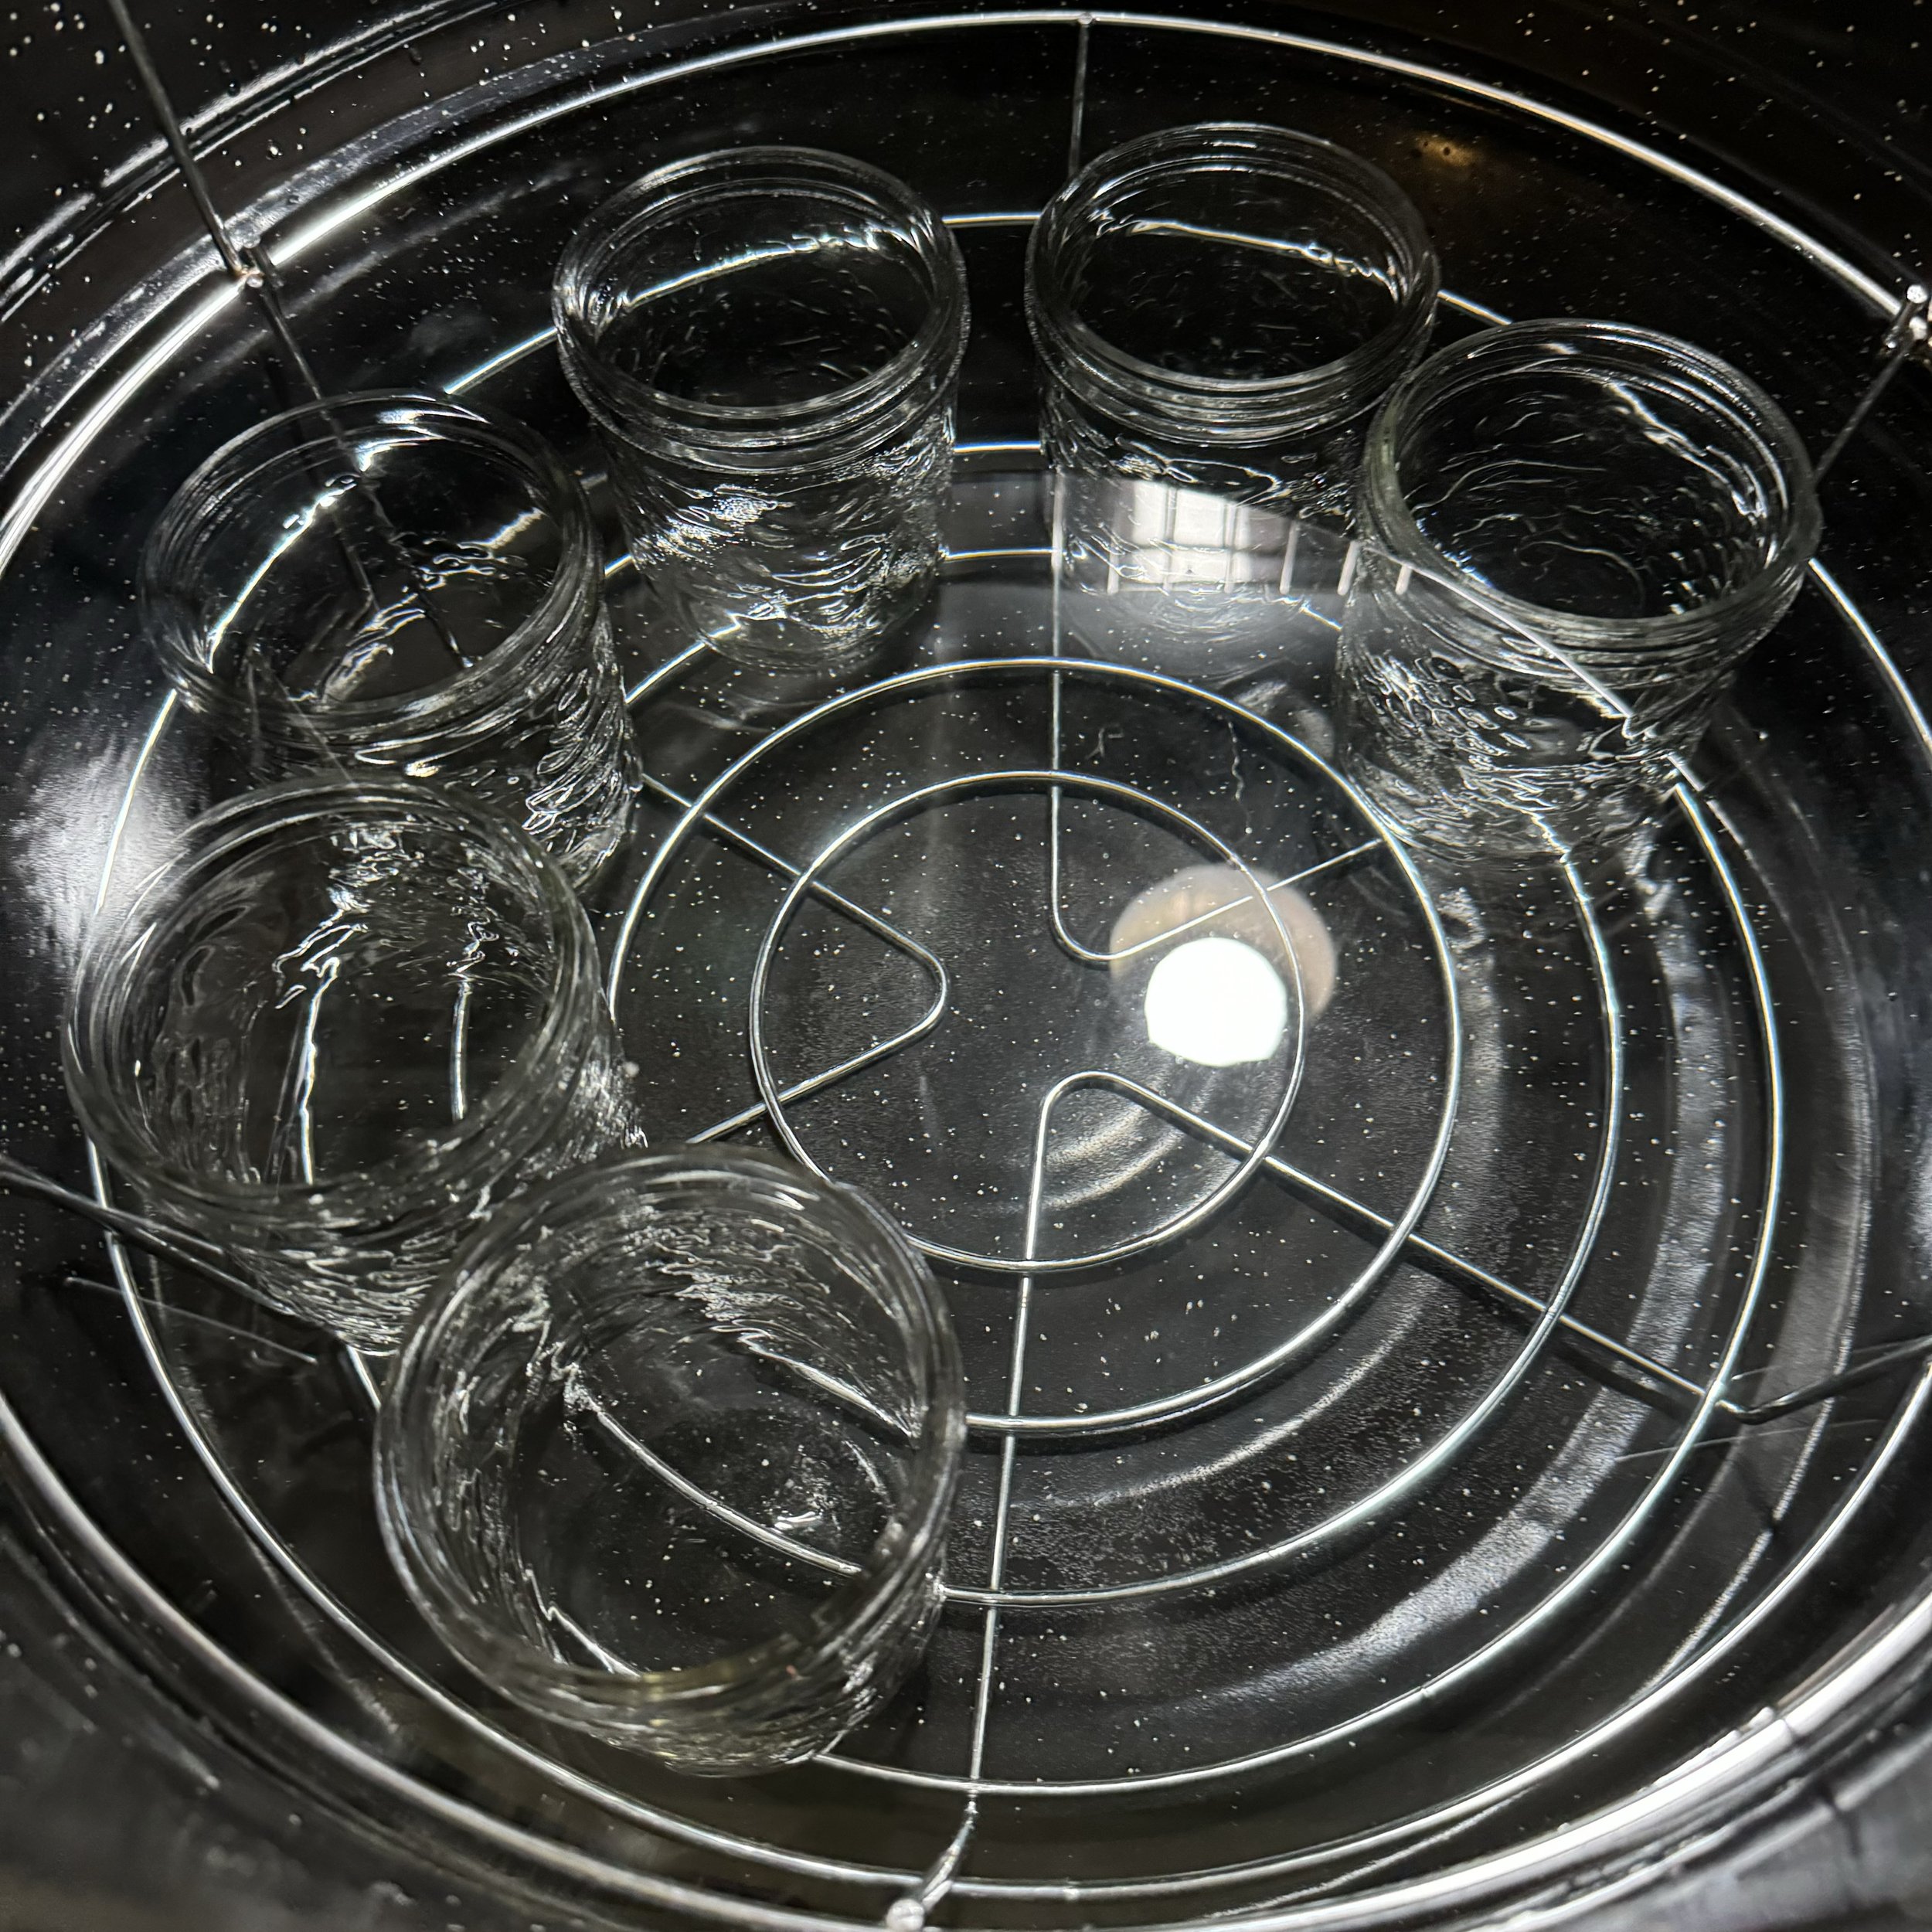
Canning kettle insert - (jars sitting directly on bottom of pot can crack during canning process)
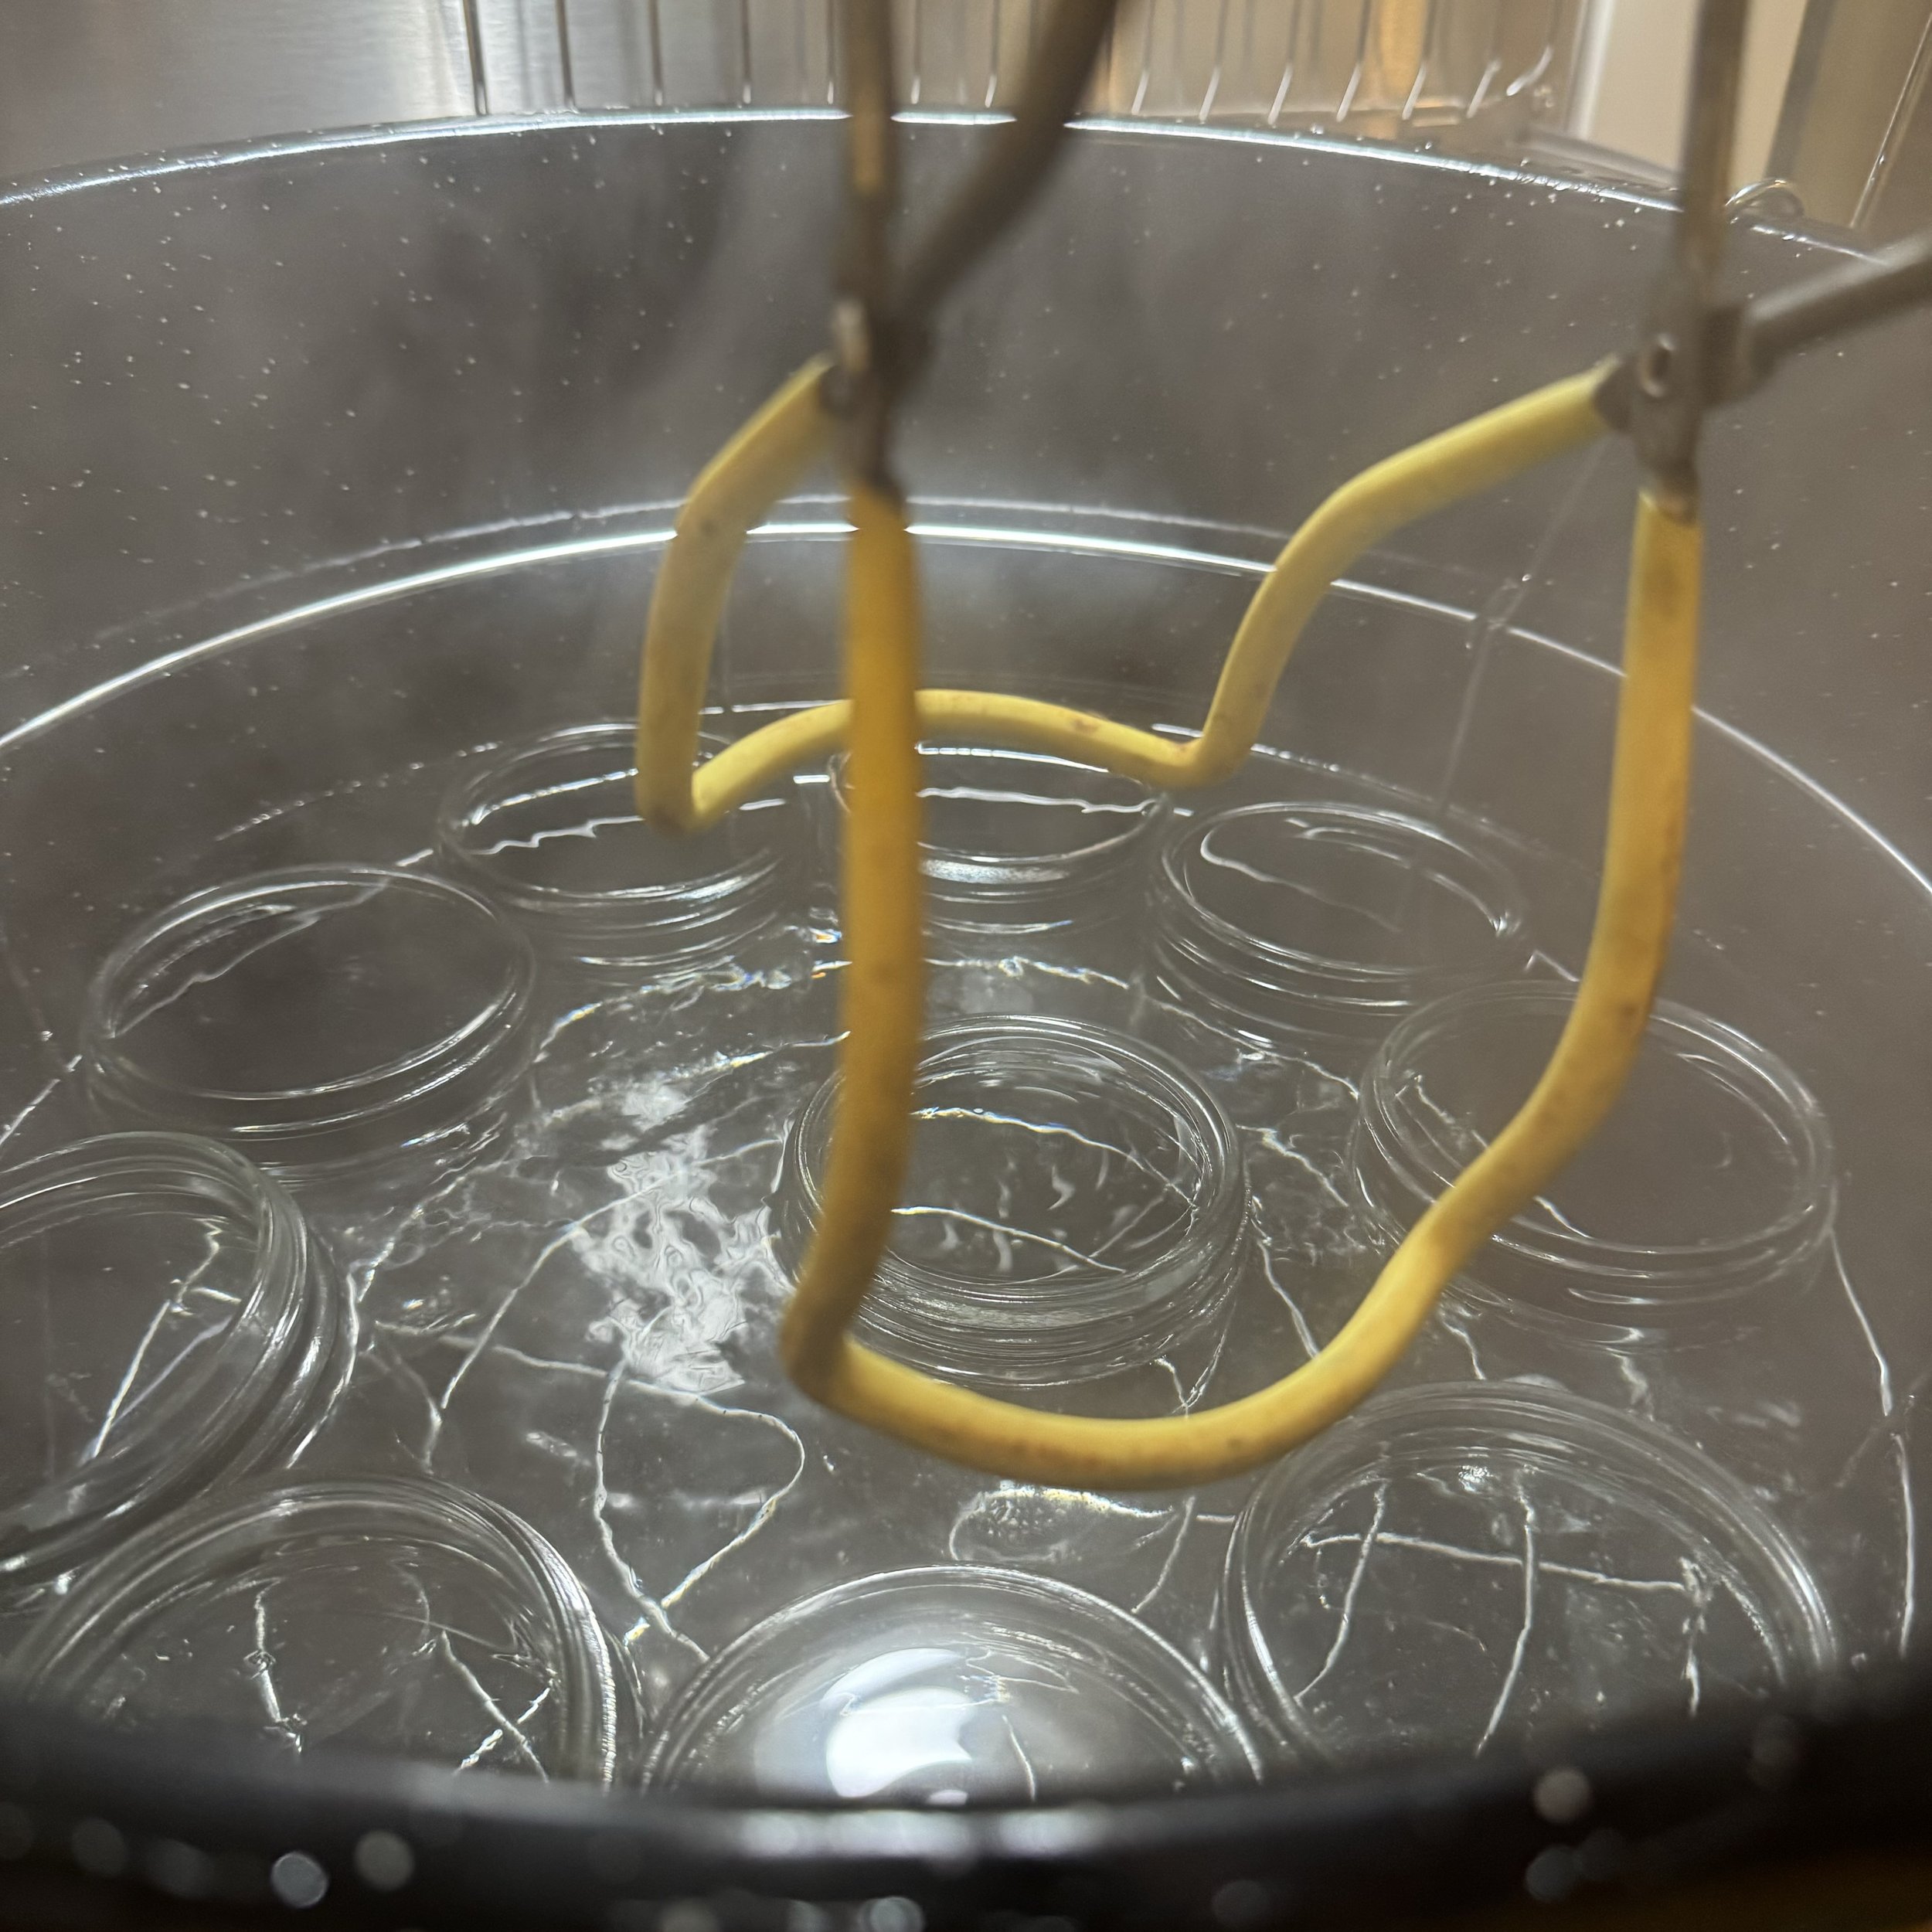
Hand-held tool for moving jars around (mine has the yellow rubber tong which gives me an excellent grip. My mother used the all metal jar tongs, which are still sold, and find super difficult to hold the jars securely…keeping in mind my mom never handled full hot jars)
A canning funnel to ease placement of ingredients in jar without spilling
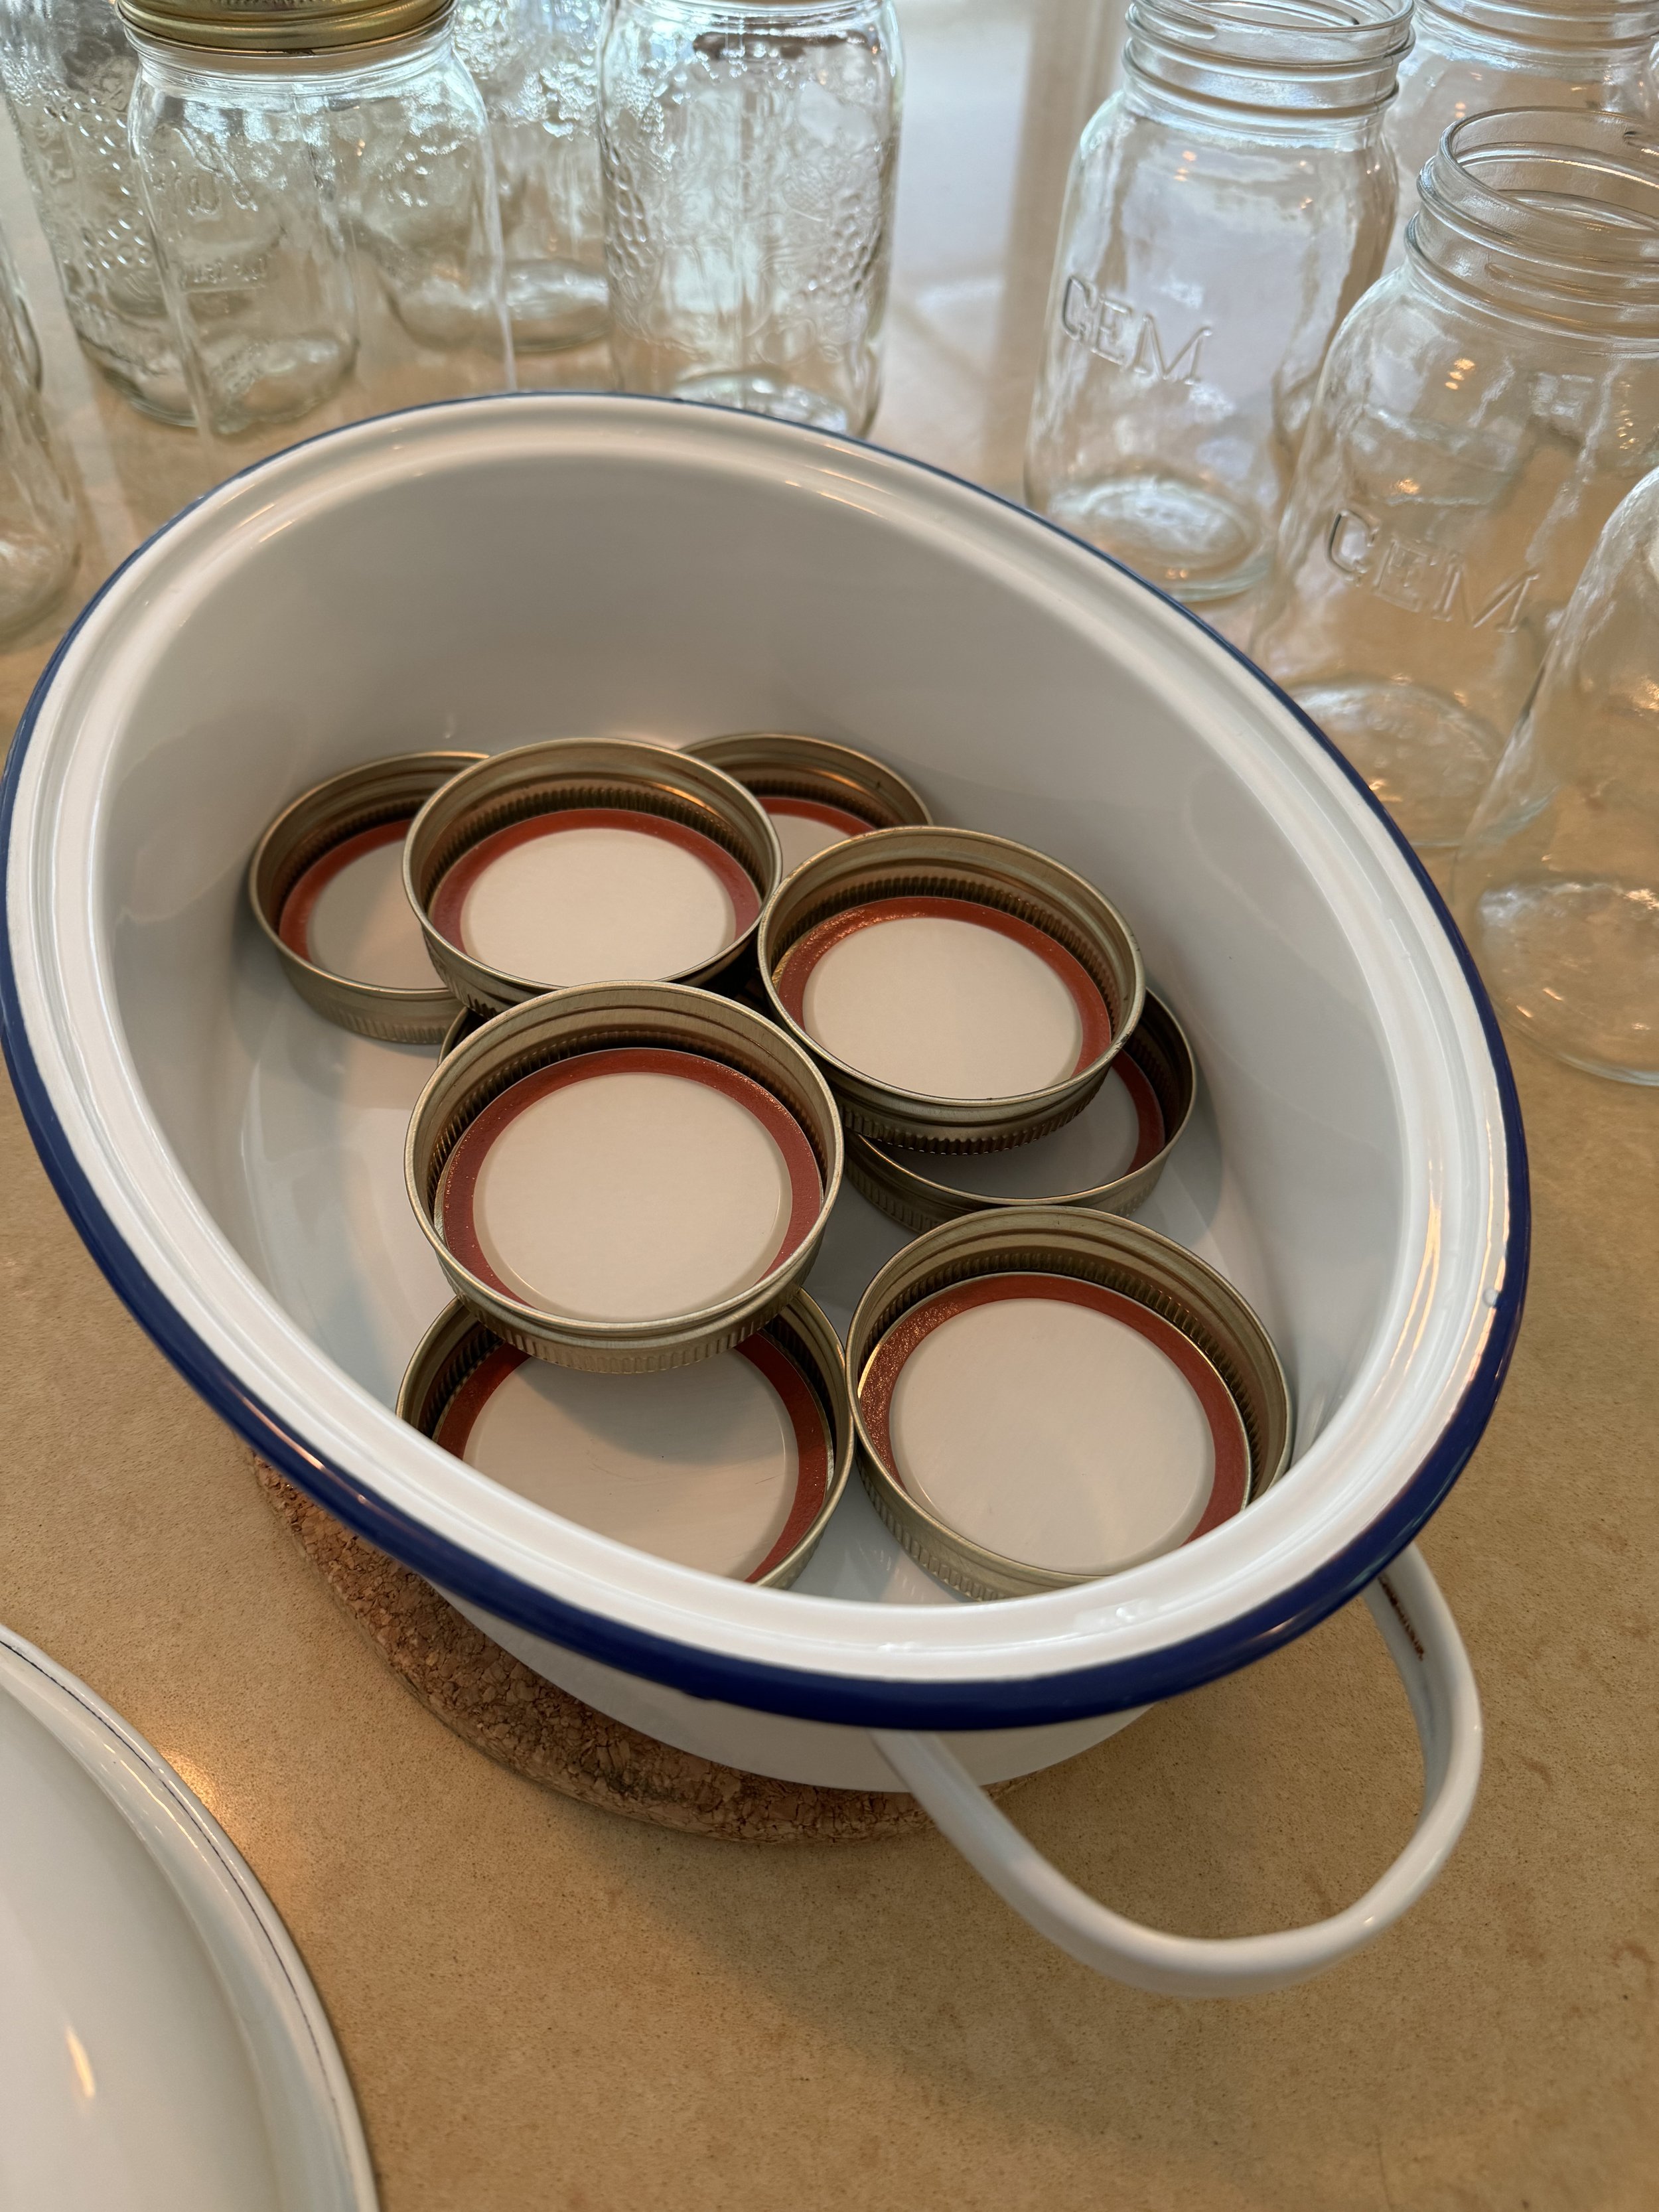
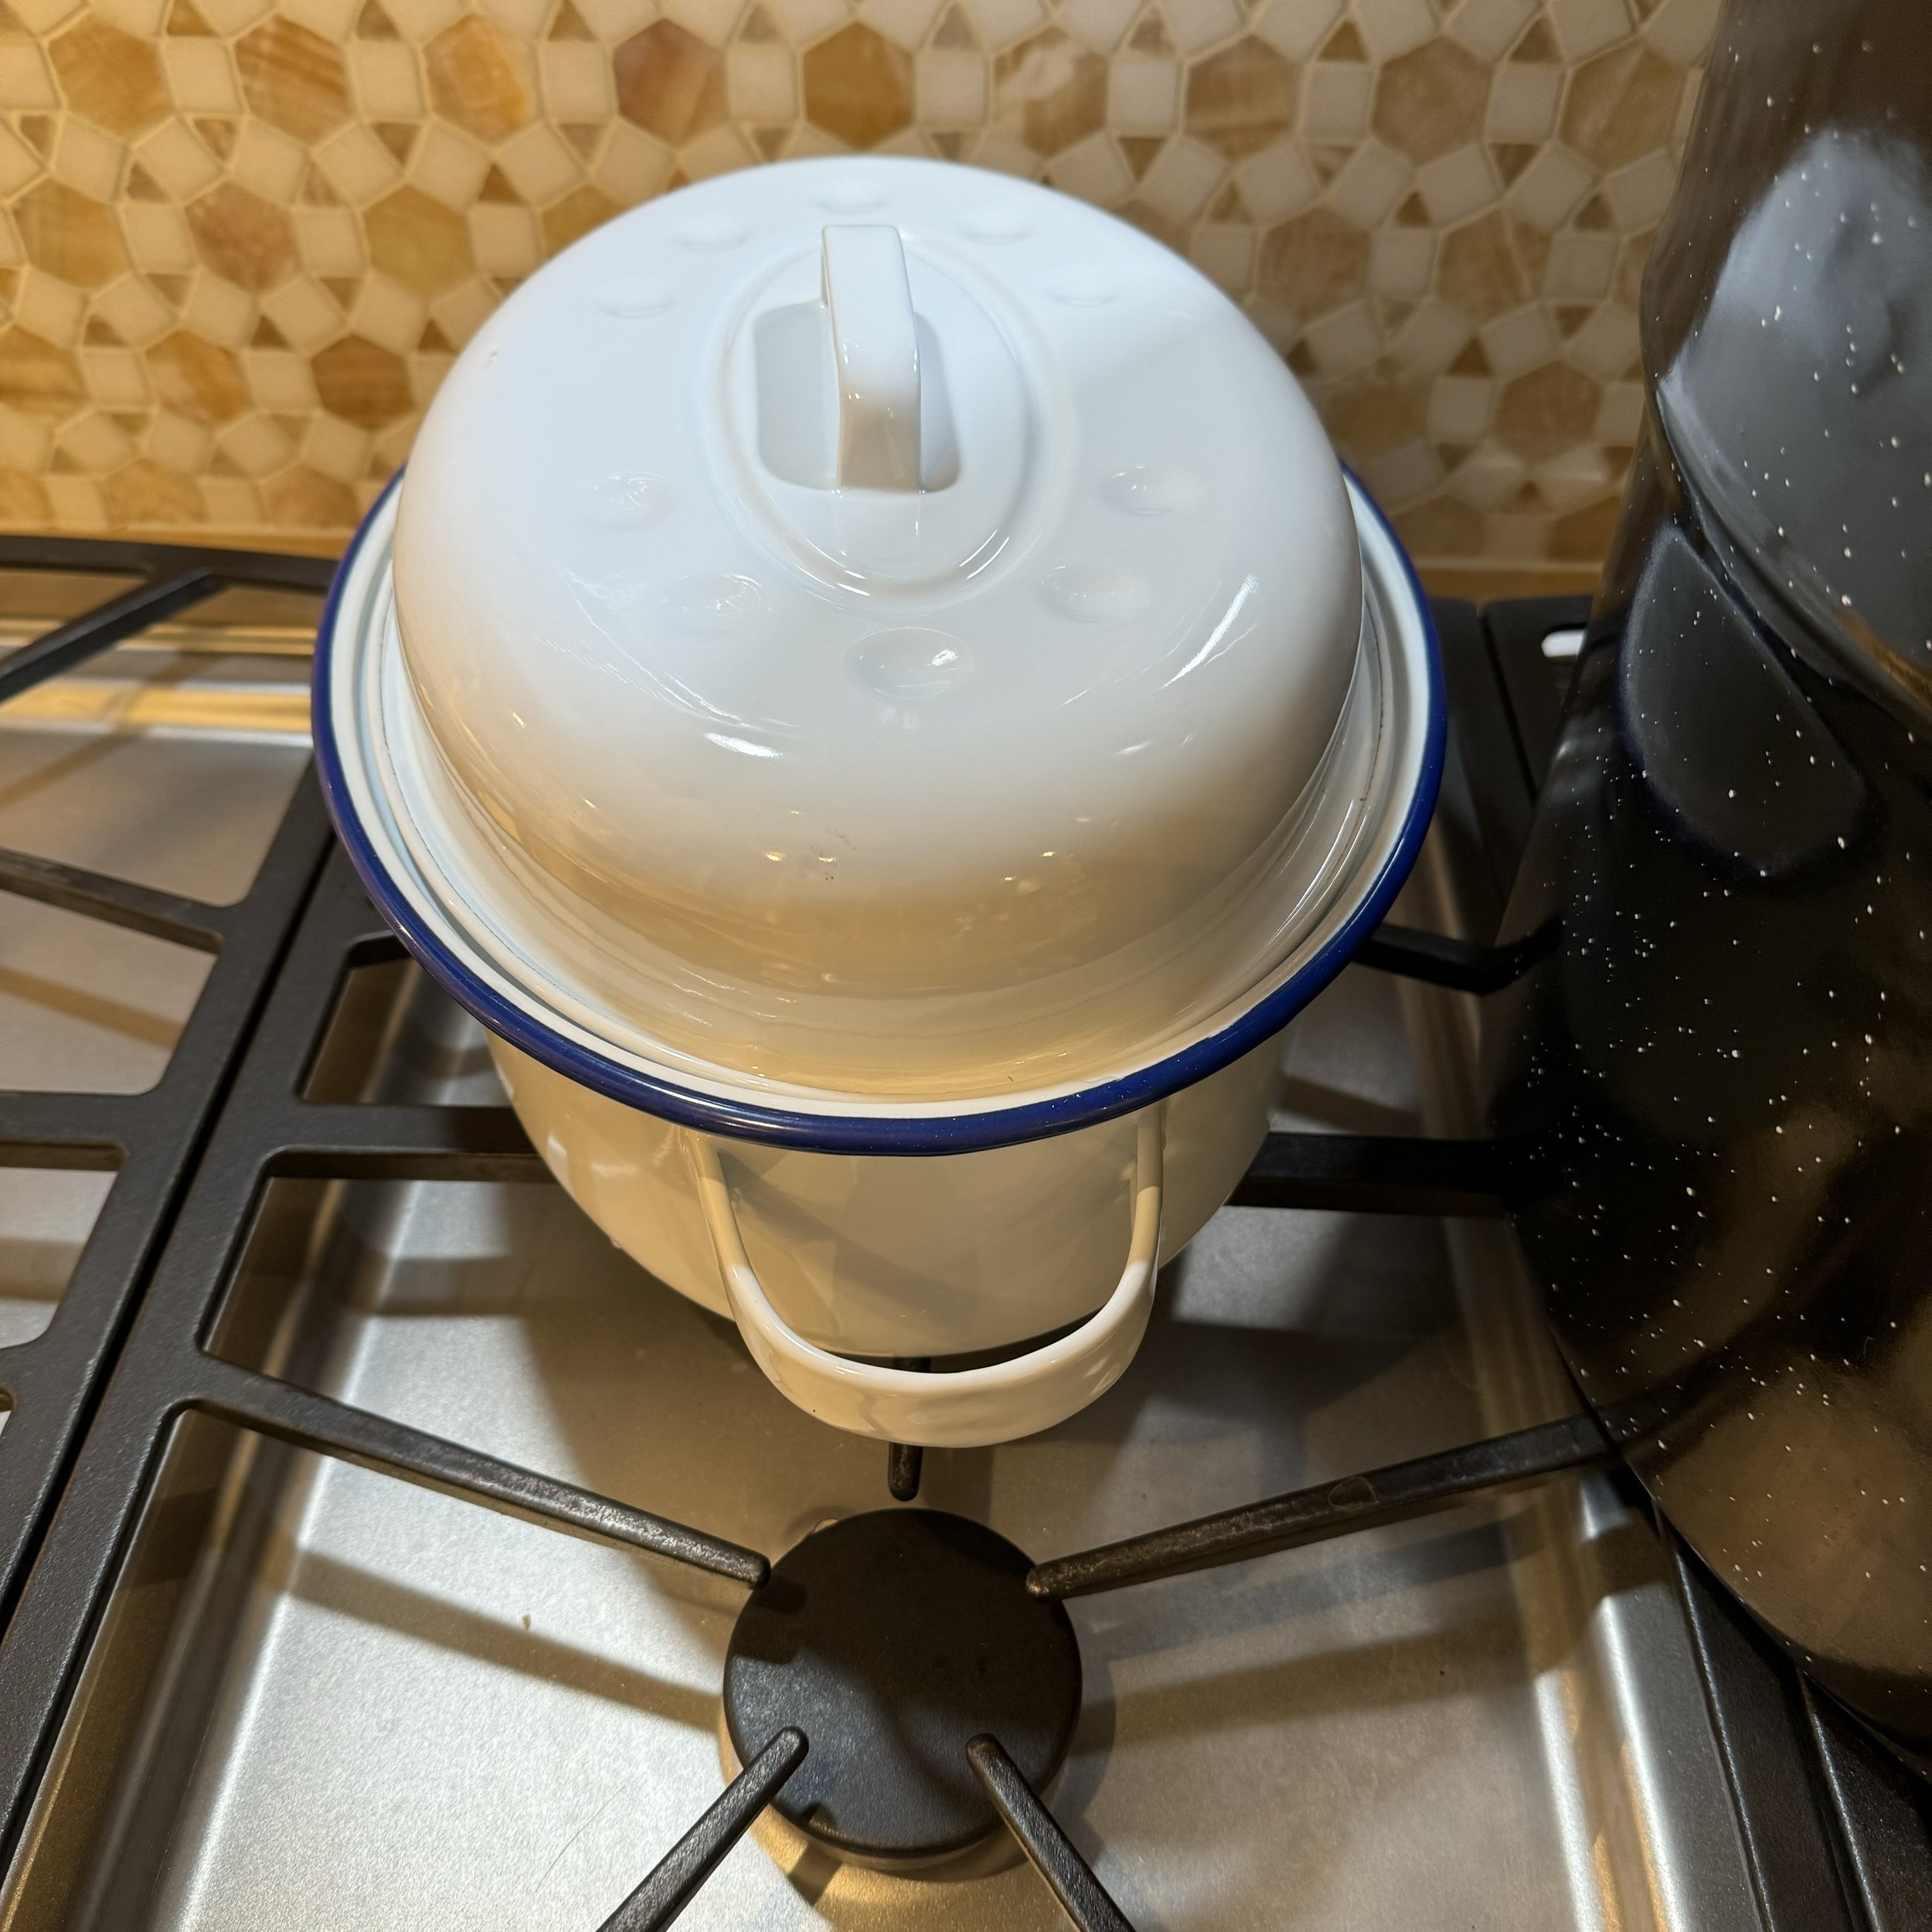
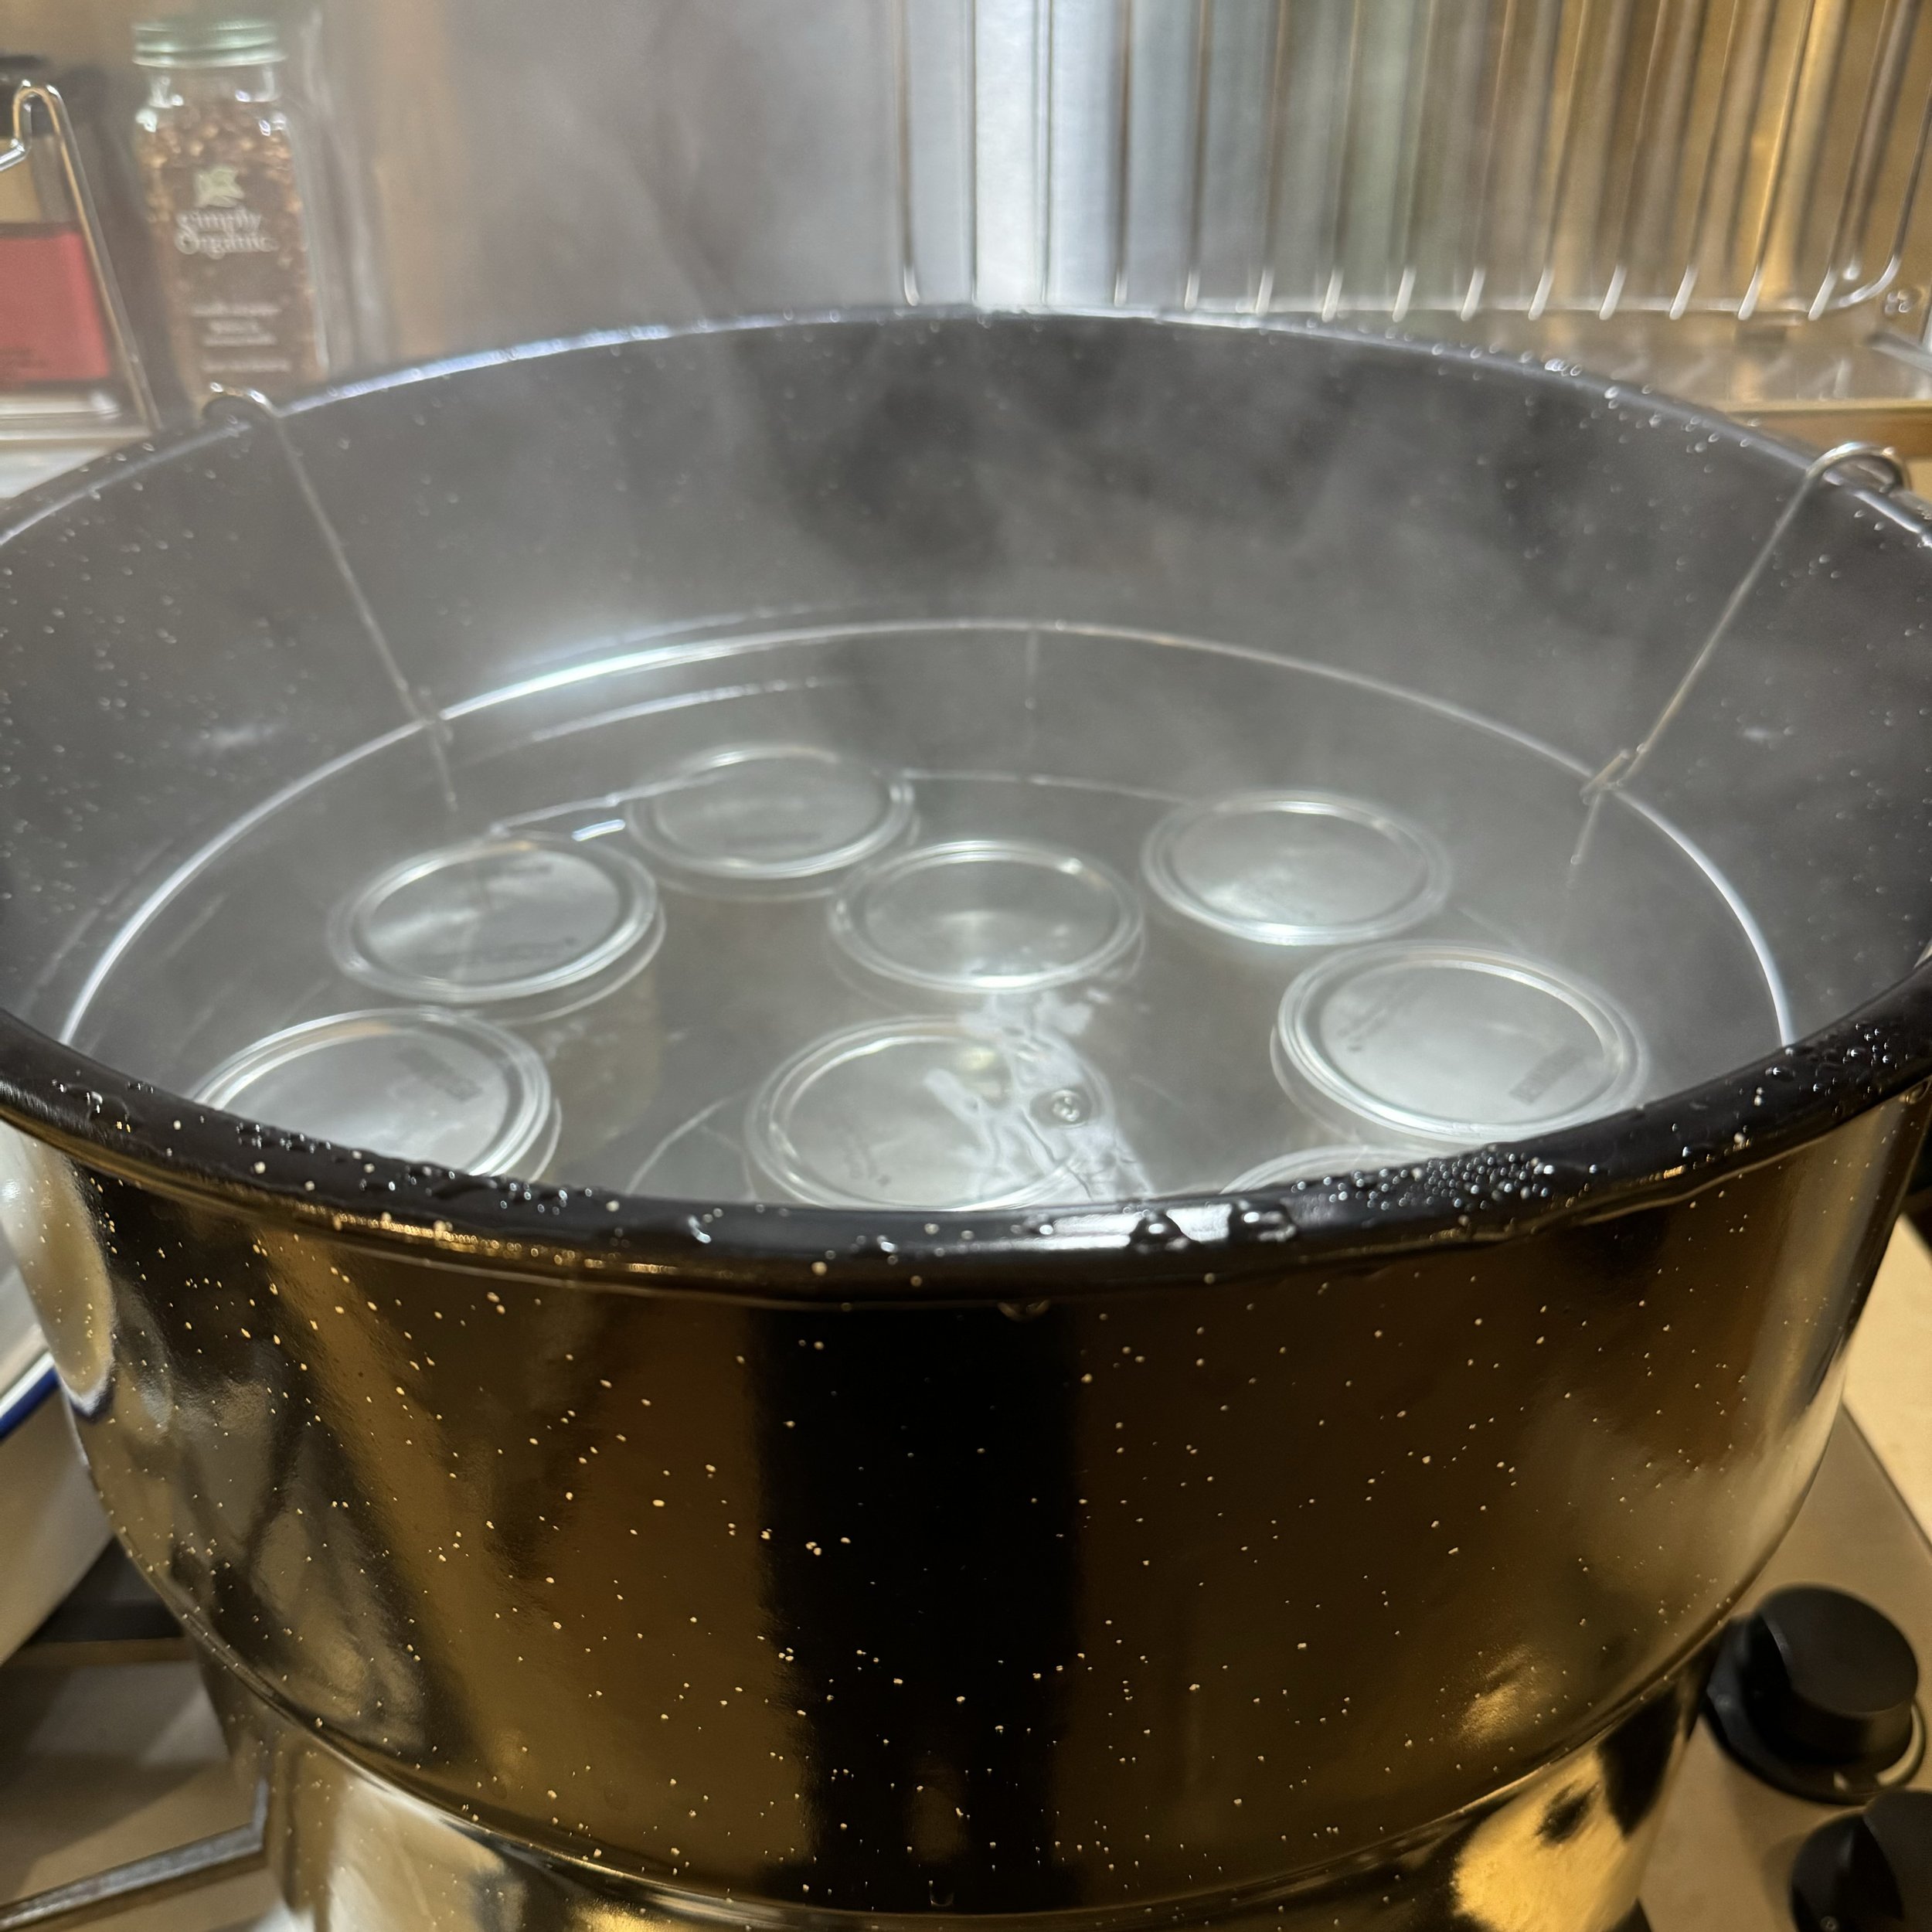
Pot, with lid, to sterilize canning lids (mine is a smallish white roasting pan)
Instructions for Canning:
Before assembling the ingredients to be canned, wash jars and add to canning kettle filled with water.
Bring to a boil.
To sterilize, return to a boil for 10 minutes right before canning.
Just before removing jars from the boiling water, boil snap lids for 7 minutes to soften sealing compound.
Dip clean funnel in boiling water to quickly blanche for sterilization. Now fill hot sterilized jars, using funnel, with ingredients. Also dip the metal spoon or soup ladle that will be used to transfer the ingredients into the jars in the boiling water for sterilization purposes.
Leave a good 1/2” headspace (space between top of ingredients and jar rim).
if needed, dip a corner of folded paper towel in boiled water and use the corner to wipe any rims that may have any sauce drips on them. This is to ensure a clean rim for a solid seal.
Remove snap lids one at a time from boiled water. I move quickly at this point. I drain the water off the lids and then immediately place on jars, only to ‘finger tip’ tight (I use my fingertips and yes - they’re hot!). This allows rising steam, created inside the jar during processing, to be exhausted.
Place jars carefully back into the canning kettle, not tipping the ingredients around in the jars.
Cover with at least 1” to 2” of water over top of jars.
Put the lid back on the canning kettle and bring to a boil.
Once boiling, process (leave in boiling water) for minutes advised in recipe..
Remove carefully from canning kettle. DO NOT TOUCH THE LIDS or TIP THE JARS.
You will hear some ‘pops’. This is good. This is the seal ‘popping’ into place.
Do not touch for at least 24 hours to allow complete cooling and setting of the lids.
Label, date and store jars in a cool dark place. You can also lightly tighten the metal bands at this time.


